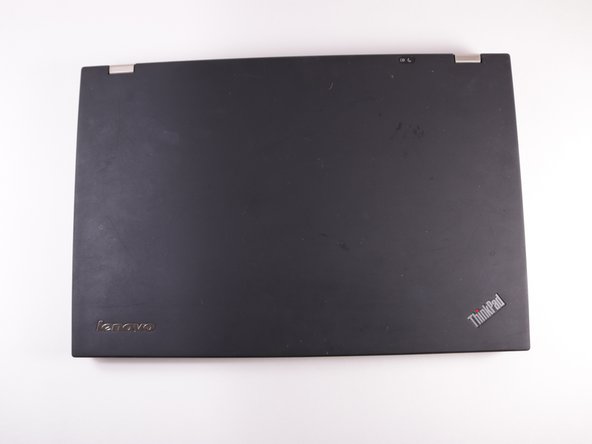
Lenovo ThinkPad T420s Keyboard Replacement
Duration: 45 minutes
Steps: 4 Steps
Is your keyboard feeling a bit sticky or unresponsive? It might be time to give it a makeover! In this guide, we’ll walk you through the simple steps to swap out your laptop’s keyboard and get back to typing like a pro!
Step 1
– Alright, let’s flip your laptop over so the bottom is facing up. Get ready to dive in!
– Next up, grab your Phillips #0 screwdriver and remove the two black 5mm screws holding the memory panel in place.
– Now, carefully lift off the memory panel. You’re one step closer to fixing your device!
Step 2
– Grab your trusty Phillips #0 screwdriver and unscrew those two 5mm screws like a pro!
– Now, flip your laptop back over and give it a gentle open. You’re doing great!
Tools Used
Step 3
When you lift the keyboard, take it easy—don’t yank it out completely! There’s still a cable keeping it tethered to the laptop.
For the easiest push, aim for the keyboard frame near the power button—right where it gives just enough without fighting back.
– With a gentle push, press down on the keyboard and slide it toward the screen. You’ll see the bottom of the keyboard pop right out of the casing—like magic!
– Now, grab your trusty metal spudger and carefully lift and slide the keyboard out. Easy peasy!
Tools Used
Step 4
– Pop everything back together by following these steps in reverse. Easy peasy!
– If you run into trouble, you can always schedule a repair.


