How to Apply New Ultra Wideband Antenna Adhesive in Your Google Pixel Fold
Duration: 45 minutes
Steps: 6 Steps
This repair guide is brought to you by Salvation Repair, crafted with care to help you fix your device step by step. It’s a straightforward guide designed to make your repair journey smooth. Learn more about our repair guides here.
Time to tackle that ultra wideband adhesive! This guide will walk you through replacing it step by step after a repair. But first—if you haven’t yet removed the ultra wideband antenna, you’ll want to handle that part first. Don’t worry, with clear instructions and a little patience, you’ve got this!
Step 1


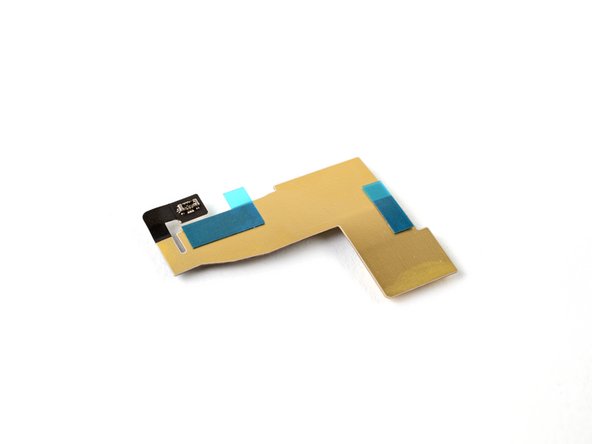
Your new adhesive doesn’t need to be a perfectionist—it just needs to be in the right neighborhood as the original spots.
– Check out the bottom of the antenna and take note of where the adhesive is hanging out.
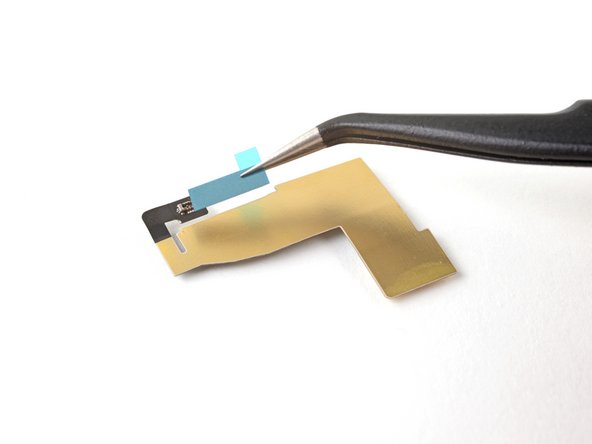
Step 2


– Grab those tweezers or just use your fingers to gently peel away the old adhesive strips. You’re doing great!
Tools Used

Step 3


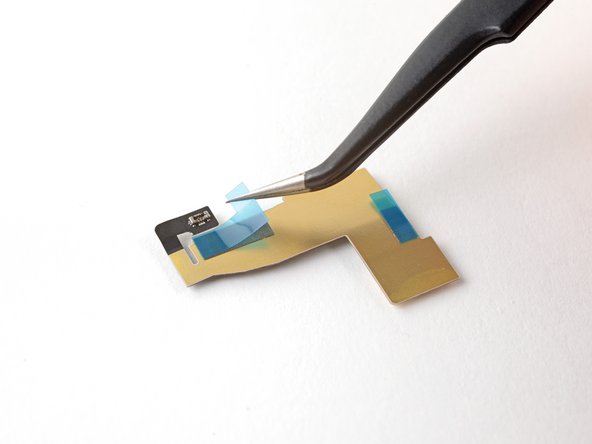
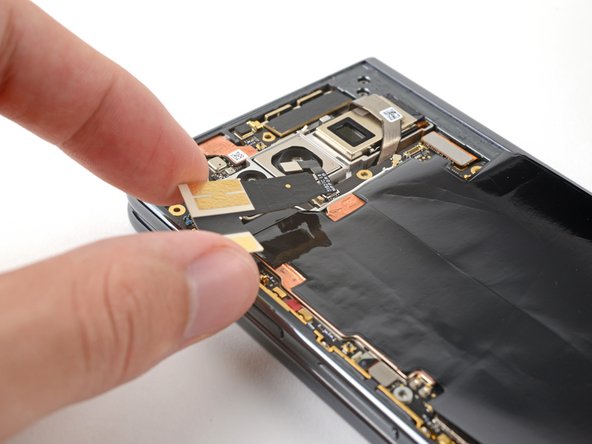
– Carefully peel off the fresh adhesive strips from their clear liners—you’re just a step away from greatness!
Step 4
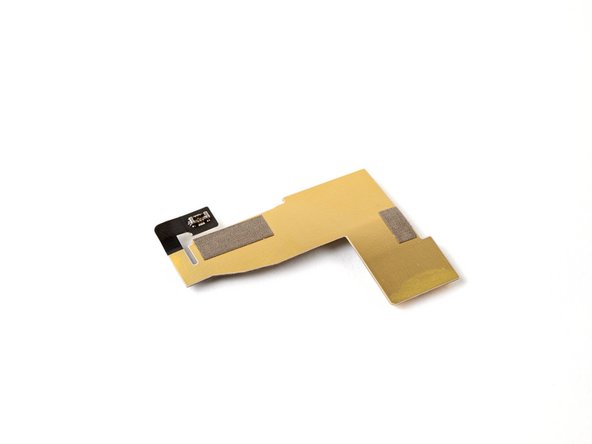
– Stick those adhesive strips right where they belong on the antenna—it’s like giving it a little hug!
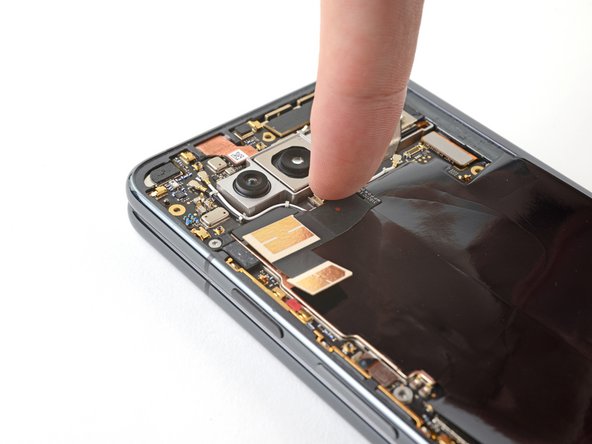
– Grab a spudger or just use your fingers to give the adhesive a gentle press and make sure it sticks tight to the antenna.
Tools Used

Step 5
– Grab those pull tabs and gently pull off the blue liners to reveal the adhesive – you’re making great progress!
Step 6
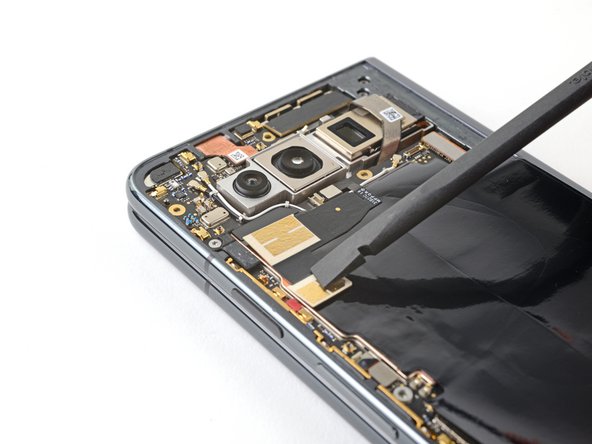
– Reconnect the ultra wideband antenna press connector. Make sure it clicks into place.
– Position the antenna so its top sits nicely against the thermal insulator. It should feel snug.
– Use a spudger or your fingers to gently press down on the antenna and make sure it’s securely in place.
