Nexus 6P Rear Camra&Front Camera&Headphone Jack Replacement
Duration: 45 minutes
Steps: 9 Steps
This guide is here to help you take apart your Huawei Nexus 6P camera and audio jack. If your Nexus 6P parts are feeling a bit under the weather, just follow along with this guide to replace them yourself with ease!
Step 1


– Pop out the SIM card tray. It’s a quick move, just grab your tool and give it a little push. If it’s being stubborn or you’re not sure, no worries! Just schedule a repair and we’ll handle it for you.
Step 2


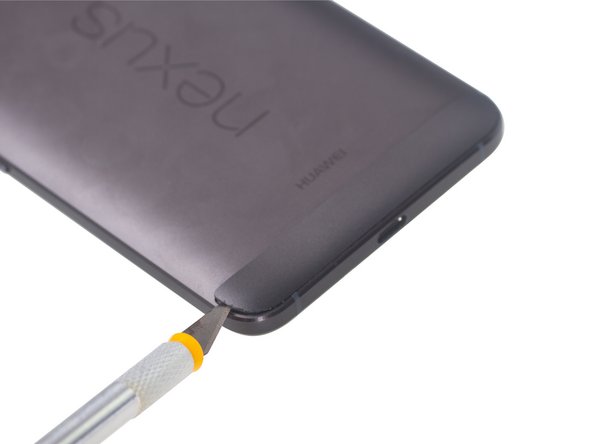
The back glass panel is pretty delicate, and the adhesive underneath is strong. Take it slow and steady when prying this part to avoid any mishaps.
– Warm up that back glass panel, it’s time to get things toasty!
– Grab your hobby knife and gently pry open a little gap to slice through that stubborn sticker hiding beneath the rear glass panel.
Step 3

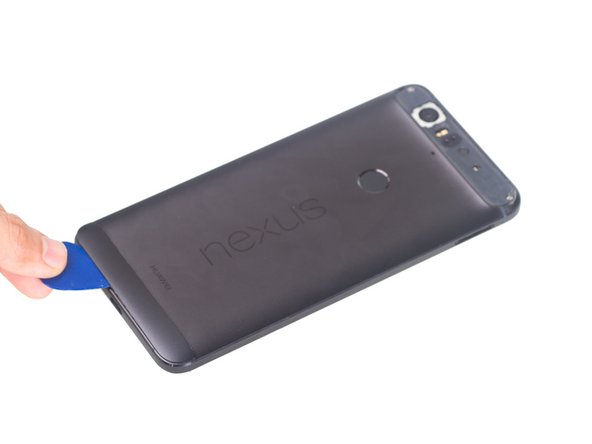
– Warm up the bottom plastic panel to loosen things up a bit.
– Grab a hobby knife to create a small opening, then slide in some guitar picks to carefully slice through the adhesive underneath.
Step 4
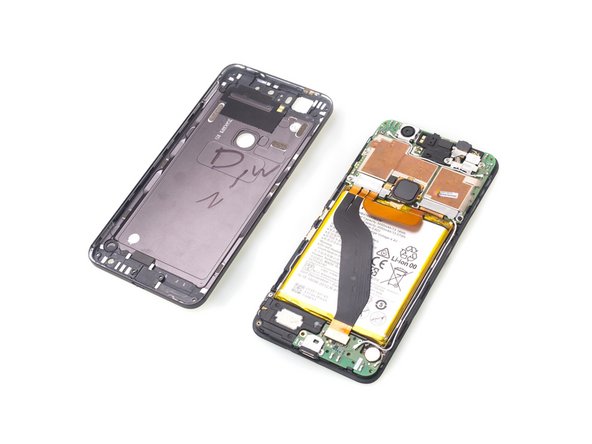

Heads up! These two parts are locked together tighter than a vault. Separating them won’t be a walk in the park, but with some patience (and maybe a heavy-duty suction cup), you’ll get there. Stay steady, take your time, and make sure you’ve got a good grip!
– Unscrew those 6 Phillips screws like a pro! You’ve got this!
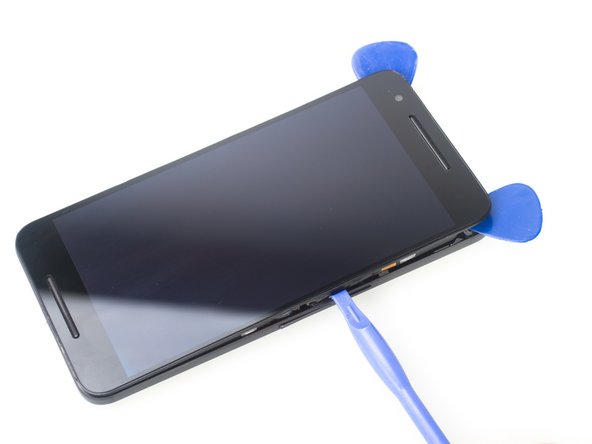
– Grab your trusty guitar picks and a plastic opening tool to gently pry apart the front assembly from the back cover. Easy peasy!
Step 5

– Grab your Phillips screwdriver and unscrew that one pesky screw.
– Carefully take off the metal bracket that’s holding those flex contactors in place.
– Gently detach the three flex contactors and remove them like a pro.
Step 6


– Gently twist and remove those 5 Phillips screws, then let that battery contactor take a break.
– Take off the metal bracket that’s holding the LCD contactor in place. It’s time for a little liberation!
– Release the metal bracket that’s keeping the front camera and headphone jack contactors under wraps. Let’s give them some freedom!
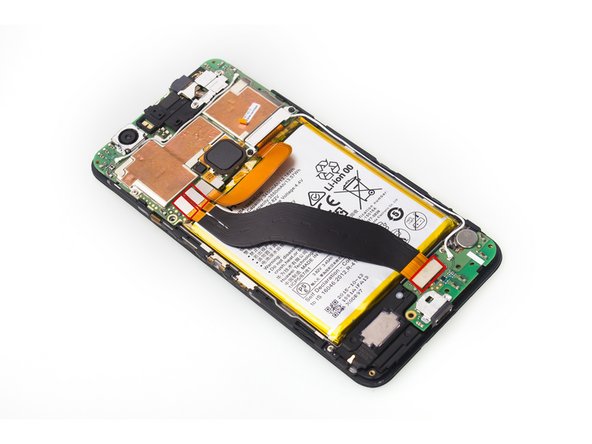
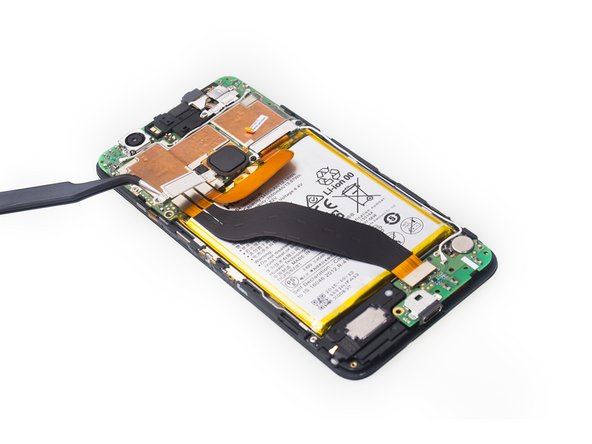
Step 7

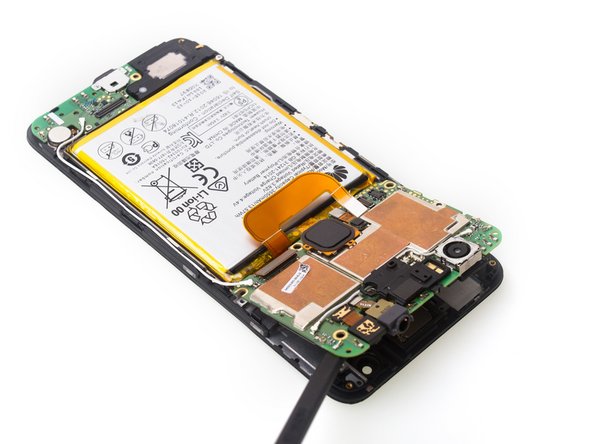
– First off, let’s disconnect the signal cable contactor—easy peasy!
– Next, it’s time to gently release the LCD contactor. You got this!
– Now, with a little finesse, pry up and remove the motherboard like a pro!
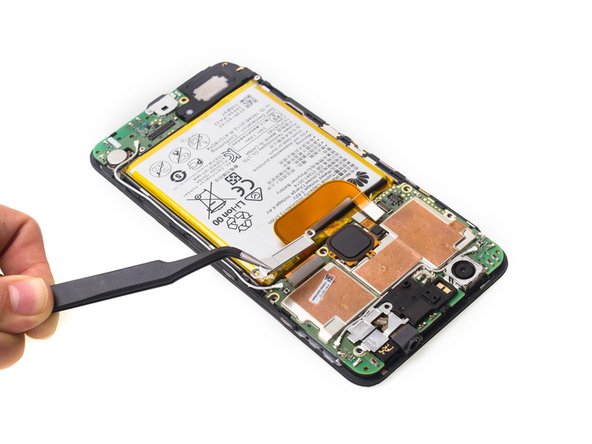
Step 8

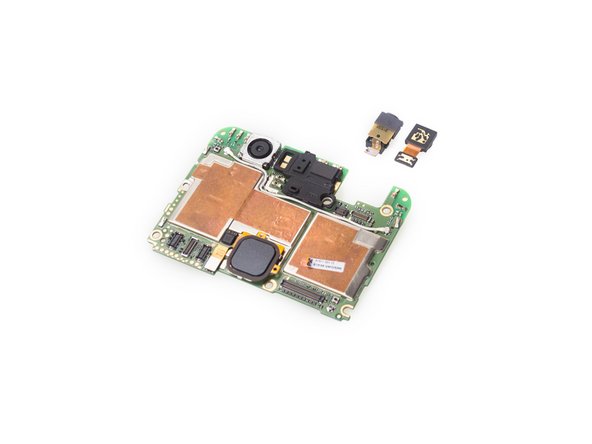
– Take out the headphone jack and gently detach the front camera. You’ve got this!
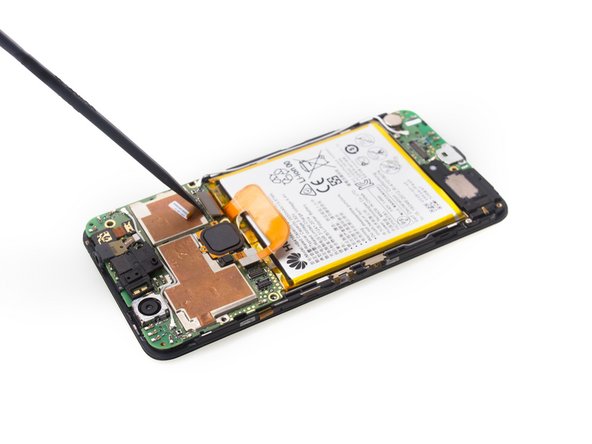
Step 9
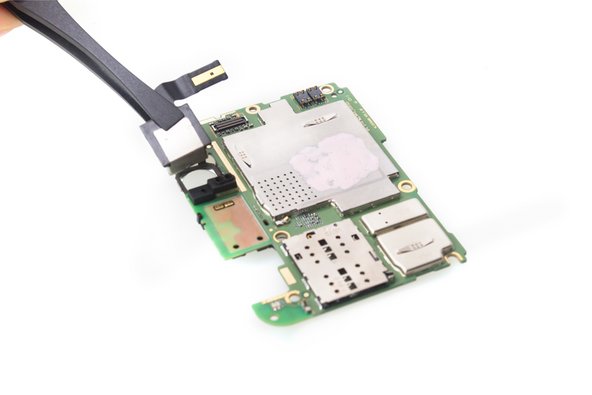
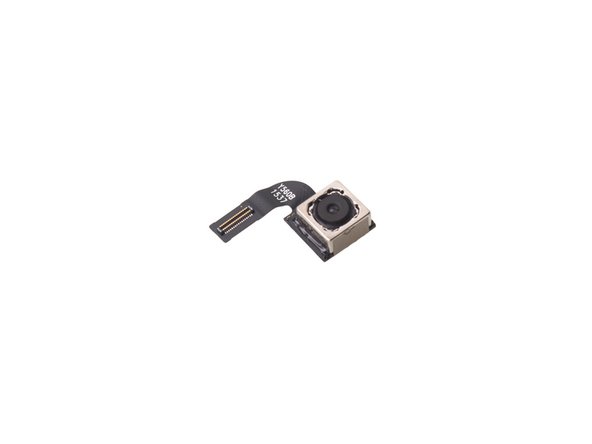

– Gently release the rear camera connector, then carefully remove it. You got this!
Success!