Dell Inspiron n5050 RAM Replacement
Duration: 45 minutes
Steps: 7 Steps
Sometimes your computer just needs a little RAM TLC to get back in the game. Whether you’re re-seating existing RAM to troubleshoot issues or upgrading to boost your system’s performance, this guide has got you covered step by step.
Step 1

– Turn your laptop upside down to check out the base and spot those two locks.
Step 2

Gently slide those locks to loosen the battery and set it free for removal.
– Gently slide the two locks apart, like you’re unwrapping a gift.
Step 3


Go ahead and disconnect your laptop’s battery – it’s time for a full power-off.
– Let’s get started by carefully pulling the battery out of your laptop. This is the first step towards getting your device up and running again.
Step 4


Once you’ve freed the first tab, keep a light grip on the keyboard—don’t let it snap back into place! Work your way through the remaining three tabs, lifting gently as you go. The keyboard will naturally pivot up from the bottom, like it’s opening up to reveal its secrets.
– Alright, let’s get this show on the road! Flip your laptop over to its rightful side and open it up like a treasure chest waiting to reveal its secrets.
– Now, take your trusty spudger and gently press down on those four little retaining tabs at the top of the keyboard, one by one. Think of it as giving them a friendly nudge to come out and play!
Tools Used

Step 5


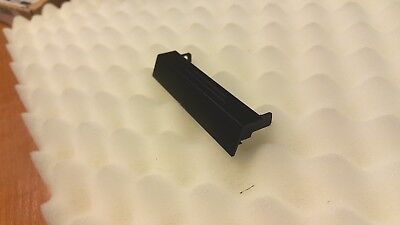
When it comes to getting that optical drive out, you can totally leave the keyboard ribbon cable connected—no need to fuss with it!
– Carefully pry the data cable latch away from the cable using the flat side of your trusty spudger – it’s like a little dance move for your device!
– Now, gently lift the cable up and out of its cozy little home. Easy does it!
– When you’re putting the cable back in, make sure those two retainer wings on the sides of the cable are snugly locked onto the bottom of the cable latch area. That’s how you know it’s properly inserted and ready to rock!
Tools Used
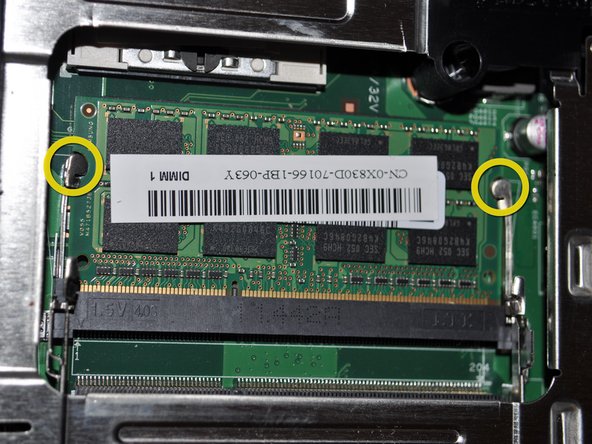
Step 6


– Find that RAM like it’s hiding from you.
– Gently push outwards on both of those pesky retaining clips. When they’re free, the RAM will pop up just a little, giving you a hint that it’s ready to come out!
Step 7

– The RAM will spring up, and then you can gently slide it out while keeping it at the same angle.
Success!