Dell Inspiron n5050 Optical Drive Replacement
Duration: 45 minutes
Steps: 7 Steps
Your optical drive is secured with just one screw. This guide will show you how to locate and remove that screw so you can effortlessly slide the drive out of its bay. Let’s make it happen—easy peasy!
Step 1

– Let’s get started by flipping your laptop over and taking a look at the bottom. You should see two locks – we’ll be working with those in this step.
Step 2

Sliding these locks will free up the battery for easy removal.
– Gently slide those two locks apart, giving them the space they need to do their thing.
Step 3


It’s time to say goodbye to your laptop’s battery! Make sure you’ve completely removed it before proceeding.
– Gently remove the battery from the laptop, like you’re giving it a little hug before letting it go.
Step 4


Once you’ve popped the first tab, gently lift the keyboard to keep it from locking back in place. Now, move on to the other three tabs while still giving the keyboard a light lift. The keyboard will start to hinge up from the bottom, making it easier to work with.
– Alright, let’s get this show on the road! Flip your laptop over to its rightful side and open it up like a treasure chest waiting to reveal its secrets.
– Now, take your trusty spudger and gently press down on those four little retaining tabs at the top of the keyboard, one by one. Think of it as giving them a friendly nudge to come out and play!
Tools Used

Step 5


To remove the optical drive, the good news is you can skip disconnecting the keyboard ribbon cable altogether.
– Gently coax the data cable latch open with the flat side of your trusty spudger, just like you would flip a pancake.
– Lift the cable away with care; it’s time for a little freedom.
– When it’s time to reinstall that cable, make sure the two retainer wings on the sides snugly lock onto the bottom of the cable latch area. Once they’re in place, you’ll know that the cable is happily seated.
Tools Used
Step 6


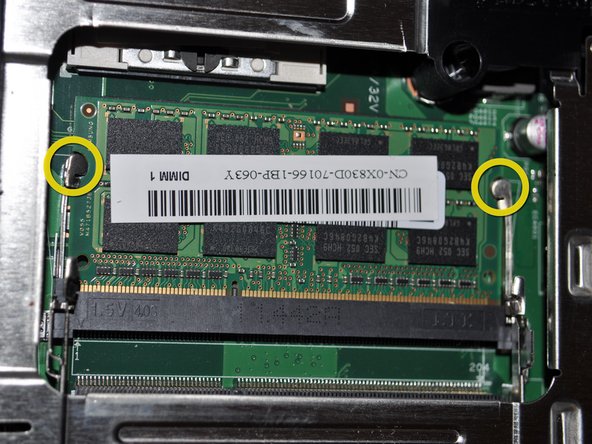
– Give that screw right by the wireless card a twist to set it free!
Step 7

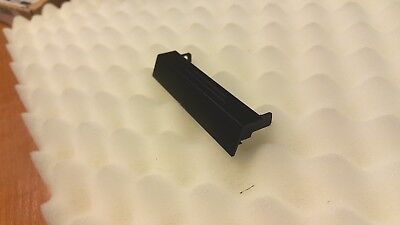
A twisting motion with the spudger is the way to go for best results!
– Tip the laptop onto its side like it’s taking a little nap.
– Grab that spudger and gently pry out the optical drive with its flat end, like you’re coaxing a shy puppy out of its hiding spot.