Texas Instruments TI-30Xa Teardown
Duration: 45 minutes
Steps: 6 Steps
This TI-30Xa calculator got totally covered in sticky trash juice (ew!), so I rinsed it off to get rid of the goo. A calculator that smells funky and is greasy isn’t much use, so cleaning it up is a good move. If the calculator got wet, the keys are usually the main entry point for water, which means you’ll need to pry out the motherboard to dry it thoroughly. I wouldn’t recommend trying this just for fun—your main goal is to disconnect the battery connectors, which is pretty straightforward. Removing the motherboard can be tricky since it rips some plastic pegs and might cause damage, so proceed with care. This teardown was captured with an iPhone 6S, just in case you’re curious. Remember, good lighting can make all the difference! I used a simple desk lamp to get a clear view.
Step 1
Unlike some devices where a wrong move can cause big trouble, all of these are the same size—so no sweat!
– Time to break out your Philips 00 screwdriver and remove the 6 screws from the back. With those out of the way, you’ll have this thing open in no time!
Step 2
– See those notches? We’ll have to pry on those to get the calc open. Use a plastic spudger to avoid cosmetic damage.
Tools Used
Step 3
Spotted the water and orange? Looks like your device got a little too cozy with some moisture. Time to give it a good dry off and jump to step 4!
– Hooray! The back cover is off! Now it’s time to take out those batteries and connectors. The batteries should slide right out without a fuss. For the connectors, you might need to give them a little nudge with a flathead screwdriver to release them. You’ve got this!
Step 4
Be gentle around the keys — don’t pry too hard or you might damage the delicate traces connecting them!
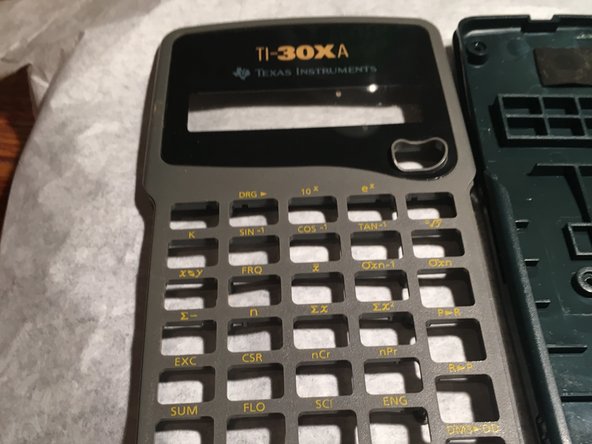
– Those little plastic pegs are doing their best to keep the logic board locked in place! They probably help maintain key stability and proper function. After working on this, your keys might feel a bit mushy, but they should still work fine. Now, this next part isn’t the most fun — you’ll need to pry with a screwdriver and break those pesky pegs off. Just work carefully until the pegs in that area snap, then continue moving down the board. Once that’s done, the board is free and ready for the next step! Also, you’ll notice a small epoxy blob that looks like the processor. You could melt it off if you really wanted to, but since the calculator still works perfectly, there’s no need. If anyone decides to do that, send me pics! I’m guessing the processor is some kind of proprietary chip or an old Texas Instruments secret.
Step 5
– Here we have a clean board—give those connectors a wipe if they’re looking a bit grimy or damp!
– Notice that tiny gray layer? It’s the magic that passes your button presses from the plastic to the circuit board. Feel free to peel it off for a quick clean. Almost there! For a detailed view, check out step 6 for an exploded diagram.
Step 6
Wow, that was pretty neat! Those tiny keycaps are delightful and unique! While most parts aren’t user-replaceable, you can definitely dry it off if it gets a little wet. Just snap everything back together, and you’re good to go! I’d rate this a solid 9/10 for repairability. There are only screws involved, but unfortunately, the screen isn’t replaceable.


