
Kindle Fire HD 8.9″ Headphone Input Replacement
Duration: 45 minutes
Steps: 8 Steps
Here’s a quick guide on how to replace the headphone input on your Kindle Fire HD 8.9″. It’s easier than it sounds, and we’ll walk you through it step by step. No sweat! If you need help, you can always schedule a repair.
Step 1


Heads up! Keep the rear cover close, but don’t go all the way. There are two super delicate flex cables tying the display assembly to the motherboard.
Ensure that the notch on your trusty plastic opening tool is pointing towards the back of your Kindle. You’ve got this!
– Grab yourself a big ol’ plastic opening tool and carefully slide it next to the headphone jack on your Kindle. No rush—steady hands, my friend!
– Work that opening tool smoothly all around the edges of your Kindle. You’re gently separating the two halves, so keep it even and take your time.
Step 2

Keep the Kindle open at a 90-degree angle while disconnecting the display assembly to avoid putting stress on the delicate flex cables. And hey, let’s keep it flat while taking these images to ensure everything stays in place!
– Place the Kindle flat on its back case, making sure it’s nice and comfy.
– Gently grab the display assembly near the camera and slowly open it up to about a 90-degree angle from the back case. Take it easy—no need to rush!
Step 3
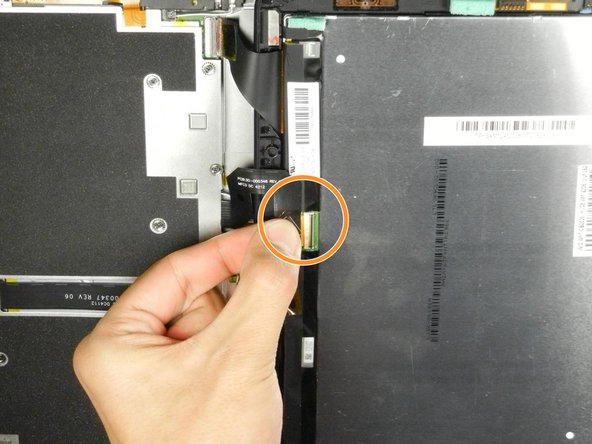

This flex cable is super delicate—treat it like it’s made of gold! Keep it smooth and steady; no creases or bends allowed.
– Gently lift the retaining flap on the ZIF connector for the upper flex cable.
– Carefully wiggle and slide the cable out of its socket.
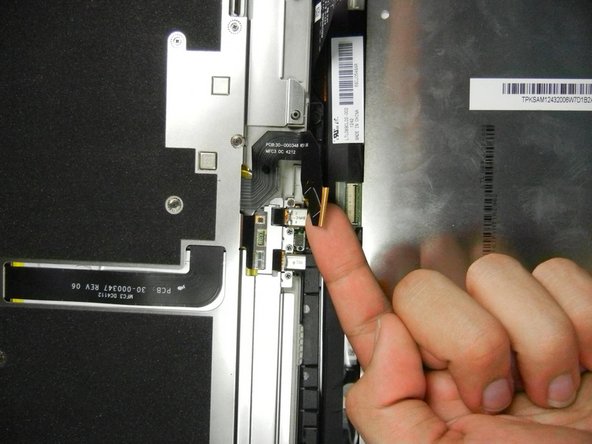
Step 4

When putting the device back together, make sure the two halves of the case line up perfectly before hooking up those flex cables—patience is key, and alignment is everything!
– Carefully detach the display assembly from the rest of the device.
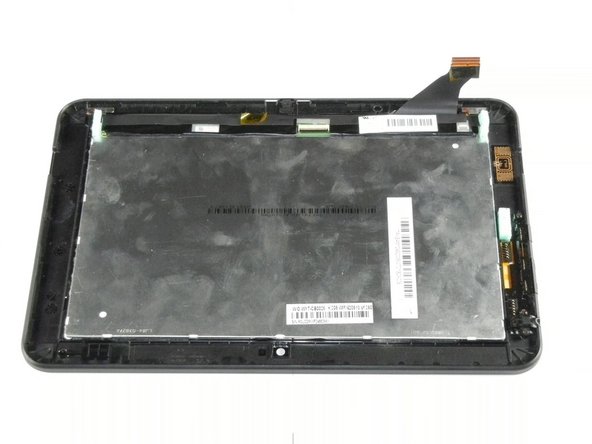
Step 5

– Let’s get started by finding the headphone input on your device’s case. It’s time to track down that pesky audio jack!
Step 6

– Let’s get started! Remove the three 2.7mm Phillips #0 screws from the left and right sides of the headphone input. This is the first step in getting your device up and running again.
Step 7

Hey there! Just a heads-up: this metal casing is where the power and volume buttons hang out. So, while you’re diving into the headphone input, keep an eye on those little buttons! We wouldn’t want them to wander off on their own.
– Hold onto the metal casing that covers the headphone jack—nice and easy now, no need to Hulk smash it—and lift it up gently.
– The power and volume buttons are marked in the first picture—easy to spot, right?
Step 8

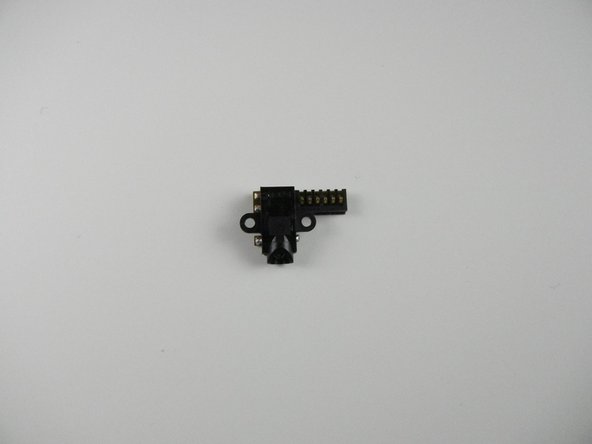
– Gently wiggle and lift the headphone jack straight out of its spot—like you’re plucking a delicate flower from a garden.