Samsung Galaxy Tab S7 Plus Fingerprint Sensor Replacement
Duration: 45 minutes
Steps: 23 Steps
Heads up! The display panel is pretty delicate, and there’s a good chance it could break during this step. Proceed with care!
Ready to swap out the fingerprint sensor on your Samsung Galaxy Tab S7+? Heads up—this step involves working near a display that’s both delicate and a bit dramatic (it cracks under pressure). Warm things up thoroughly and take your time with the prying to keep the screen safe. You’ll need fresh adhesive to wrap things up. If things get tricky, you can always schedule a repair.
Step 1

Make sure your device is fully powered down before you dive in.
The display adhesive on the Galaxy Tab S7+ really means business—you’ll probably need to warm things up with the iOpener more than once before and during the display removal.
A hair dryer, heat gun, or hot plate works too, just be sure not to let your device get too toasty.
– Place a heated iOpener along the bottom edge of the device to soften the adhesive underneath. This will make it easier to lift the panel without any fuss. If you need help, you can always schedule a repair.
Tools Used

Step 2


Hey there! Be gentle with the pick—don’t go more than 2mm for the circuit board, and keep it under 3mm when working on the display. Taking it slow helps avoid any damage. If you need a hand, you can always schedule a repair.
– While the adhesive is softening up, keep these tips in mind:
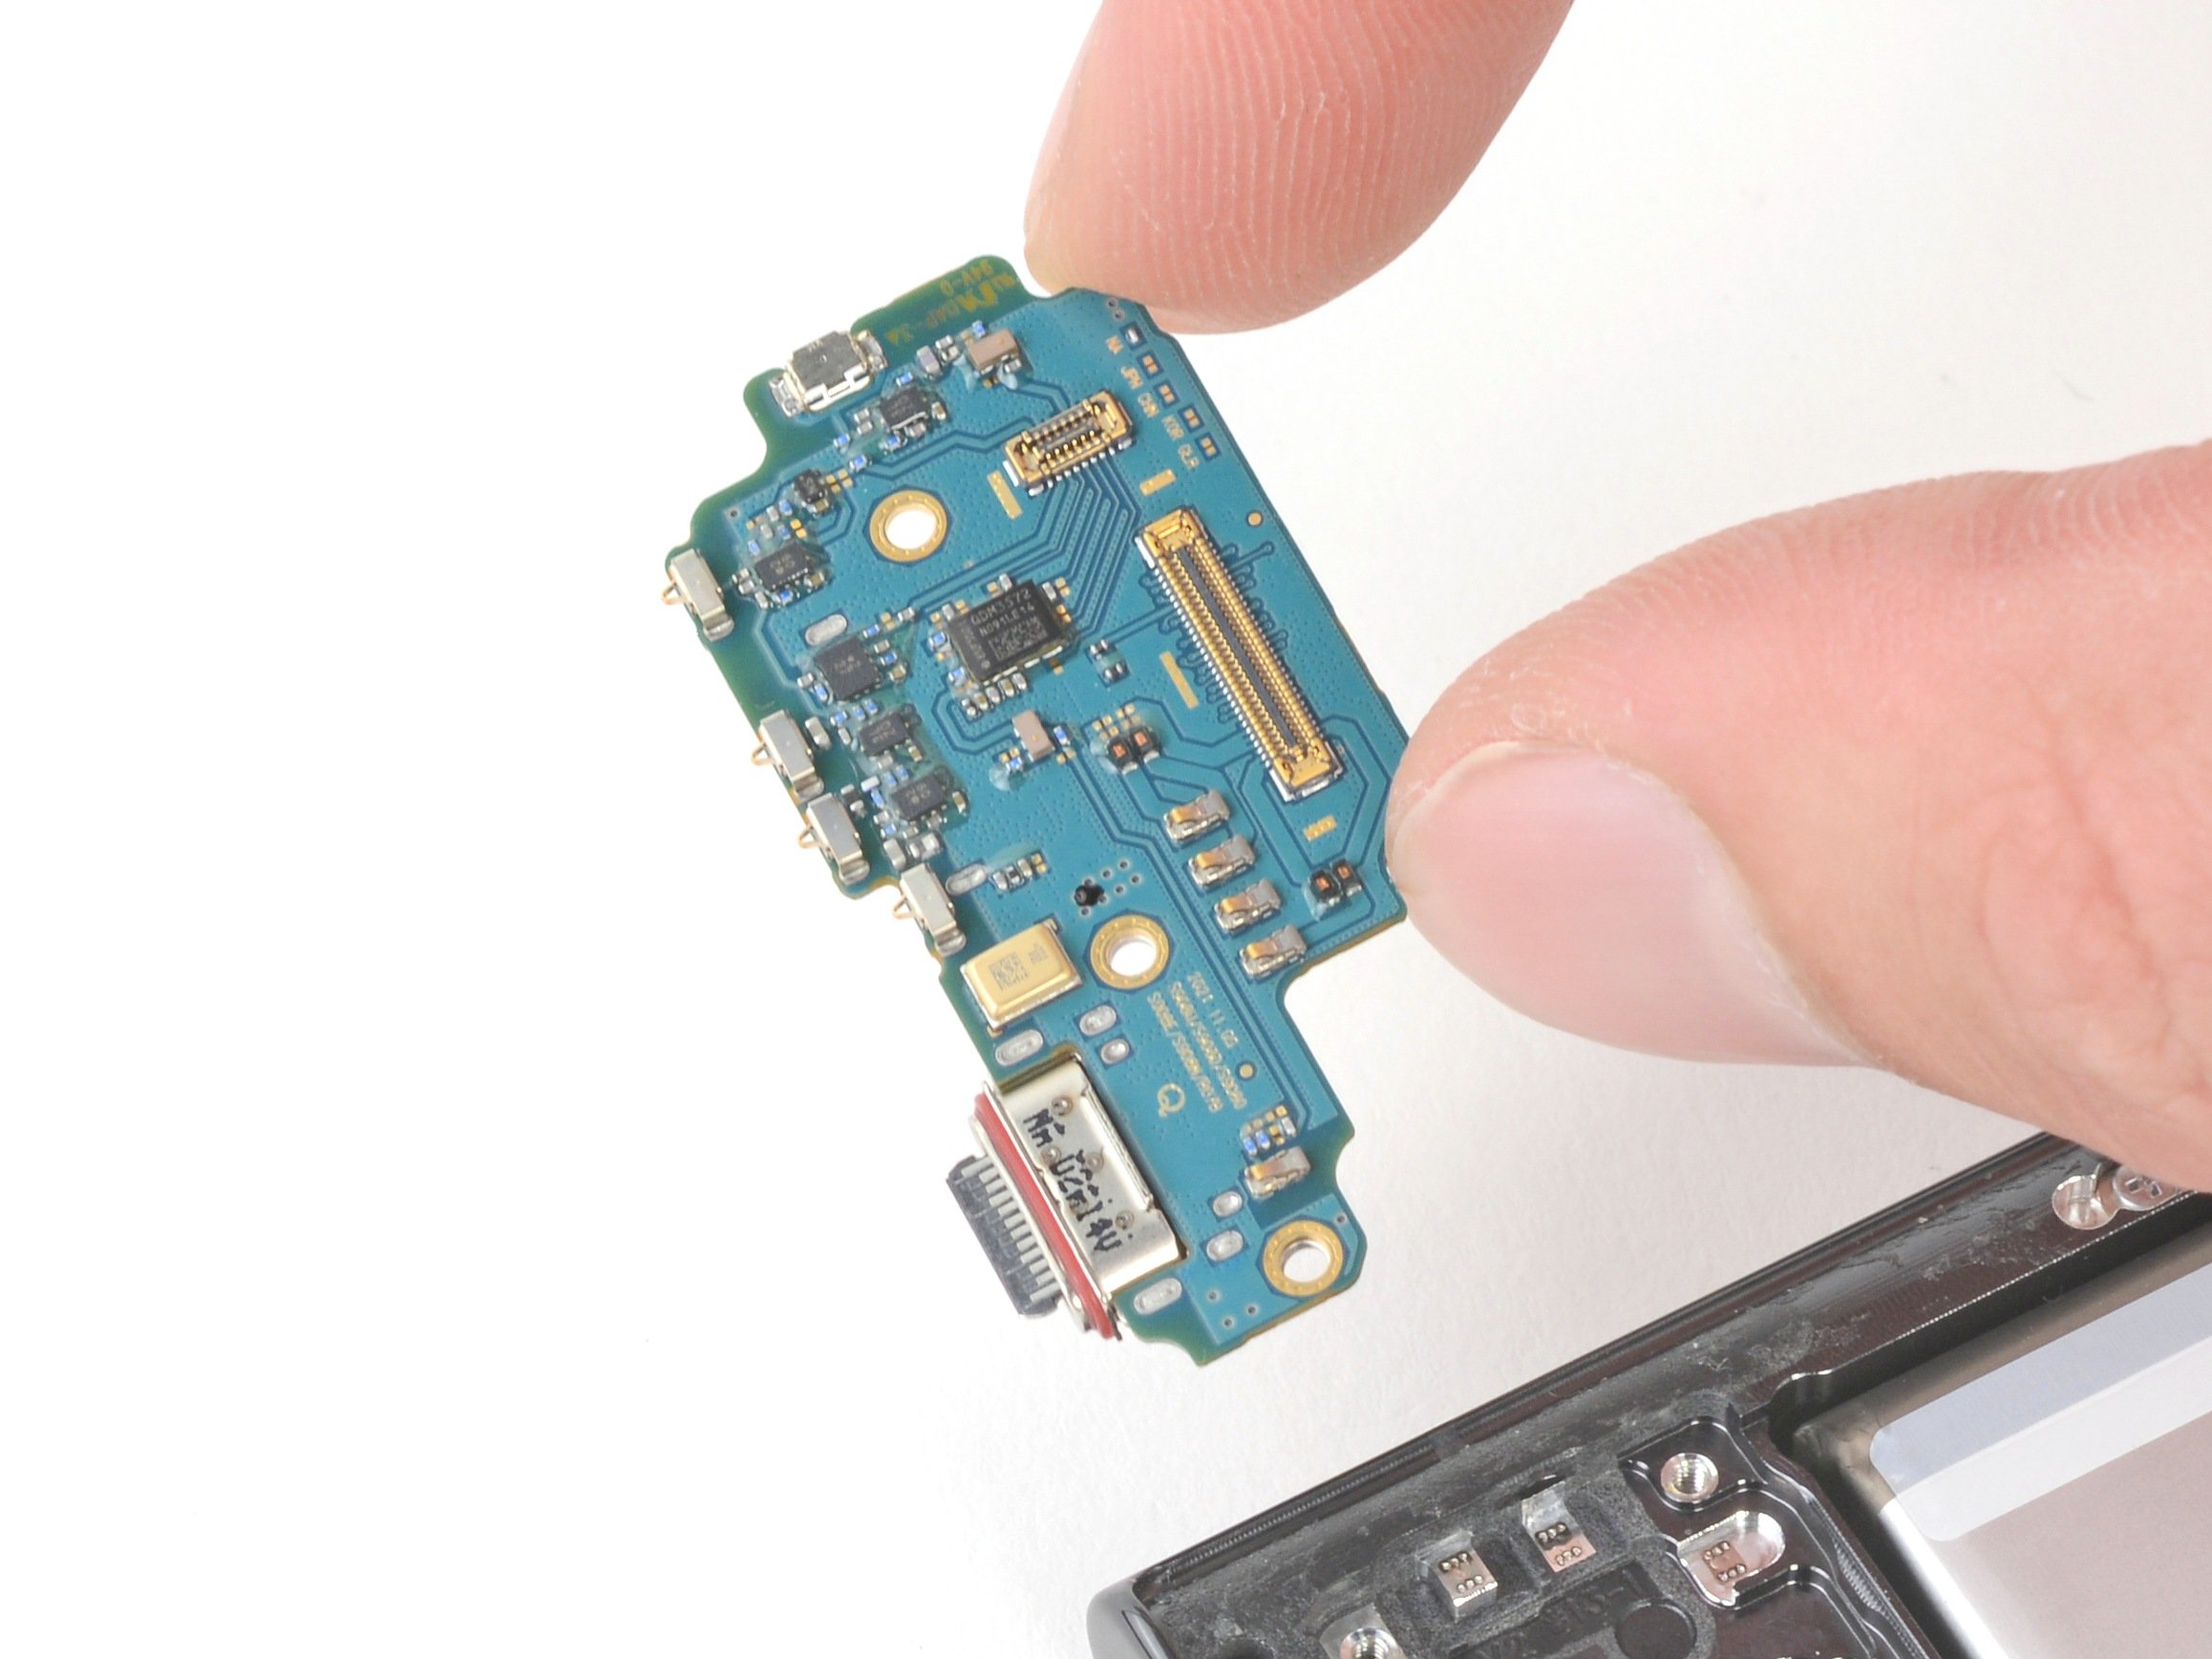
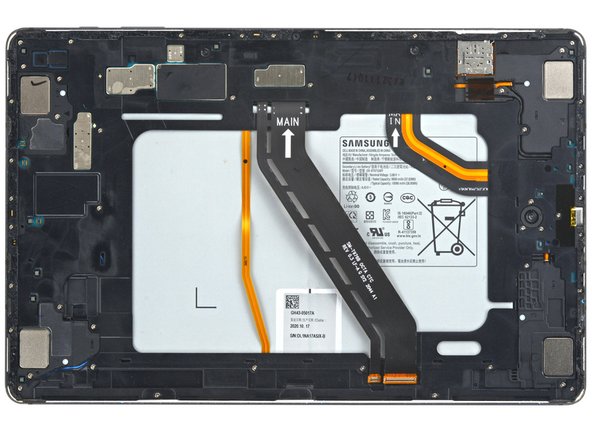
– A long circuit board runs along the bottom edge, sitting parallel to the display.
– This picture shows what it looks like when the display starts to separate from the glass panel.
Step 3


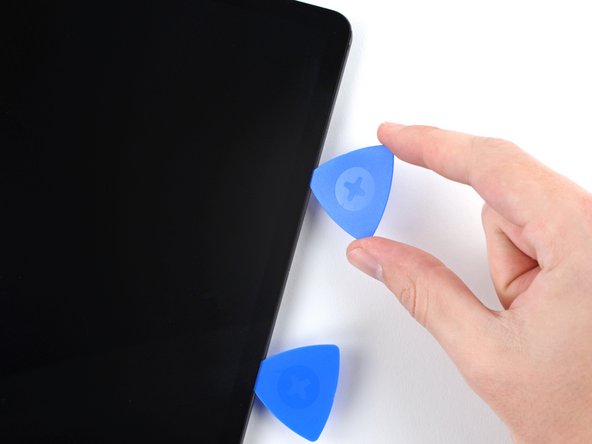
– Once the screen feels warm to the touch, stick a suction cup near the bottom edge of the screen, keeping it as close to the edge as possible. Gently pull on the suction cup to create a small gap between the screen and the frame. Carefully insert an opening pick into this gap to help separate the screen from the frame. Leave the pick in place to prevent the adhesive from sealing back up. If you need help along the way, you can always schedule a repair.
Hey, be gentle! Don’t insert the pick more than 2 mm to keep that circuit board happy and safe. If you need help, you can always schedule a repair.
If your screen looks like it’s been through a blender, slap on some clear packing tape to help the suction cup stick. No packing tape? Heavy-duty tape works too. Worst case, you can even superglue the suction cup onto the glass—just be gentle when you pry it off later!
Tools Used

Step 4


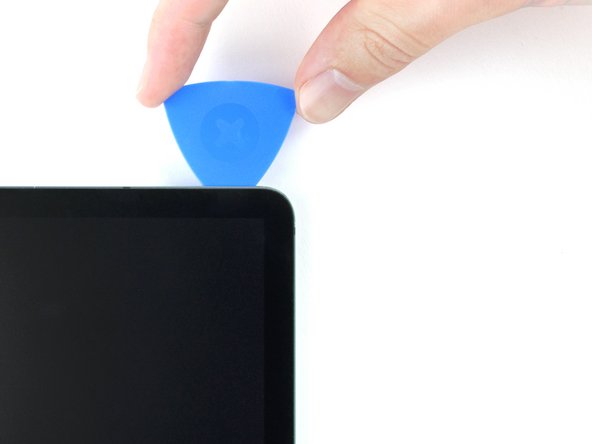
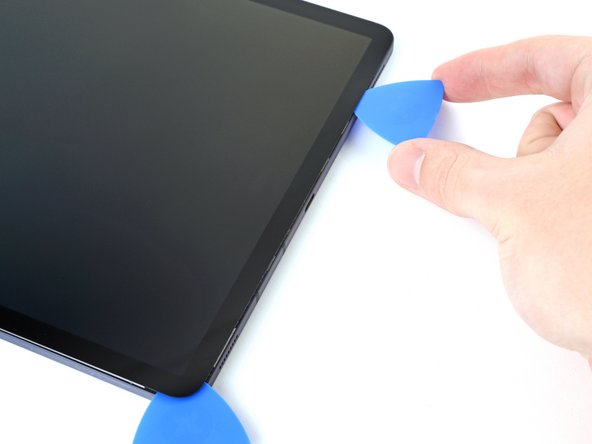
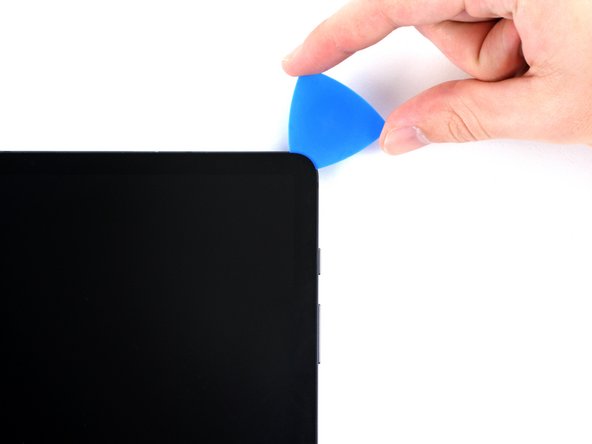
– Gently insert a new opening pick into the gap you just made, like you’re giving it a little nudge.
– Then, slide that pick along the bottom edge of the device, heading towards the bottom-right corner—smooth and steady wins the race.
Step 5

– Warm up your trusty iOpener and place it against the right edge of the device. This will help loosen the adhesive lurking underneath, making your repair journey smoother.
Tools Used
Step 6


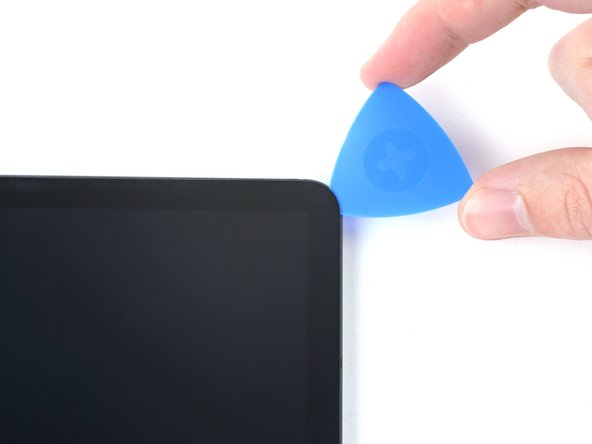
– Gently rotate your opening pick around the bottom-right corner of the device to loosen the adhesive.
– Keep the opening pick in place to hold the adhesive apart and prevent it from sealing back up.
Step 7


Be careful not to insert the pick more than 3 mm—going beyond that could put the components along the right edge at risk. Take it slow and steady!
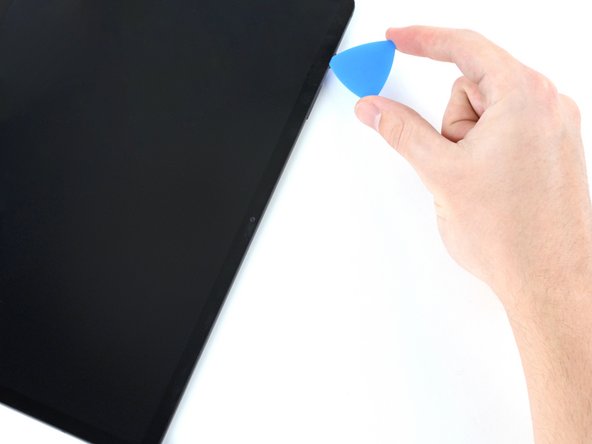
– Gently slip a new opening pick into the gap you just created — think of it as your secret handshake with the device.
– Slide that pick along the right edge, heading towards the top-right corner, keeping the momentum smooth and steady.
Step 8

– Warm up that iOpener and gently press it against the top edge of your device. This will help loosen up the adhesive hiding underneath, making your repair journey smoother.
Tools Used
Step 9


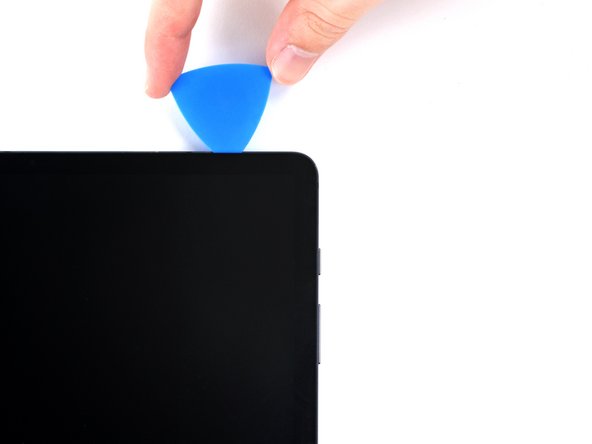
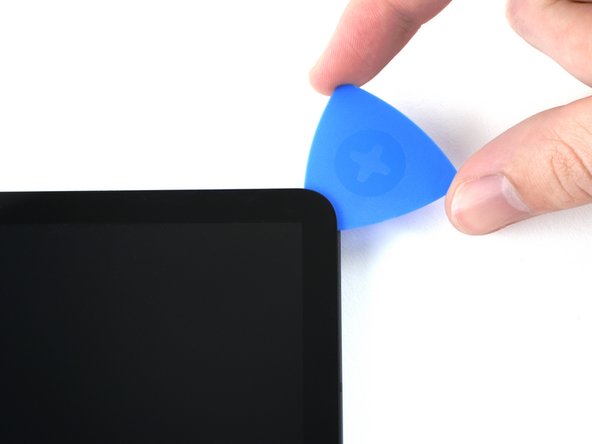
– Gently glide the opening pick around the top-right corner of your device. Take your time, it’ll thank you later.
– Once it’s in place, leave the pick there for now. We don’t want that adhesive to go and seal itself back up on you!
Step 10


– Place a fresh opening pick into the gap you made earlier.
– Gently slide the pick along the top edge of the device, heading toward the top-left corner.
Step 11

– Heat up an iOpener and apply it to the left edge of your device. This will help loosen the adhesive underneath, making things easier for you.
Tools Used
Step 12

– Swing the opening pick around the top-left corner like you’re tracing the edge of a vinyl record.
– Let that pick chill right there—it’ll stop the adhesive from making a comeback.
Step 13


– Place a fresh opening pick into the gap you’ve created.
– Gently glide the pick along the left side of your device, heading towards the bottom-left corner.
Step 14


Alright, at this stage, the screen’s edges should be free from the frame. If you’re feeling a bit of pushback around the screen’s boundaries, grab that trusty opening pick and give the adhesive another gentle nudge.
– Swing that opening pick around the bottom-left corner like you’re drawing a smile.
– Keep the pick in place so the adhesive doesn’t get any sneaky ideas about sticking back together.
Step 15


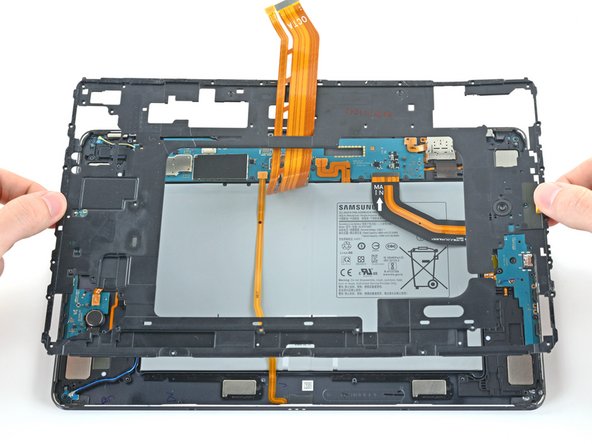
Hold off on pulling the screen all the way out just yet; it’s still hanging in there with a flex cable connection. And be gentle—twisting or yanking the screen too far from the frame could snap that flex cable, and nobody wants that.
– To start, gently lift the top of the device’s screen, opening it like you’re flipping through a book—careful not to rush!
– Lay the screen face down and keep it parallel to the frame before you move on.
– When you’re ready to reassemble, here’s a handy tip: power on your tablet and give all functions a quick test to make sure everything’s working smoothly before sealing it back up.
– Take your tweezers or fingers and carefully remove any leftover bits of adhesive. For stubborn residue, a wipe with high-concentration (over 90%) isopropyl alcohol will do the trick.
– If you’re using custom-cut adhesives, be sure to follow the specific guide for those. If double-sided tape is your choice, follow its corresponding instructions.
Tools Used

Step 16

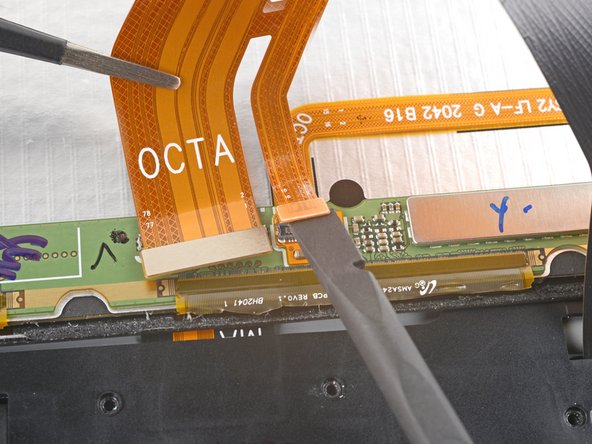
– Grab that trusty spudger and gently pry up to disconnect the display cable’s press connector that’s cozied up to the screen.
– When it’s time to reconnect those press connectors, just line them up carefully and press down on one side until you hear that satisfying click. Then do the same on the other side—easy peasy! Just remember, avoid pressing in the middle. If things get misaligned, the pins might bend and that could lead to some serious trouble. If you need help, you can always schedule a repair.
Tools Used

Step 17

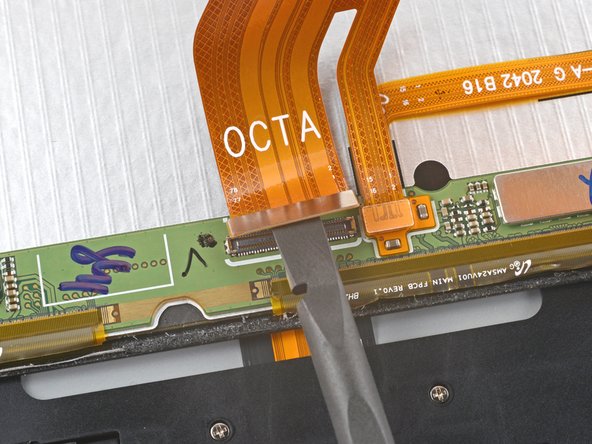
– Grab some tweezers, or use your fingers, to gently hold the display cable in place.
– Take the flat end of your spudger and carefully lift the fingerprint sensor’s press connector off the display cable.
– Remember how the display cable sits – you’ll want to bend it the same way when hooking up a new screen.
Step 18


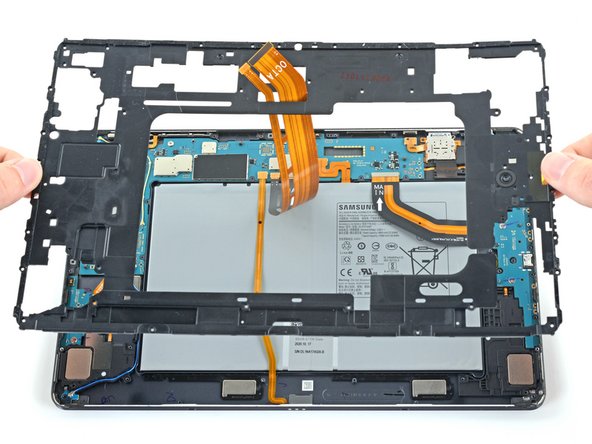
– Gently pry the screen away from the frame, like you’re peeling an orange—smooth and easy does it!
Step 19


– Grab a Phillips #00 screwdriver and get ready to remove fifty 3mm-long screws that hold the frame bracket to the frame. The third photo shows these screws marked by quadrant—use it during reassembly to keep track of everything: Bottom-left = 9 screws, Bottom-right = 14 screws, Top-right = 12 screws, Top-left = 15 screws. Take your time and stay organized. If you need help, you can always schedule a repair.
Tools Used

Step 20

– Carefully lift the frame bracket away from the main frame, making sure to gently guide the display cable through its socket. Take your time—no rush!
Step 21

The fingerprint sensor and its copper connector pads are attached to the frame bracket with adhesive.
The adhesive on the fingerprint sensor is pretty solid, so you might need to use the iOpener a few times to help loosen it up during removal.
– Apply a heated iOpener to the left edge of the frame bracket to loosen the fingerprint sensor’s adhesive.
Tools Used
Step 22

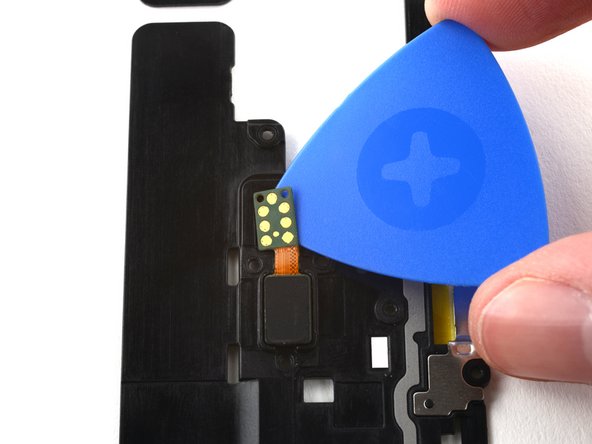
The frame bracket is pretty fragile—hold it steady as you work to keep it from cracking or snapping.
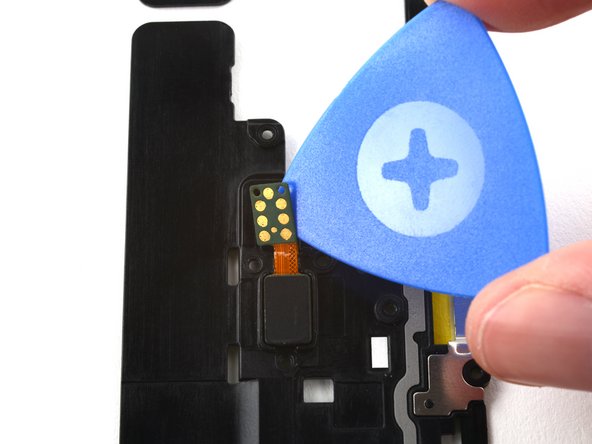
– Begin by carefully inserting an opening pick between the fingerprint sensor’s copper connector pads and the frame bracket.
– Next, use the pick to gently slice through the adhesive, working your way under the pads to separate them from the frame bracket.
Step 23


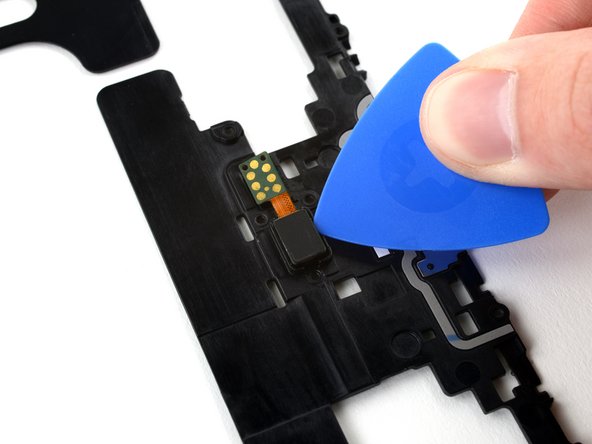
– Slide an opening pick into the gap between the frame bracket and the fingerprint sensor to get things started.
– Gently pry up with the pick to loosen the fingerprint sensor from the frame bracket.
– Carefully remove the fingerprint sensor using tweezers or your fingers—be gentle and steady.