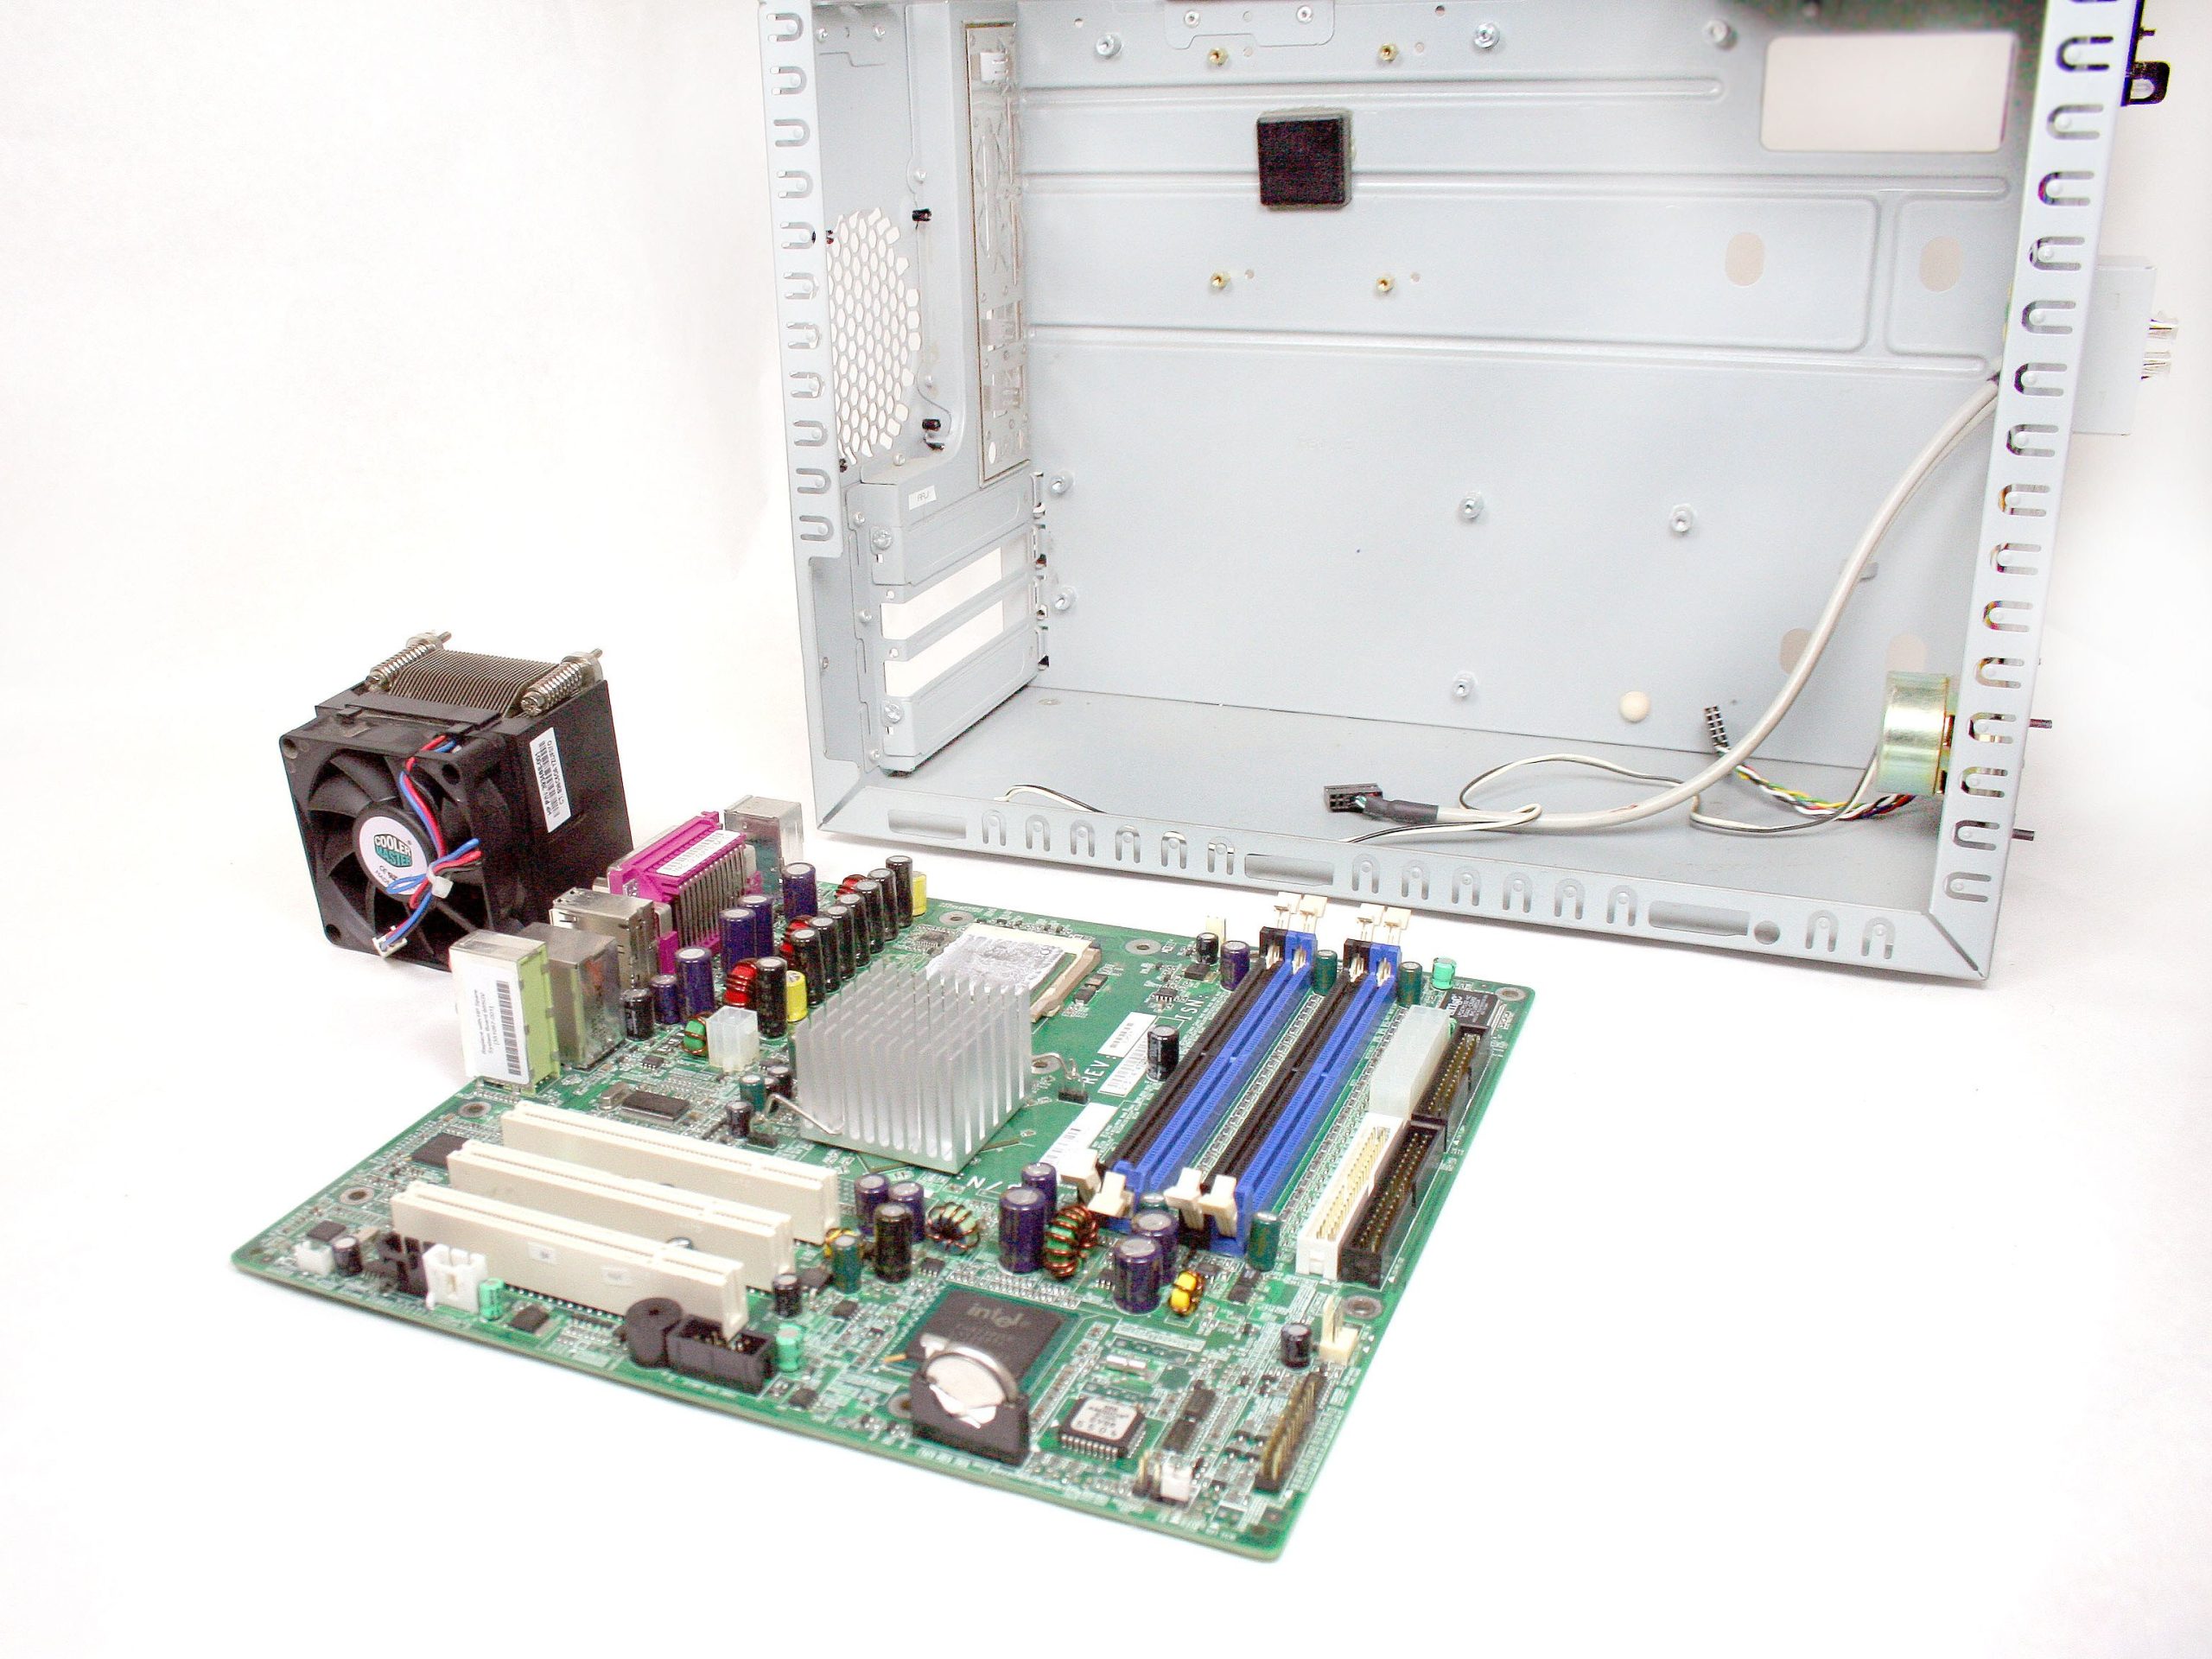
Removing HP Compaq dx2000MT Motherboard
Duration: 45 minutes
Steps: 37 Steps
Ready to dive in? We’re breaking down how to remove the motherboard from your HP Compaq dx2000MT without the drama. Follow along and you’ll have it out in no time!
Step 1
– Power down your computer, take a deep breath, and safely unplug the power cable by pulling it straight out of its socket. Easy does it!
Step 2
– Pop out those two Phillips #2 screws holding the case door in place—easy peasy!
Step 3
This might need a bit of muscle, so don’t hold back—just keep at it!
– Give the side case door a little push towards the back of the device with your hand. It should start to move, no sweat!
– Once it slides back, gently pull it outwards to completely remove it. Easy as that!
Step 4
Alright, brace yourself—this step might need a bit of muscle to get it done.
– Pop off the side case door by giving it a firm shove towards the back of the device—don’t be shy, it’s tougher than it looks!
– Once you’ve slid it back, pull it outward gently, and voilà, the door is off. Easy peasy!
Step 5
– Detach the IDE data cable and the power cable from the optical drive by gently tugging them straight away—nice and easy, no need to yank!
Step 6
– Let’s get started! Remove the 2 Torx T15 screws that are holding the optical drive in place. Take your time and make sure they’re completely out before moving on to the next step.
Step 7
– Take out the other two Torx T15 screws keeping the opposite side of the drive snug and secure.
Step 8
– Time to set that optical drive free! Gently slide it out of the device from the front. Nice and smooth, it should come out with ease.
Step 9
– Unplug the IDE data and power cables from the hard drive with a bit of flair—because you’re nailing it!
Step 10
– Gently lift the front bezel by pulling it upwards and away from the area just below the lowest air vent. You’re doing great!
Step 11
– Grab a Torx T15 screwdriver and unscrew the two little bolts holding on the faceplate of the external drive—then gently wiggle it off. Easy does it!
Step 12
– Alright, let’s get these screws out of the way! First up, tackle the Front Torx T15 screw.
– Next, go for the Torx T15 that’s holding the hard drive cage together with the optical drive bay. You’ve got this!
Step 13
– Slide the hard drive cage backward until it’s out of its slot, then give it a gentle tug downward to free it completely. Easy does it!
Step 14
– Unscrew the two Torx T15 screws that are keeping this side of the hard drive snug as a bug in a rug.
Step 15
– Head over to the other side of the hard drive cage.
– Take out the two Torx T15 screws holding this side of the hard drive snugly in place.
Step 16
– Slide the hard drive out of its cozy little cage by pulling it gently but firmly toward you. Easy peasy!
Step 17
– Gently disconnect the 3-prong power connector from the motherboard by pulling it towards the side of the device. Take it slow, and you’ll have it out in no time!
Step 18
– Take out the 4 push fasteners from the case by:
– Gently nudging them outward with a small flathead screwdriver, and
– Using tweezers or pliers to pull them free. Easy-peasy!
Tools Used
Step 19
– Gently pull the fan towards the front of the device to slide it out of the case.
Step 20
– Grab your trusty Torx T15 screwdriver and pop out the screw holding the PCI card snug in its spot. Easy peasy, right?
Step 21
Handle that card like a pro! Avoid touching the top or bottom—static electricity from your fingers can zap it. Stick to the metal bracket and edges, and you’ll be golden!
– Gently slide out the PCI card by pulling it sideways away from the device. Easy does it!
Step 22
– Let’s get that RAM released! Start by pushing down on the bottom tab to free the lower portion.
Step 23
– Pop the top of that RAM loose by giving the upper tab a gentle push down. Easy peasy!
Step 24
Watch out for those top (right) and bottom (left) sides of the RAM! Static electricity from your fingers could cause a short. If you can, try to only touch the edges of the RAM to stay safe.
Before swapping out your RAM, double-check it’s the right type, speed, and size for your computer. Otherwise, it might be a no-fit situation—or worse, your computer could refuse to power up. Play it smart!
– Gently pull the RAM out towards the side of the device to remove it. If you’re having trouble, take a deep breath and try again – it’s easier than you think!
Step 25
– Press down on the latch holding the 4-pin ATX power connector in place, then gently pull it out towards the side of the device. It should come off without too much resistance, so take your time and avoid forcing it.
Step 26
– To unhook the 20-pin ATX power connector from the motherboard, press down on the latch holding it in place and pull it to the side of the device. Don’t worry—you’re doing great!
Step 27
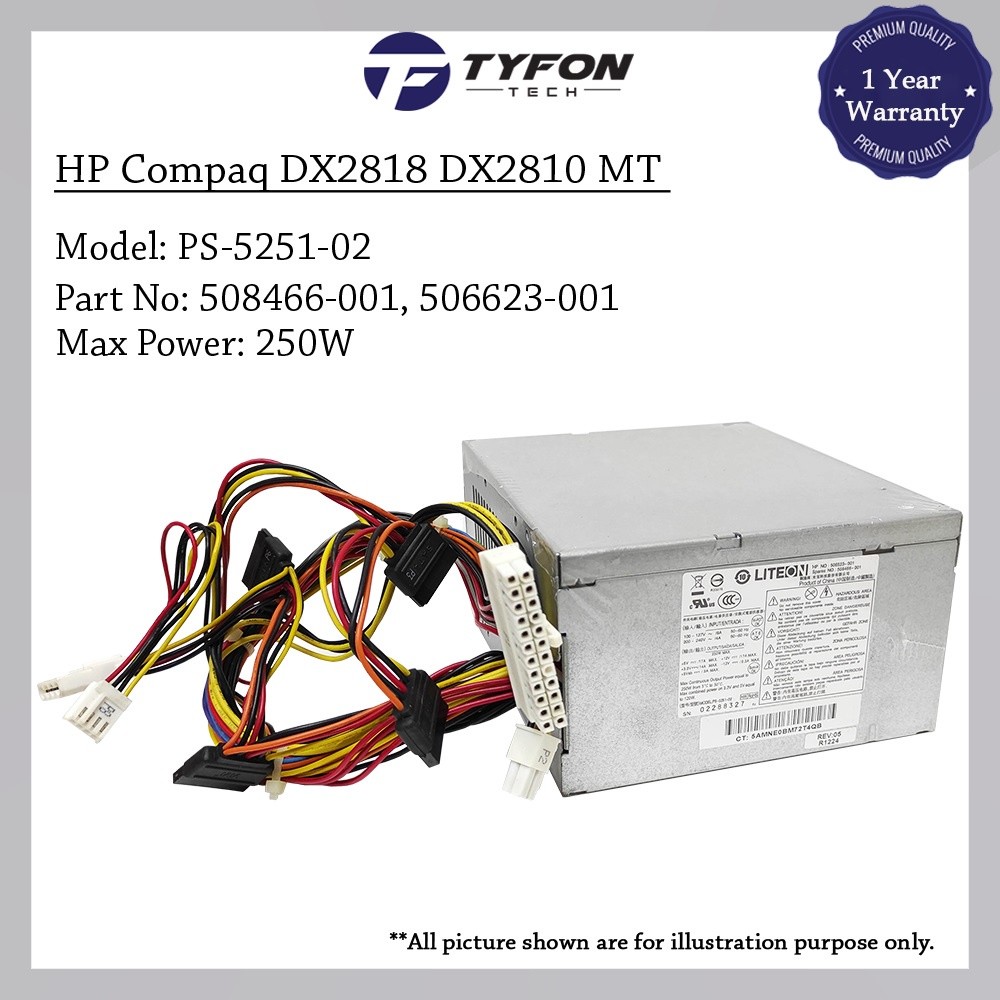
– Pop out those 4 Torx T15 screws hanging out at the back of the power supply. Easy peasy, right?
Step 28
Hold onto it tight! You definitely don’t want it slipping out of your hands!
– Time to set that power supply free! Carefully slide it towards the front of the device.
– Now, gently pull the power supply down and voila! It’s out of the case.
Step 29
– Gently unplug those IDE cables from the motherboard, sliding them out to the side with care—like you’re guiding a reluctant friend out of a party.
Step 30
– Gently pull out the 2-prong speaker connector towards the side of the device. It’s like giving it a little hug goodbye!
Step 31
– Gently detach the 16-pin connector from the motherboard by carefully pulling it out towards the side of the device.
Step 32
– Gently wiggle and pull the 14-pin USB connector out to the side of the device—like you’re unplugging your favorite gadget. Easy does it!
Step 33
– Unscrew the 8 Torx T15 screws holding down the motherboard—time to set those little rascals free!
Step 34
– Gently pull out the 3-pin power connector towards the side of your device – easy peasy!
Step 35
Hold onto your CPU cooler while you remove those screws! You don’t want it taking an unexpected dive.
– Grab your trusty screwdriver and carefully unscrew the 4 Torx T15 screws that are keeping the CPU Cooler locked in place. Take it slow, you’ve got this!
Step 36
Keep your hands off the spot where the CPU cooler touches the processor! You don’t want to mess up the thermal paste that keeps these parts working together smoothly.
When swapping out your CPU cooler, don’t forget to give the processor contact spots (on both the cooler and the processor) a nice cleanse using isopropyl rubbing alcohol—keep it clean, keep it cool!
– Carefully slide the CPU cooler out to the side of the device with a smooth pull.
– If you need to reapply thermal paste, we’ve got an awesome guide to make it a total breeze!
Step 37
– To put your device back together, just reverse these steps—it’s like hitting rewind!
– If you run into trouble, you can always schedule a repair.


