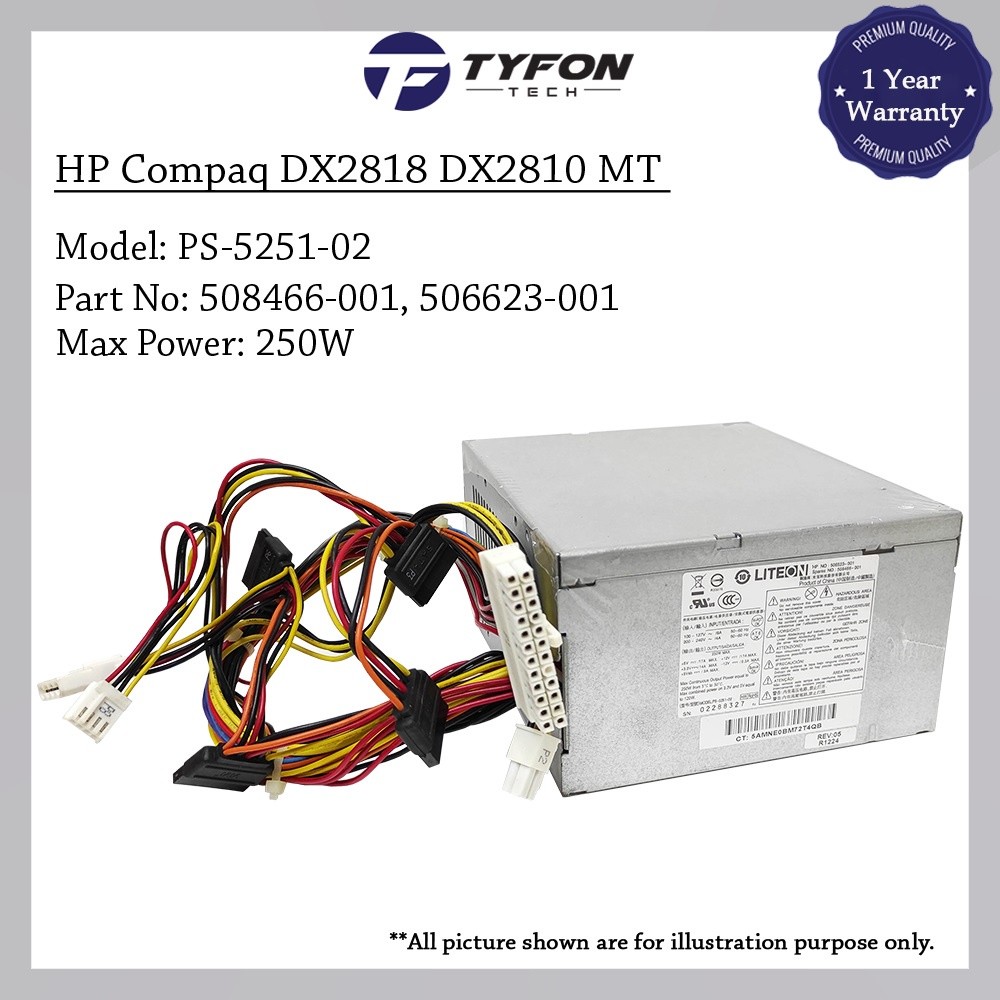
Removing HP Compaq dx2000MT Power Supply
Duration: 45 minutes
Steps: 8 Steps
Ready to get your hands dirty? We’ll walk you through how to remove the power supply on your HP Compaq dx2000MT. Follow these steps, and you’ll have it sorted in no time!
Step 1

– Power down your computer and unplug the power cord by pulling it straight out of the socket—no fancy moves, just a clean disconnect!
Step 2


– Let’s get started by removing the two Phillips #2 screws that hold the case door in place. Grab your trusty screwdriver and get ready to take the first step in fixing your device!
Step 3


This might require a bit of elbow grease, so just keep on pushing!
– Pop off the side case door by giving it a firm shove towards the back of the device—don’t be shy, it’s tougher than it looks!
– Once you’ve slid it back, pull it outward gently, and voilà, the door is off. Easy peasy!
Step 4


Hang tight—this might need a bit of muscle power!
– Slide off that side case door by giving it a nudge towards the back of the device—your hand is all you need here.
– Once it’s slid back, go ahead and pull the door outward from the device to set it free.
Step 5


– Unhook the 4-pin ATX power connector from the motherboard by pressing down the latch and giving it a gentle tug to the side of the device. Easy does it!
Step 6


– Pop that 20-pin ATX power connector off the motherboard by pressing the latch down, then give it a good pull to the side. Easy as pie!
Step 7


– Alright, grab your Torx T15 screwdriver and unscrew the 4 screws holding the back of the power supply. Easy peasy, right?
Step 8


Keep a hand underneath it—just in case! You definitely don’t want to see it take a tumble!
– Push that power supply gently forward—like you’re giving it a little nudge toward freedom.
– Now, tug it downward with purpose and finesse, and out it comes from the case!