Dell Latitude D630 Display Replacement
Duration: 45 minutes
Steps: 11 Steps
Introduction The display of a computer is a program that is in charge of projecting an image through the screen. there are two common type graphic images the (CRT) cathode ray tube, and the (LCD) liquid crystal diode. Displays usually include a screen or a projector to produce images. This Guide Will Teach You Were the display is connected in the laptop How to safely access the display and remove it Tools needed to remove the display
Step 1
Don’t worry if your laptop looks a bit different from the one in our pics – the palm rest might be attached to the battery case, or it might not. Either way, our steps will still guide you through the process with ease. If you need help, you can always schedule a repair
– Power down your computer, unplug it from all power sources, and make sure your laptop is closed up tight like a treasure chest with its latch clicked shut.
– Flip that laptop over so the bottom is facing you—it’s time to get down to business!
Step 2
– With your trusty index fingers, give those battery latches a gentle slide outwards.
– While you keep the latches held out, use your thumbs to nudge the battery towards you.
– Once the battery is free and clear, feel free to release the latches and take that battery out!
Step 3
– With the battery out of the way, flip the laptop over and open the lid all the way back, like you’re giving it a full stretch. 180 degrees should do the trick!
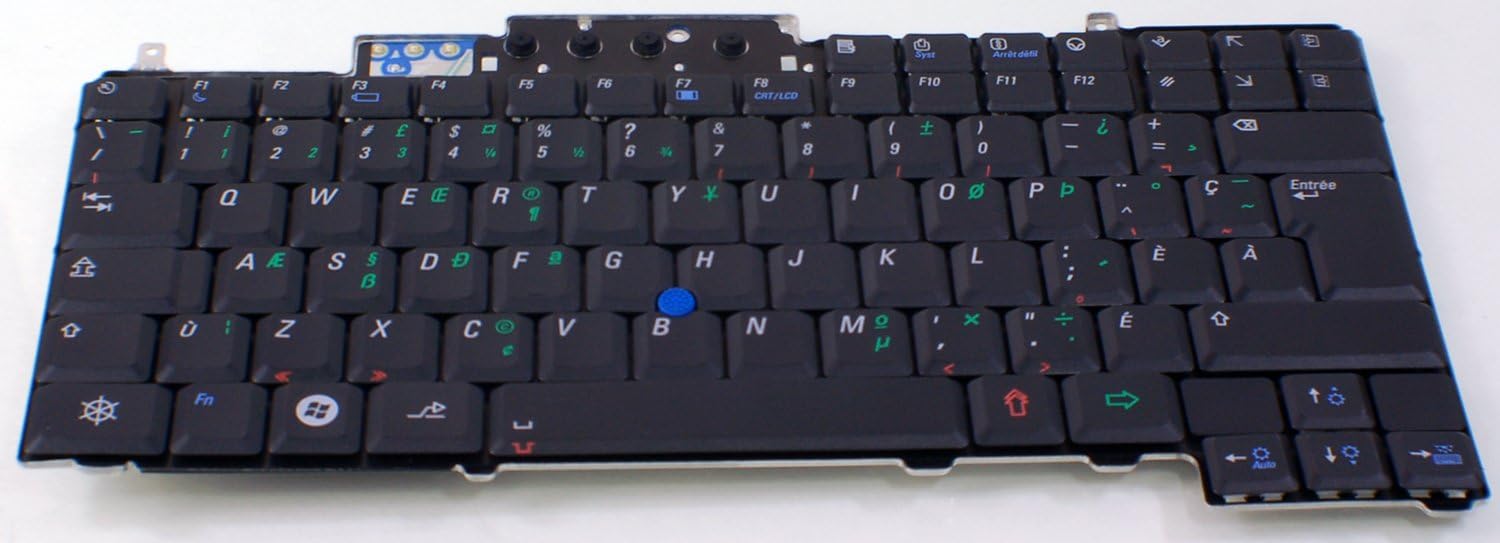
– Grab your trusty plastic opening tool and gently pry up the corner of the keyboard bezel, carefully releasing the tab that’s holding it in place.
– Now that the corner is free, use your hands to slowly but firmly lift the rest of the bezel, pulling it slightly up and toward you to release the remaining tabs. It’s like giving your laptop a little stretch—no need to rush!
Step 4
– Take out the three 3mm Phillips #0 screws holding the keyboard in place. You’ve got this!
Step 5
Take it easy when folding the keyboard over! It’s still connected to the motherboard with a little ribbon cable, so give it some love and don’t yank it too hard or too far.
– Time to get this keyboard back in its happy place! Carefully lift it up and gently fold it back onto the touchpad.
Step 6
– Grab a trusty plastic opening tool and gently pop open that blue latch holding the keyboard cable in place—easy does it!
– Now, give that blue tab a friendly tug and slide the keyboard cable connector right out of its spot on the motherboard. Nice and smooth!
Step 7
– Gently pull on the blue tab to disconnect the display’s ribbon cable. Easy does it!
– As you trace the cable back toward the display, use the spudger to carefully unhook the cable from the body tabs. Take your time and keep it smooth.
Tools Used
Step 8
– Grab your trusty spudger and carefully peel away the 6 circular rubber pads from the display. Once you’ve revealed those sneaky bezel screws hiding underneath, set those rubber pads aside in a labeled container—let’s keep things organized!
– Just a heads up: don’t touch those two longer pads on the left and right side of the bezel; they’re just there to look pretty and don’t have any screws lurking underneath!
Tools Used
Step 9
– Grab your Phillips #0 screwdriver and get ready for some screw-loosening action! Twist out the six M2.5-5mm screws from the bezel and keep them safe in a labeled container so they don’t go off on their own adventure.
Tools Used
Step 10
Starting at the top near the laptop’s latch is a smart move, then work your way down both sides—it’s smooth sailing from there!
– Grab your trusty spudger and gently nudge the bezel away from the laptop. Start by slipping the spudger into the tiny gap that separates the two screen pieces along the edge. Take your time and slide it carefully along this opening until the screen feels free and ready to be lifted off!
Tools Used
Step 11
If you’re working on replacing the touchpad or speaker, you can skip this step – you’re ahead of the game!
– Start by unscrewing the 8 screws (M2-3mm) shown in the image. Keep them safe in a labeled container since they’re not the same as the bezel screws.
– Just a heads up—these screws stay put, so don’t try to remove them!


