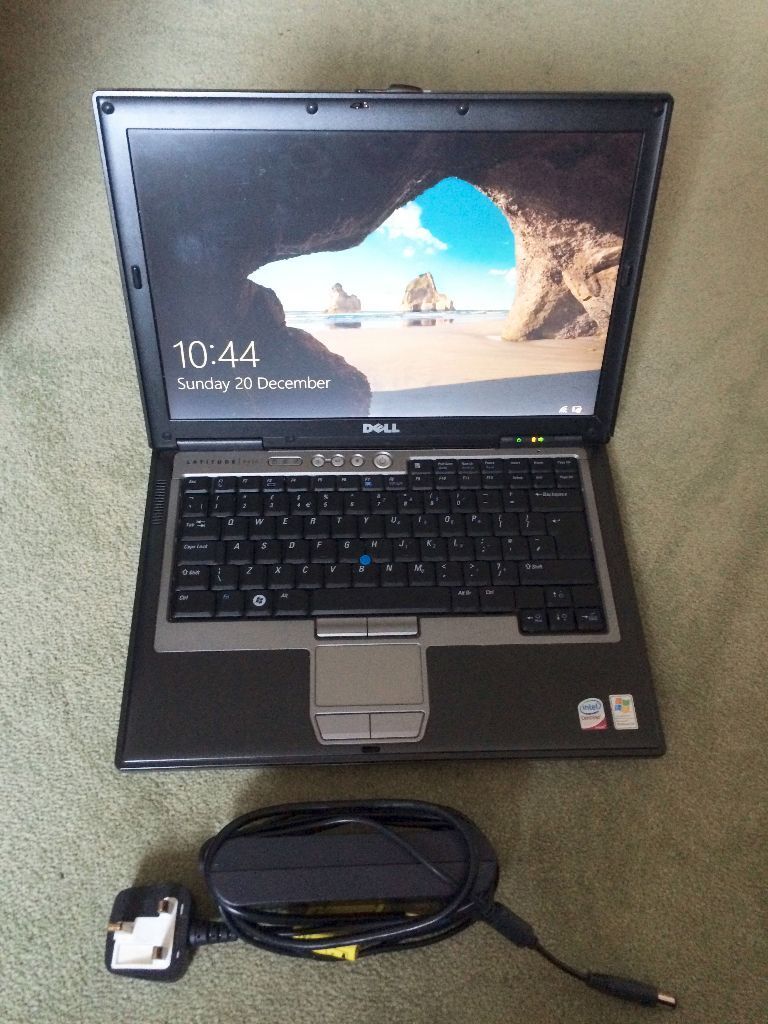
Dell Latitude D630 RAM (Slot A) Replacement
Duration: 45 minutes
Steps: 9 Steps
Ready to give your Dell Latitude D630 a little memory boost? This guide will walk you through upgrading or swapping out the RAM—your laptop’s short-term memory powerhouse. When RAM goes bad or just isn’t enough, it can make your laptop feel like it’s wading through molasses. Let’s fix that and get your computer back to running smooth and snappy!
Step 1
The laptop you’re working on may have a palm rest attached to the battery case, like the one shown here. However, don’t worry if yours doesn’t – the steps will be exactly the same either way. We’ve got you covered!
– First things first, power down your laptop and unplug it from any outlets. Make sure it’s closed up tight with the latch secured—no peeking allowed!
– Now, flip that laptop over so we can work on its underbelly.
Step 2
– With your trusty index fingers, give those battery latches a gentle slide outwards.
– While you keep the latches held out, use your thumbs to nudge the battery towards you.
– Once the battery is free and clear, feel free to release the latches and take that battery out!
Step 3
– Pop out the battery and flip the laptop over so it’s face up. Open that lid all the way—let’s go full 180 degrees here for maximum access.
– Grab your trusty plastic opening tool and gently pry up one corner of the keyboard bezel. You’re just tackling that first tab—easy peasy!
– Once the corner is loose, use your hands to carefully and confidently lift the rest of the bezel. Pull it up and toward yourself with steady pressure to release those remaining tabs. You’ve got this!
Step 4
– Take out the three 3mm Phillips #0 screws holding the keyboard in place. You’ve got this!
Step 5
Be careful not to pull too hard or too far when folding over the keyboard. The keyboard is still connected to the motherboard by a short ribbon cable.
– Gently lift the keyboard and fold it back onto the touchpad, like tucking in a cozy blanket.
Step 6
– Grab your trusty plastic opening tool and gently pop the blue latch that keeps the keyboard cable snug and secure.
– Now, with a little help from the blue tab, smoothly pull the keyboard cable connector out from its cozy spot on the motherboard.
Step 7
– Alright, time to roll up your sleeves! Spot the captive screw in the picture (left side, yep, that one) and unscrew it to free the panel. Easy breezy!
Step 8
– Give those latches a little push with your fingers to free the RAM from its cozy home.
– At this point, the RAM should pop up at an angle, ready to be carefully lifted out.
Step 9
– Give the latches holding the RAM a little nudge with your fingers to loosen them up.
– Once the RAM pops up at an angle, you’re good to go—gently lift it out and move on to the next step.


