ASUS Eee Pad Transformer Back Panel Replacement
Duration: 45 minutes
Steps: 6 Steps
Fixing up a broken back panel is key to keeping your tablet safe and sound! This trusty panel is like armor for all the important bits inside, and it needs to stay in good shape to avoid any serious damage. Plus, popping it off gives you access to everything under the hood—a must-do for tackling any repair on your TF101 Tablet.
Step 1
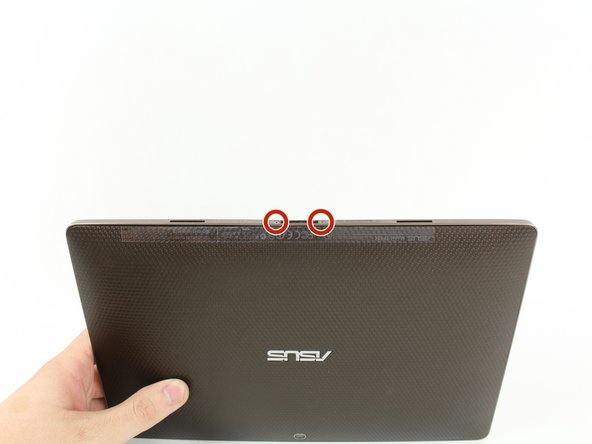
– Let’s get started! Use a T5 Torx Screwdriver to carefully remove the two 4.5 millimeter T5 screws located on either side of the port at the bottom of your tablet. Take your time and make sure they’re completely removed before moving on to the next step.
Tools Used
Step 2
The physical buttons chill out on the outer rim, right side. Keep cruising through the guide to uncover those hidden internal buttons.
– Grab your trusty Plastic Opening Tool and gently work it along the gap between the main body of the tablet and its outer rim casing. As you go, pry all the way around like you’re opening a secret treasure chest, then lift the rim casing up and off—voila!
Step 3
– Start by unscrewing the four tiny 2mm Phillips #00 screws located at the corners of the tablet. They’re small, but don’t worry—you’ve got this!
Step 4
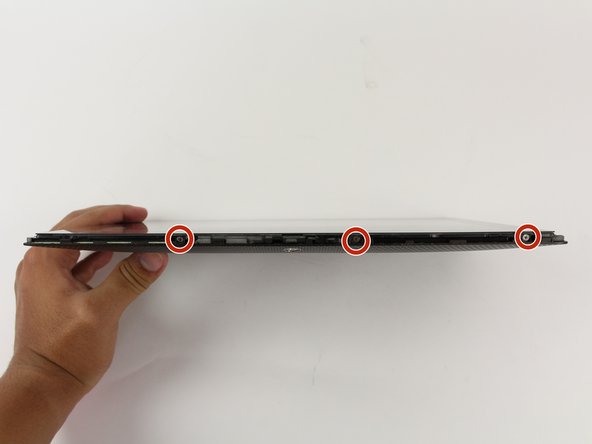
– Grab a Phillips #00 screwdriver and carefully remove the three 3mm screws securing the front panel to the back panel. These screws are located right above the camera area, on the top part of your tablet. Easy does it!
Tools Used
Step 5
– Grab your trusty Phillips #00 screwdriver and get ready to unscrew the three 3mm screws that are holding the front panel to the back panel. You’ll find them at the bottom of the tablet, right near the port. Easy peasy!
Tools Used
Step 6
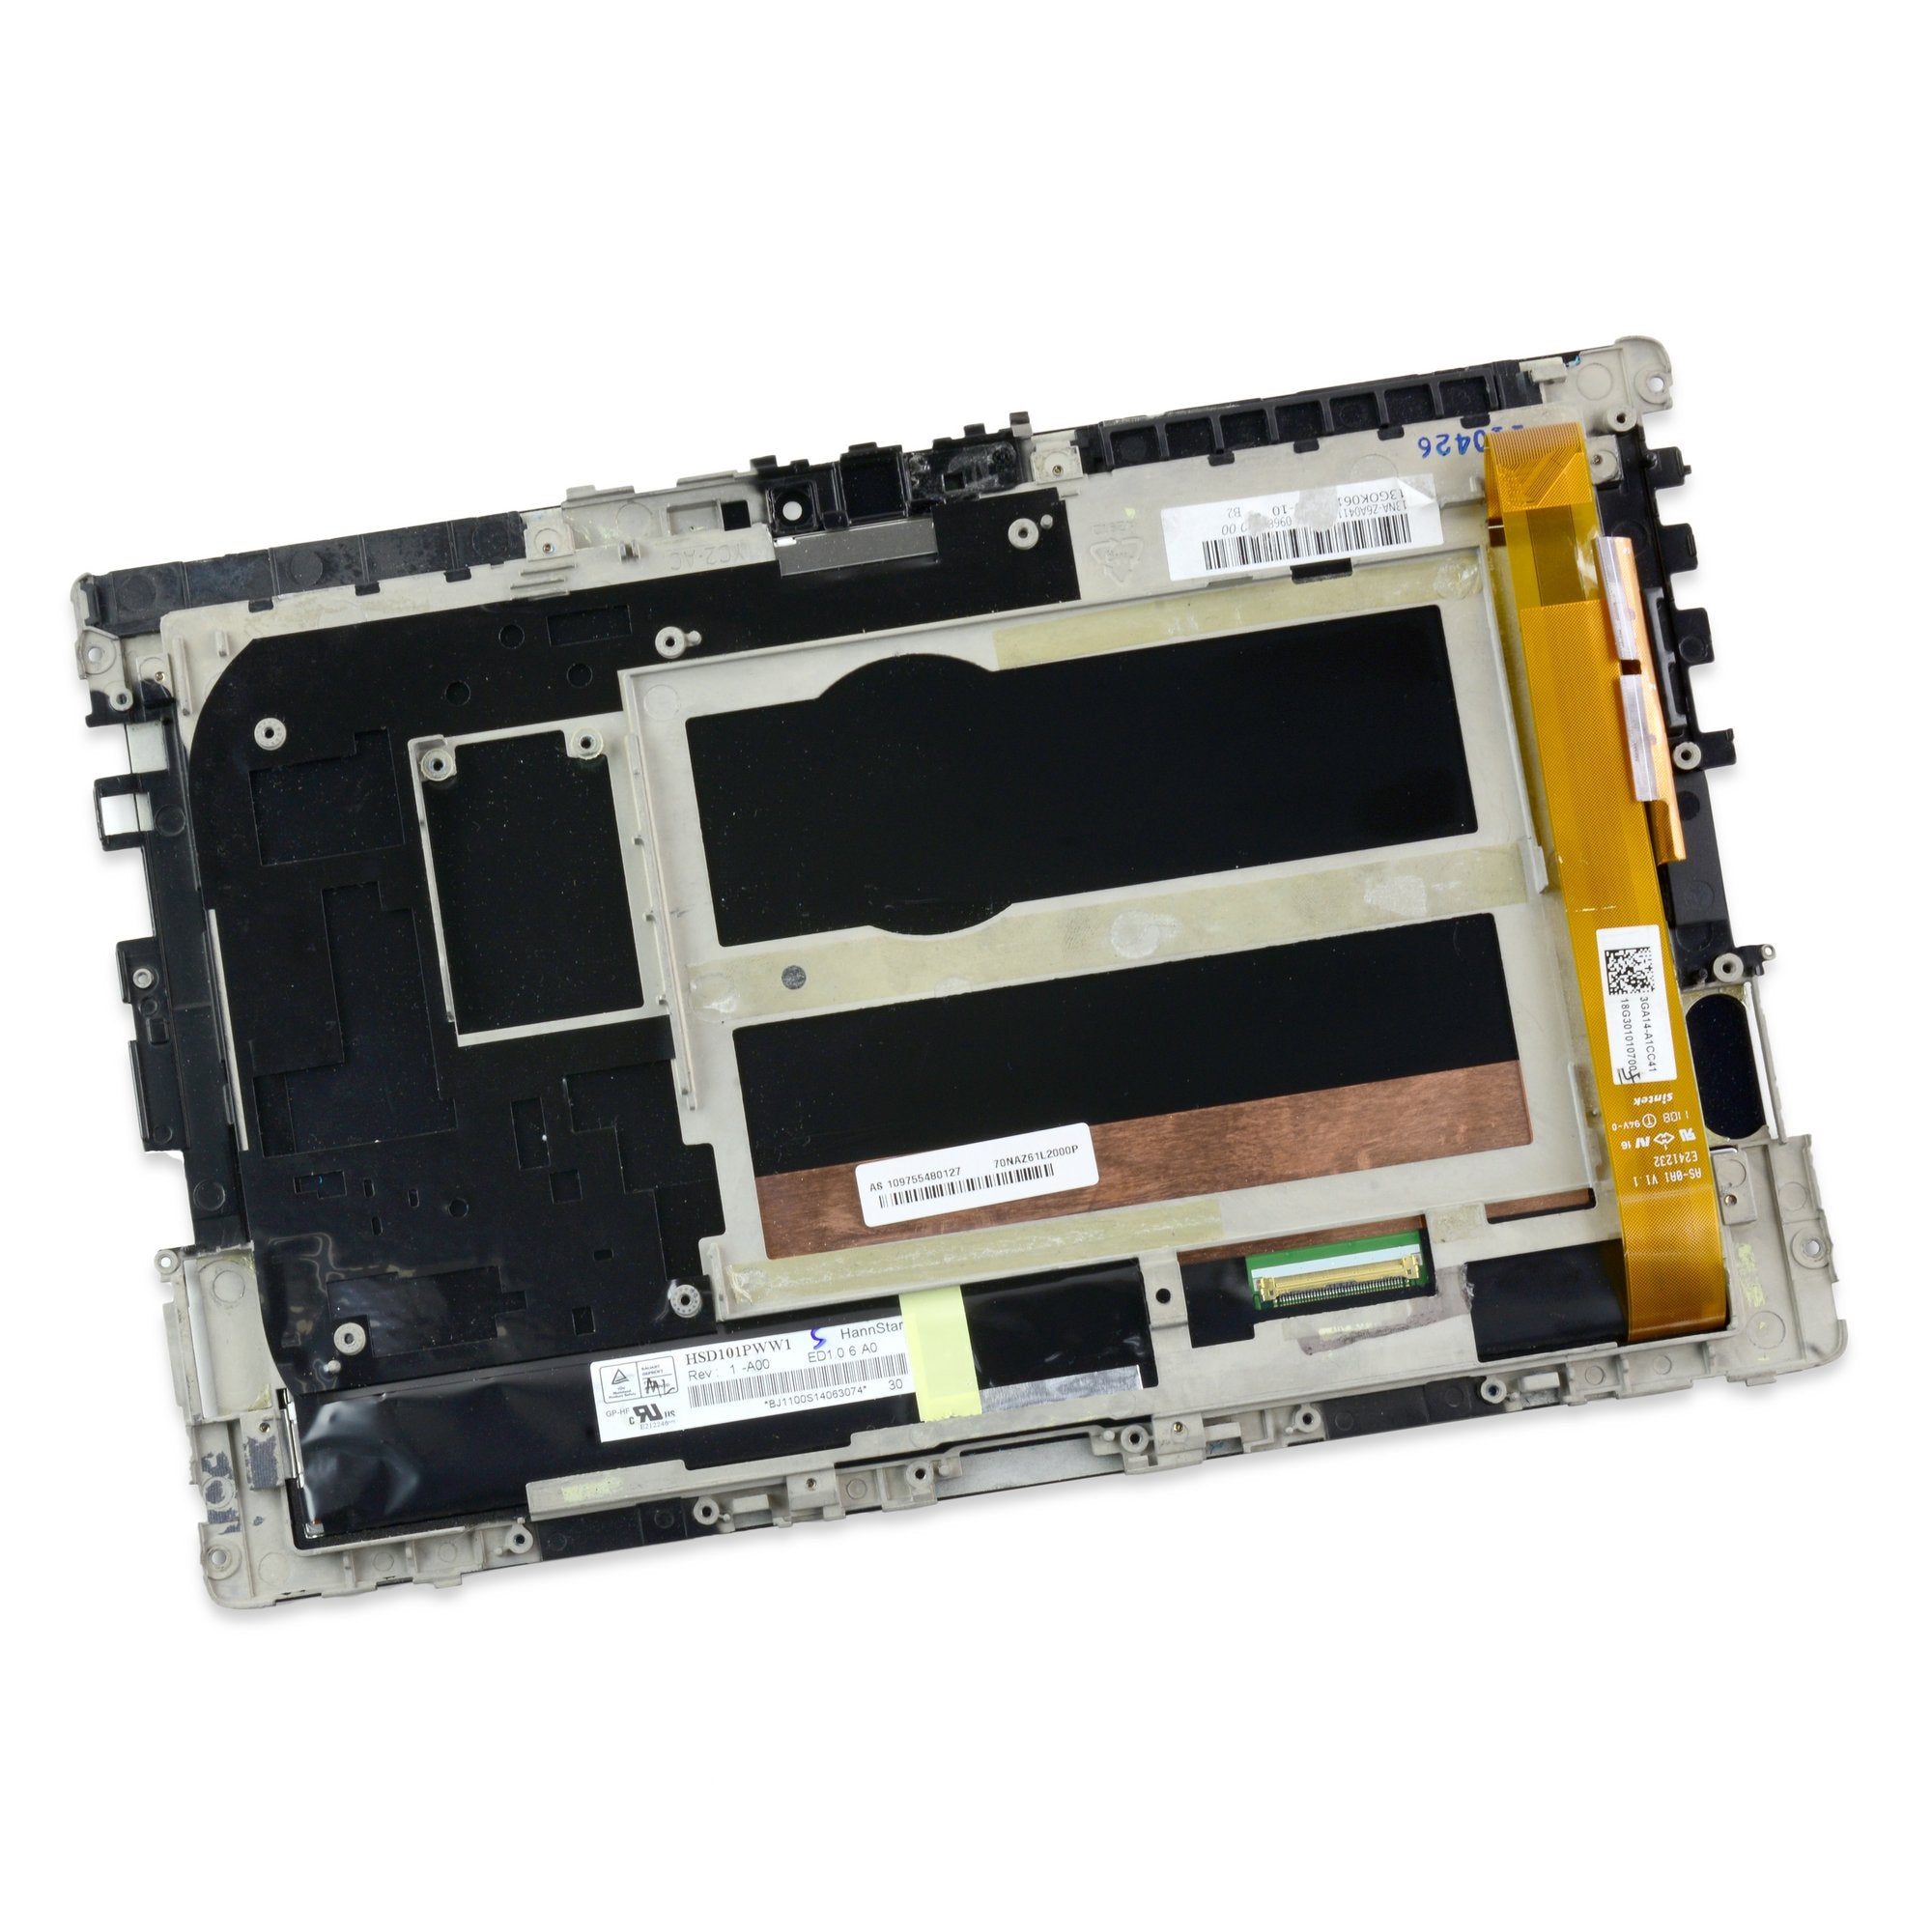
– Carefully peel off the back panel—it’s like liberating your device from its shell. Go slow and steady.


