Microsoft Surface 3 Kickstand Replacement
Duration: 45 minutes
Steps: 10 Steps
Swapping out the kickstand on a Surface 3 is as straightforward as it gets! That said, you’ll need to carefully remove the display and battery first to get to the parts, so take it step by step and keep things organized.
Step 1


– Heat up your iOpener by following the guidelines in the iOpener guide. It’s like giving your device a warm hug!
– Once it’s cozy and warm, place the iOpener right on the edges of your screen. This little warmth will help loosen the adhesive sticking the display to the body, making your next steps a breeze!
Step 2


Careful now—pressing straight down near the edge might poke through the speaker mesh and could mess up your speaker. Instead, glide the pick in gently at a shallow angle to keep things smooth.
This might take a bit of elbow grease—don’t be shy! Try using your fingernail to get things started; it can often do the trick.
– Slide one of those trusty opening picks under the screen edge at the speaker port—be gentle but confident, you’re doing great!
Step 3


Broken glass may not be razor-sharp, but it’s still broken glass—handle it with care and keep those fingers intact!
If you crack the glass on one side, don’t worry! Try starting from the other side instead, so you’ve got a clean edge to work with.
– Take your time to gently work your way around the device with the picks, reheat the iOpener as needed, and keep a positive vibe—patience often pays off!
Step 4

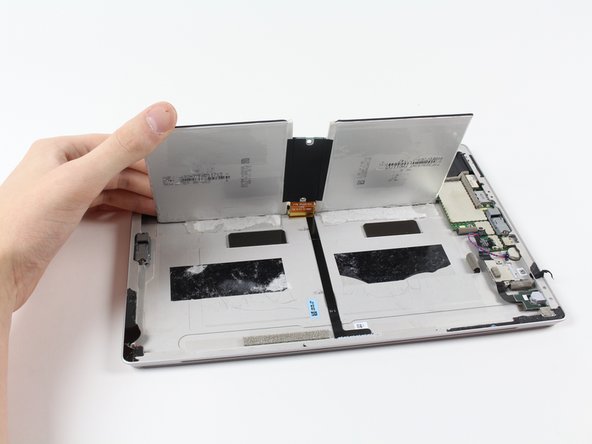
Hey there! Just a friendly reminder: don’t yank out the display just yet—it’s still hanging out with the motherboard!
If you’re swapping out the display or just want to keep it out of your way, follow the steps in the display replacement guide.
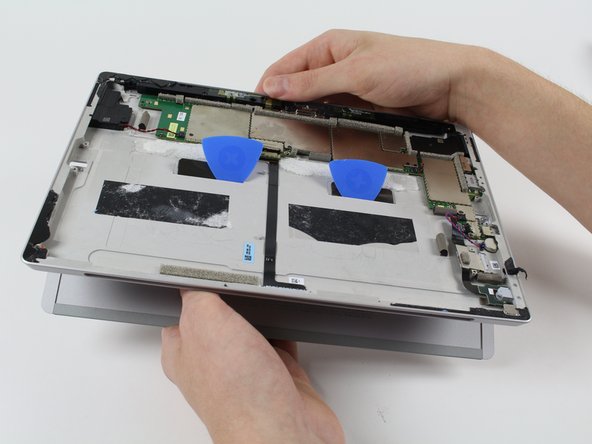
– Carefully turn the display over to reveal the inner components, making them easier to work with.
Step 5

– Alright, you’ve popped open the Surface 3’s casing—way to go! Now it’s time to dive in and tackle the battery pack.
Step 6


– Gently slide the plastic card under the edges of the battery pack compartments.
– Move the card around to loosen the adhesive holding the battery pack in place.
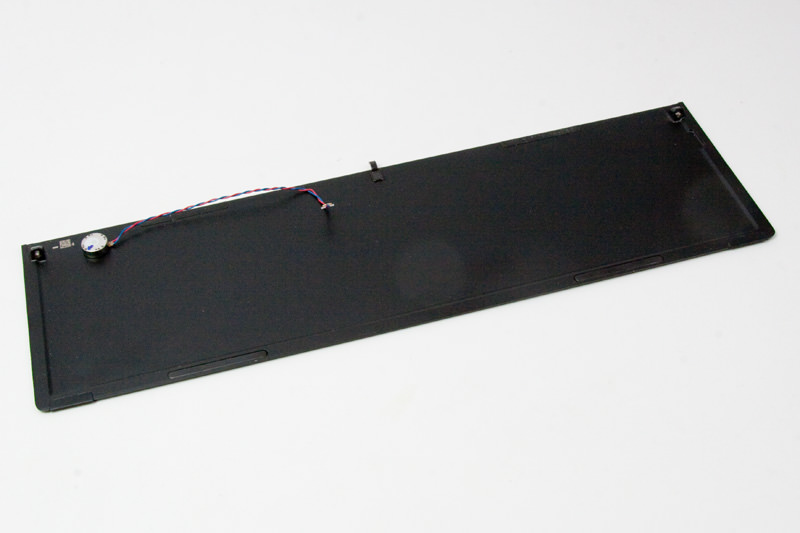
Step 7


– Gently slide the battery’s flat power and data connector out of its slot, no rush, it’ll come out nice and easy.
– Now, you’re all set to swap in the fresh new battery. Piece of cake!
Step 8
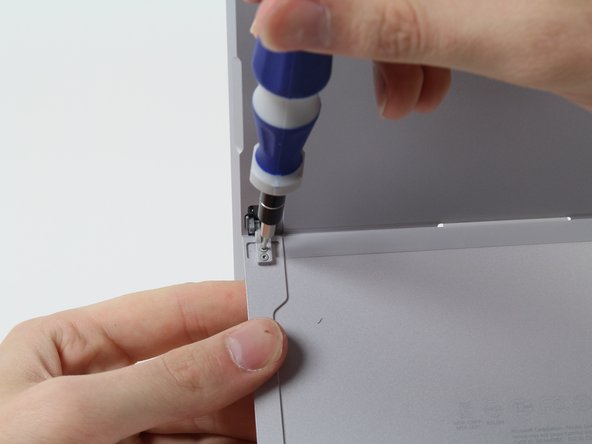

If the hinges aren’t part of your mission today, cruise on over to the step that tackles those retaining tabs instead.
– Alright, rockstar, time to unscrew those four 3/32″ Torx #3 screws. You’ve got this!
Step 9
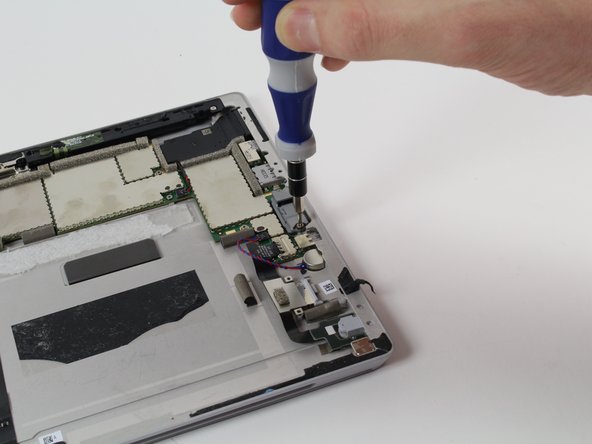

– Unscrew those four 3/16″ Torx #5 screws that are keeping the hinges in place. Once they’re out, you’ll be ready to swap in the new hinges like a pro!
Step 10


– Time to get those two little tabs through the slots in the case so we can free that kickstand! It’s like a game of hide and seek, but we’re on a mission.
– Grab your trusty picks and give those tabs a gentle nudge to slide them through the slots. Once they’re in position, just pull out the kickstand, and voilà! You’re making progress!