Microsoft Surface 3 Audio Jack and MicroSD Slot Replacement
Duration: 45 minutes
Steps: 10 Steps
Swapping out the Surface 3 audio jack is a piece of cake once you know the steps! First, pop off the casing, then loosen up the fiddly restraints holding the jack snug in place. Finally, out with the old and in with the new—your fresh audio jack is ready to rock!
Step 1


– Heat up an iOpener according to the guide’s instructions—it’s your go-to warm-up chef here!
– Gently lay the warmed-up iOpener along the edges of the screen. The heat will help loosen up that stubborn adhesive holding the display and body together. Time for some separation magic!
Step 2


Careful now—pressing straight down near the edge might poke through the speaker mesh and could mess up your speaker. Instead, glide the pick in gently at a shallow angle to keep things smooth.
This might require a bit of muscle. Try using your fingernail to give it the first lift—trust us, it’s the secret weapon.
– Gently slide an iFixit opening pick under the edge of the screen near the speaker port to create a little space.
Step 3


Be careful when handling the broken glass on this display – it may not be razor-sharp, but it’s still broken glass and can be a hazard. Handle with care!
If you crack the glass on one side, don’t worry! Try starting from the other side instead, so you’ve got a clean edge to work with.
– Gently work your way around the device with the picks, some reheating of the iOpener, and a bit of patience—it’s all part of the adventure!
Step 4

Hey there! Just a friendly reminder: don’t yank out the display just yet—it’s still hanging out with the motherboard!
If you’re swapping out the display or just need to move it out of the way, keep going with the display replacement steps.
– Carefully flip the display over so you can easily get to the parts lurking beneath it. It’s all about making things simpler for you.
Step 5

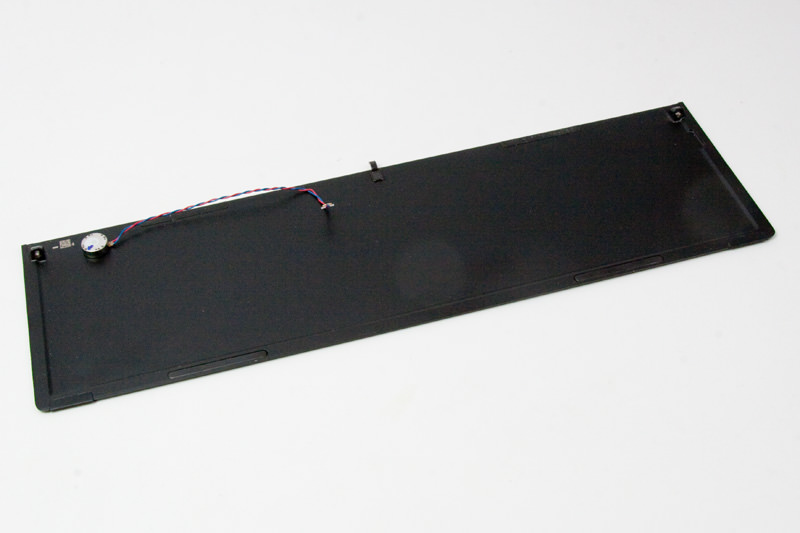
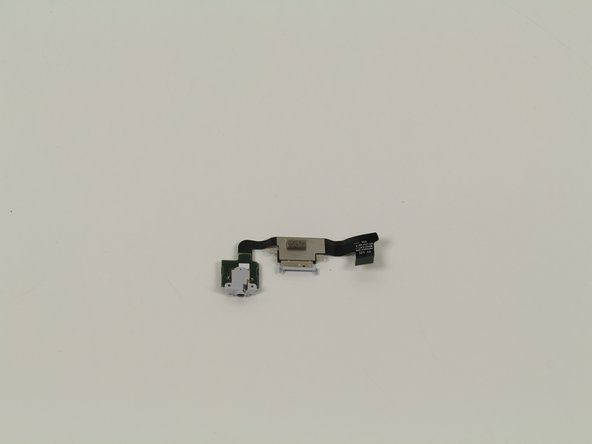
– Get ready to dive into the world of your Surface 3! This is the area you’ll be focusing on as you tackle the replacement of the audio jack and Micro SD port. Let’s make some magic happen!
Step 6

– Peel away the black adhesive next to the audio jack to reveal the screws hiding underneath. It’s a small step, but it’s got to be done!
Step 7

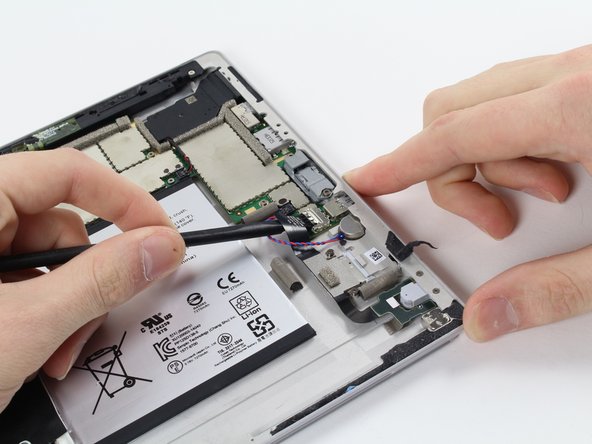
– Let’s get started! Remove the silver bracket using the black pick to carefully take out the entire audio jack. This is a crucial step, so take your time and make sure it’s done just right.
Step 8
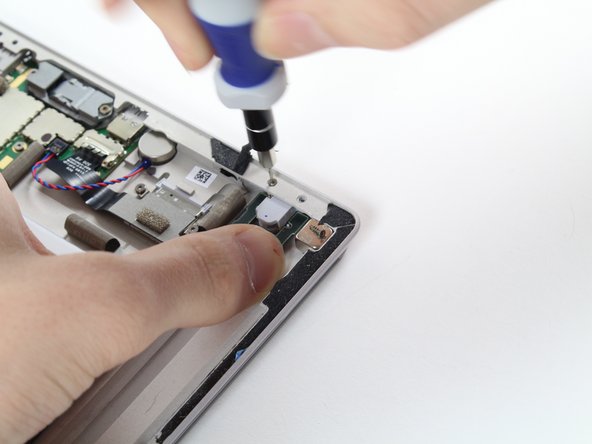

– Pop out the two 3/16″ Torx #2 screws hanging out right next to the audio jack—easy-peasy!
Step 9
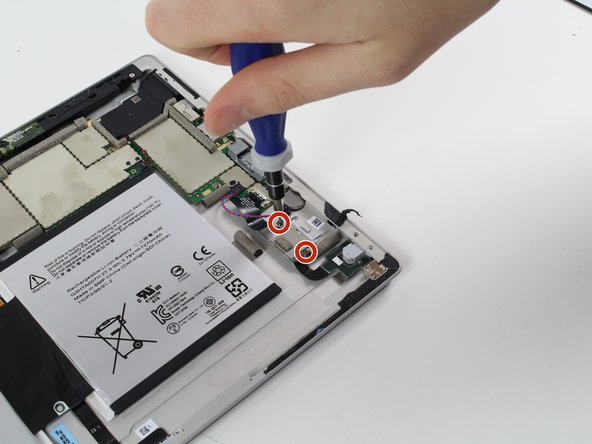

– Time to evict those tiny screws! Use a Torx #3 to unscrew the two 1/16″ buddies holding down the MicroSD slot.
Step 10

– To reassemble your device, follow these instructions in reverse order.
– 4 other people completed this guide.
Success!