Lenovo Yoga Tab 3 10 Camera Replacement
Duration: 45 minutes
Steps: 9 Steps
Step 1

– Pop open that built-in kickstand like a pro—easy does it!
Step 2


– Peel off the sticker hiding out under the built-in kickstand, and voilà—you’ll uncover two 0.75 mm screws waiting to be freed!
– Slide the microSD card slot cover away, and don’t forget to remove any microSD card hanging out inside, if one’s tucked in there.
– Grab your trusty Phillips head screwdriver and unscrew those three 0.75 mm screws like a pro. You’ve got this!
Step 3


Give it a little muscle to pop off those snug plastic braces holding the backplate in place. You got this!
– Position the device so the screen is facing you, ready for action.
– Grab your trusty spudger and gently slide it into the seam between the screen and back cover—take it easy, no sudden moves! Carefully start separating the back cover from the device frame.
– Keep working your way around the edges with the spudger, gently freeing the backplate from the frame step by step. You’ve got this!
Step 4


– Unscrew those three sneaky little screws holding down the auxiliary port cover. They don’t stand a chance against you!
– Grab your trusty spudger and gently nudge the auxiliary module out of the way like you’re guiding a kitten through a doorway.
– Slide off that detachable plastic latch chilling in front of the hinge—it’s time for it to take a break!
Step 5

– Gently use a spudger to pry off the hinge. Take your time, no need to rush!
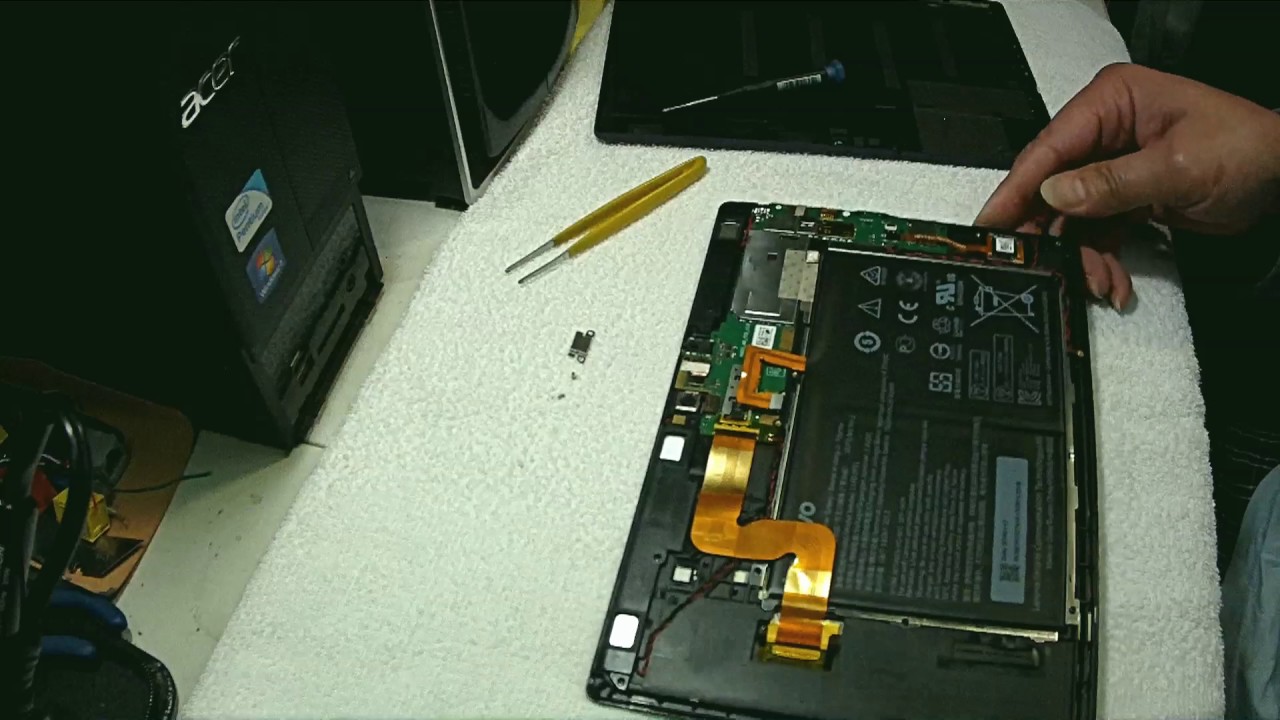
Step 6

The battery is tucked away inside the kickstand. Handle it with care and keep it cool—you’re doing great!
– Gently peel the kickstand away from the frame—no rush, take your time and keep it smooth.
Step 7


– Grab the pointy end of your trusty spudger and give the camera’s locking mechanism a little nudge.
– Once the lock is free, gently lift the camera out and eyeball the three screws you’re about to tackle.
Step 8


– Grab a J000 Philips screwdriver and spin out those three screws like a pro.
– Pop off the camera cover sealing up the camera case—easy does it!
– Gently lift the camera out of the shell—it’s like rescuing a treasure.
Step 9

– Gently lift that camera module out of its little nest—it’s time to set it free from its cozy casing.