Lenovo Yoga Tab 3 10 Battery Replacement
Duration: 45 minutes
Steps: 9 Steps
Is your tablet refusing to charge or struggling to hold onto power? It might be time to swap out the battery! Replacing the battery is an affordable way to breathe new life into your Lenovo Yoga Tab 3 10, and the good news is it’s straightforward to do. This guide walks you through the process step by step—no advanced tech skills needed! All the tools you’ll need are listed, so you’re all set to dive in. But hey, if the battery feels hot or gives off a funky smell, don’t mess with it—safety first! Before you begin, power down your tablet, unplug any chargers, and give the tool safety section a quick read. Let’s get that tablet back in action!
Step 1

– Let’s get started by opening up that handy built-in kickstand!
Step 2


– Peel off the sticker right under the built-in kickstand to uncover two tiny 0.75 mm screws waiting for your screwdriver skills.
– Pop off the microSD card slot cover and take out any microSD card that’s hanging out in there.
– Grab your Phillips head screwdriver and carefully remove the three 0.75 mm screws. No rush, just steady!
Step 3


You’ll need to give a little tug to pop those small plastic braces holding the backplate in place. Just stay steady and you’ll have it off in no time!
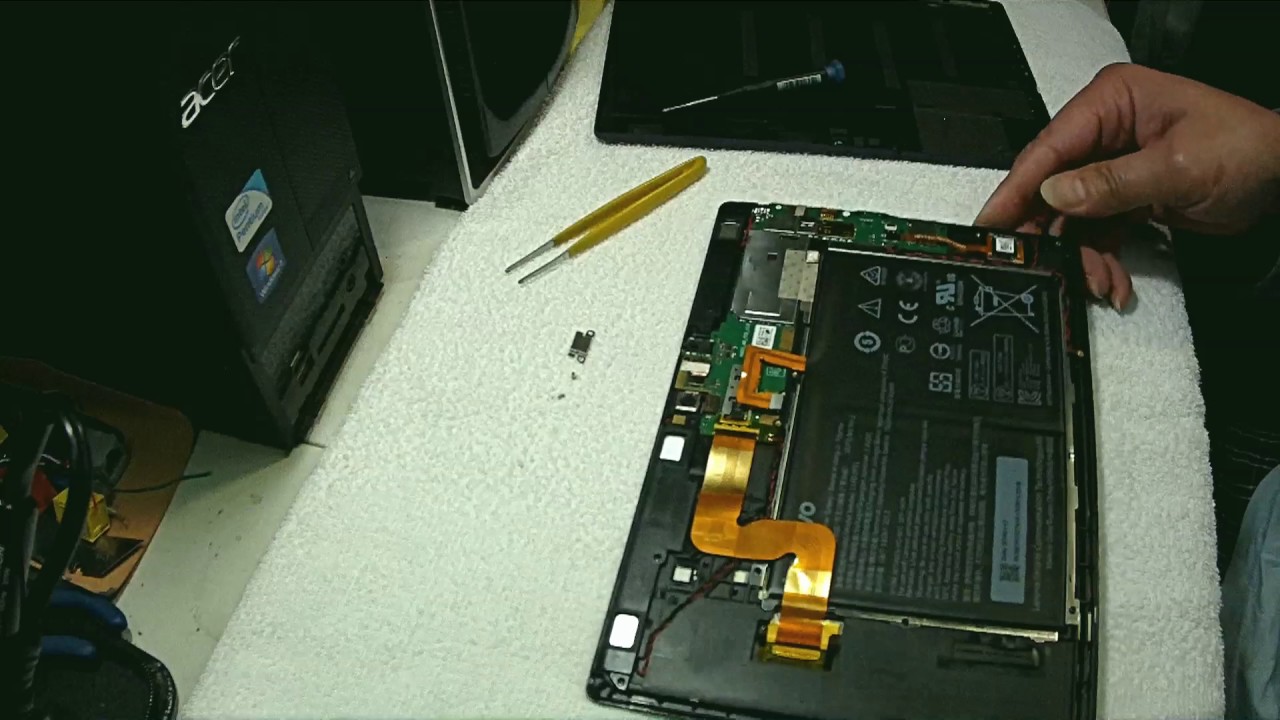
– Position your device so the screen is looking right back at you.
– Gently slide the spudger into the gap between the screen and the back cover, and carefully work to pop the back cover away from the device frame.
– Keep that spudger moving around the edges to fully release the backplate from the frame like a pro.
Step 4


– Unscrew the 3 tiny screws holding the auxiliary port cover and gently pop off that plastic piece.
– With care and a pinch of finesse, pull the auxiliary module back so it’s out of your way.
– Slide out the plastic block snugged up in front of the hinge.
Step 5

– Time to get this repair started! Use a trusty spudger to carefully pry open the locking mechanism.
Step 6

– Gently lift and pull to release the battery compartment. Keep it cool and steady, you’re doing great!
Step 7


If you’re wielding sharp tweezers, take it easy and steer clear of tearing that delicate tape material. Slow and steady wins the repair race!
– Grab those trusty tweezers and gently peel back the tape that’s guarding the screw like a secret treasure.
Tools Used

Step 8

– Grab a small Phillips-head screwdriver and pop out that screw like a pro!
Step 9

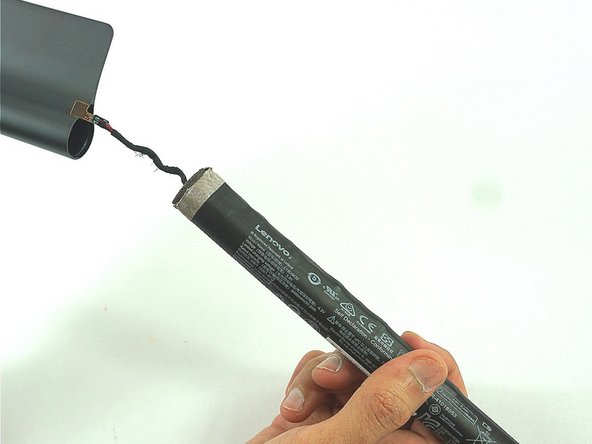

Keep a sharp eye on that battery cable chilling on the far side—it’s sneaky, so handle with care during removal!
– Now that your device is back in action, just put everything back together by following the steps in reverse—nice and easy!
– Need a hand? You can always schedule a repair.