Lenovo Yoga 2 Pro Trackpad Replacement
Duration: 45 minutes
Steps: 9 Steps
Get ready to give your laptop a brand new lease on life! The trackpad is the magic component that lets you control the cursor on your screen with slick finger gestures. In this clear and easy-to-follow guide from Salvation Repair, we’ll walk you through the process of removing your laptop’s trackpad – whether it’s on its last legs or just clogged up from a Cheetos-fueled study session. Follow along and you’ll be navigating like a pro in no time!
Step 1

Before you start, make sure your laptop is completely powered down – safety first!
– Grab your trusty Phillips #00 screwdriver and twist out the eleven 1/4″ screws from the laptop’s back like the DIY pro you are!
Tools Used

Step 2
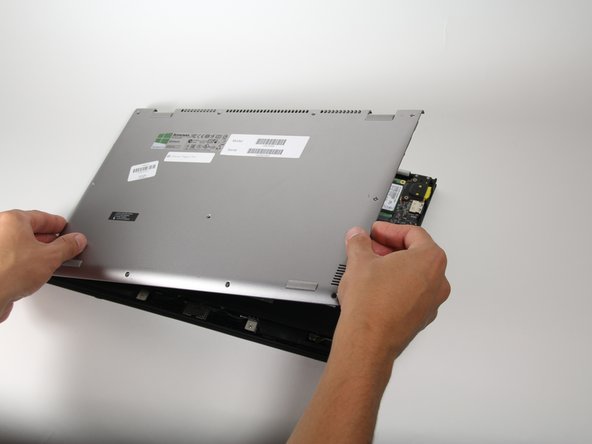
– Carefully pop off the back cover and lift it away like you’re unveiling a surprise.
Step 3

– Grab your trusty Phillips #00 screwdriver and unscrew the five 5/16″ screws hanging out around the battery—it’s like freeing the battery from its little fortress!
Tools Used
Step 4

– Time to get started! Using either tweezers or your fingers, carefully pinch both sides of the black battery cable’s connector and gently pull it away from the battery. Remember to handle the cables with care to avoid any damage.
Tools Used

Step 5


– Pop that battery out of your computer like a pro—just handle it gently and set it aside safely.
Step 6

– Grab your trusty Phillips #00 screwdriver and unscrew the eight 1/8″ screws holding the trackpad in place—steady hands win the day!
Tools Used
Step 7

– Grab your trusty tweezers or a similar sharp tool, and gently lift that little black cover sitting on top of the ribbon cable like it’s hiding secrets!
Tools Used
Step 8

– Grab your tweezers and with ninja-like precision, ease the ribbon cable out from beneath the connector. Nice and steady does it!
Tools Used
Step 9
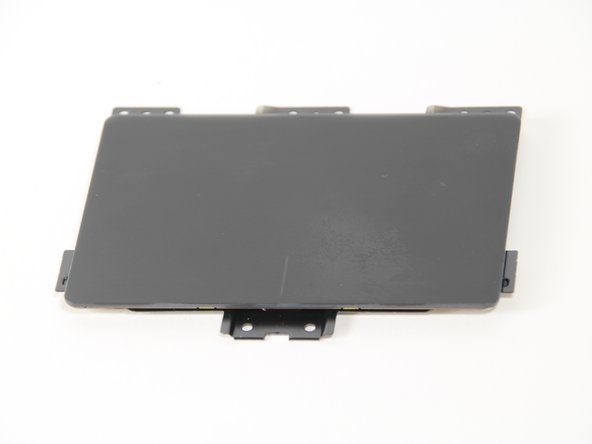

– Put your device back together by simply reversing these steps—piece of cake!
– If you run into any trouble, you can always schedule a repair.

