Acer Aspire 3 A315 Screen Replacement
Duration: 45 minutes
Steps: 7 Steps
Step 1


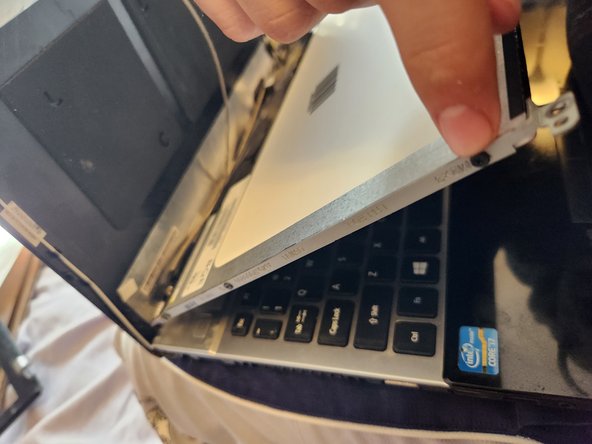
– Alright, first things first—flip that power switch off to keep things safe and sound. Gently pop off the cover; it’ll come right off, leaving you with the screen and the back cover.
Step 2


– Alright, here’s the deal—spot those 4 snug little screws hanging out in the corners, grab your trusty screwdriver, and twist them out gently. Keep them separate from the others, and for the love of all things organized, don’t lose them!
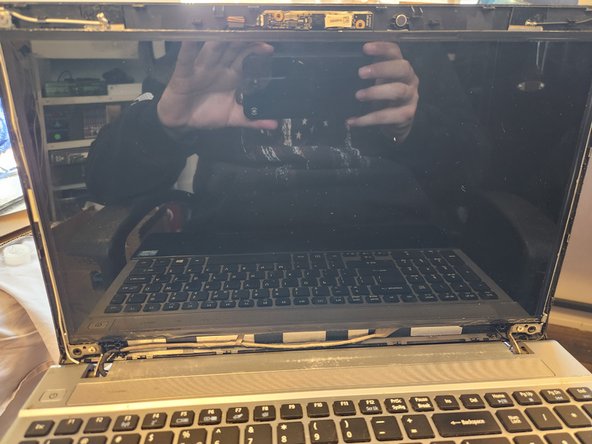
Step 3
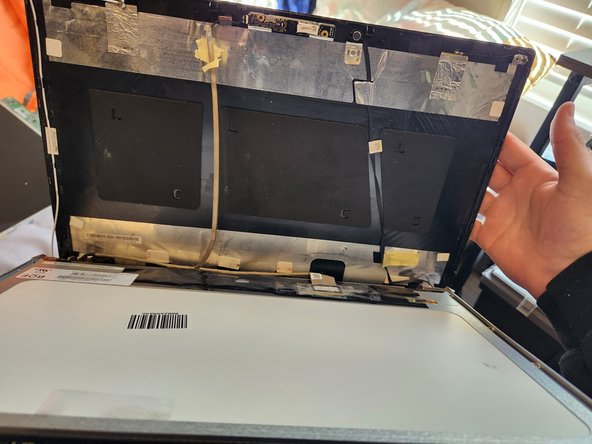

– Peel off that tape holding down the camera wires snugly against the back of the screen—it’s time to set them free! Tilt the cover back a bit; it’ll make your reach way easier. Spot those six trusty screws hanging out on the sides of the frame—three on each side. Grab your screwdriver, unscrew them carefully, and stash them somewhere safe where they won’t roll away!
Step 4

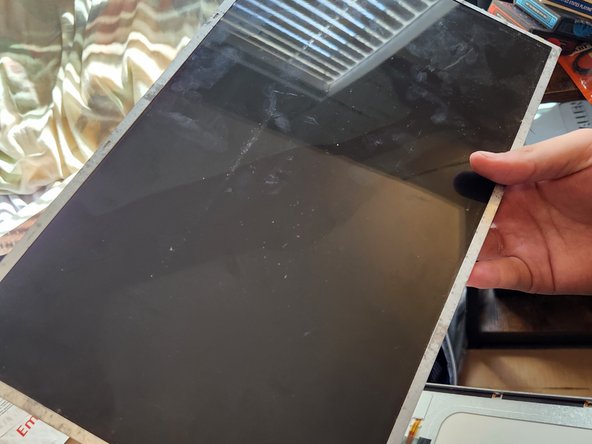
– Locate the cable that’s connected to the bottom of the screen. Gently peel off any tape holding it in place, being careful not to damage the cable. Once that’s done, remove the old screen and pop the new one in. Reconnect the cable with care and use tape to secure it in place again.
Step 5
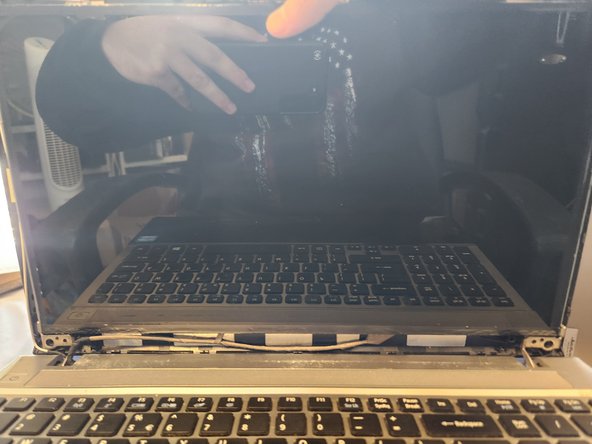


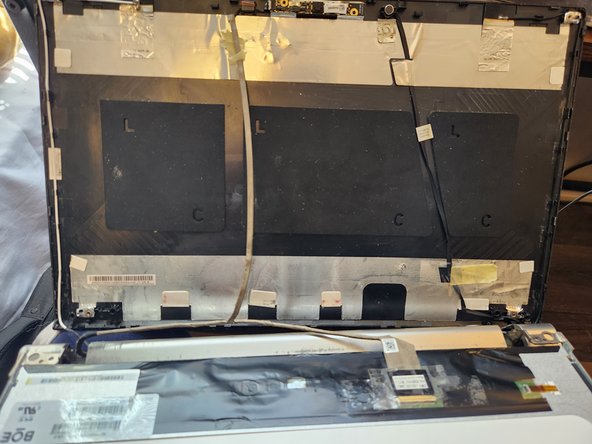
– Alright, let’s talk cable management—it’s the bread and butter here! Keep an eye on the black and white wires, and make sure they’re chilling exactly where they need to be (marked with blue arrows). Grab that camera wire and give it a little love by taping it back to the rear of the screen (green or cyan arrows to guide you). Now, it’s time to bring the screen and frame back together—grab the 6 tiny screws from earlier and screw the screen securely to the frame. Hold it steady and boom! You’re all set!
Step 6


– Now, take those 4 screws and screw them back into the corners of the screen. Your screen should now be securely attached to the back cover and able to stand up on its own like a champ, no hands needed.
Step 7
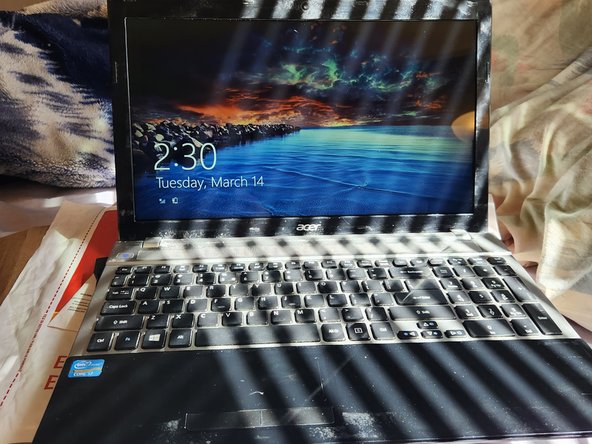

– Gently snap the cover back onto the screen, taking care not to damage anything. Once it’s secure, fire it up and make sure everything’s working smoothly. Thanks for giving this guide a shot—I hope it’s been helpful!