Dell XPS 13 Display Assembly Replacement
Duration: 45 minutes
Steps: 15 Steps
Get ready to tackle the display replacement on your Dell XPS 13! This guide will walk you through opening up the back case and removing the battery and speakers. You’ll find six connectors linking the display to the motherboard, and it’s essential to have the laptop open for a smooth removal. If your Dell XPS 13 display is cracked or not working right, you’ve come to the right place. When in doubt or if you hit a snag, feel free to schedule a repair!
Step 1


– Unscrew the eight 4 mm T5 Torx screws from the bottom cover and get ready to unveil the magic inside!
Step 2


– Grab a plastic opening tool and gently pry open the ‘XPS’ flap right in the center. You’ve got this!
Step 3

– Time to flex! Unscrew the lone Phillips screw hiding under the flap.
Step 4

– Get your trusty opening picks or a plastic pry tool ready! Start prying open those case clips from the back edge, and let the adventure begin!
Step 5

– Pop off that bottom cover—time to let your device breathe!
Step 6


Keep it cool—no lifting upward.
– Gently pull the battery cable connector towards the battery to disconnect it from its socket.
– Next, open the display and press the power button for about five seconds to drain any remaining charge from the system.
– If the connector seems a bit stubborn, try nudging one side, then the other, to ‘walk’ it out of the socket.
– If you’re still having trouble getting that connector out, grab a spudger and lightly push on the connector’s indent to slide it out.
Tools Used

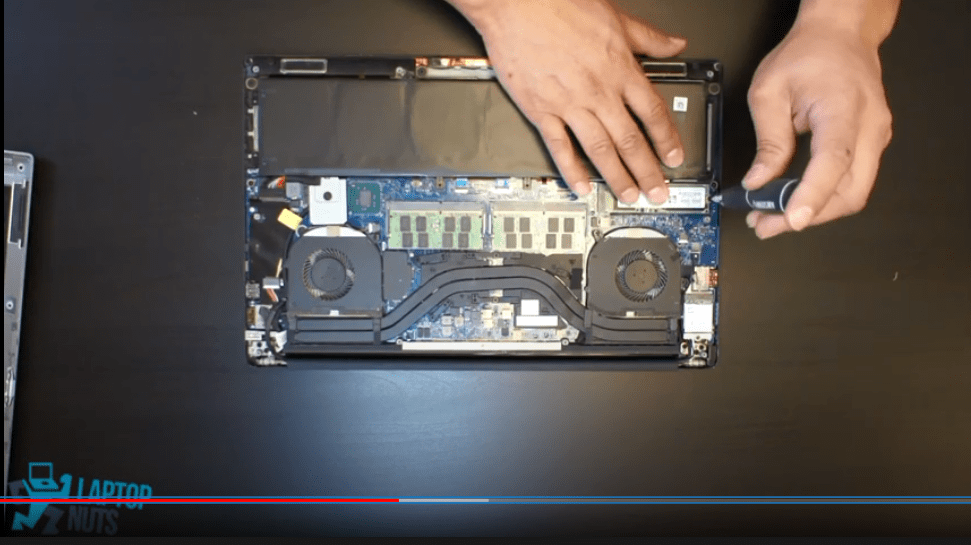
Step 7


– Unscrew the four 3 mm Phillips #0 screws hanging out at each corner of the battery—think of it as freeing up the battery’s entourage!
Step 8


Keep it chill—no need to yank upwards!
– Gently tug the battery cable connector toward the battery to pop it out of its socket—easy does it!
Step 9

No need to detach the speakers! Just peel away the tape, and you’ll be able to slide the battery out from beneath those speaker cables like a pro.
– Gently peel away any tape that’s holding the speaker cables snugly against the battery. You’ve got this!
Step 10

– Pop that battery out like a pro and get ready to roll!
Step 11


– Gently slide the touchscreen connector to the right and pull it away from the motherboard. Easy does it!
Step 12

– Gently wiggle and slide that camera connector right out from the motherboard with your fingers. You’ve got this!
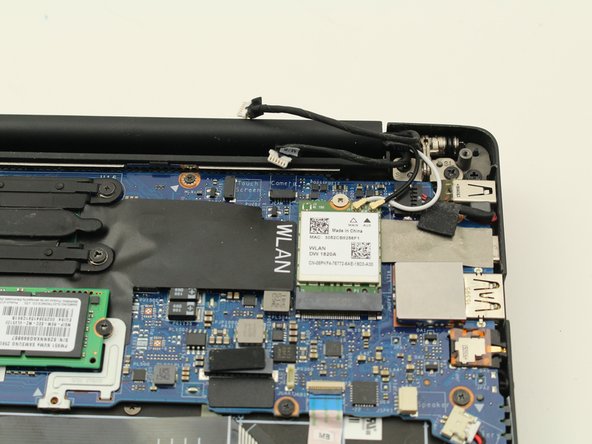
Step 13


– Gently pop those tiny coaxial antenna cables up from the wireless card using the flat end of your trusty spudger. Take your time—no rush, just a satisfying little click!
Tools Used
Step 14


– Time to get this repair started! Use a spudger to carefully pry up the press fit connector on the end of the left cable bundle – it’s like a little puzzle piece waiting to be freed.
– Next, gently coax the sliding cable connector out of its port to the left of the fan. It’s a delicate dance, but you’ve got this!
Tools Used
Step 15

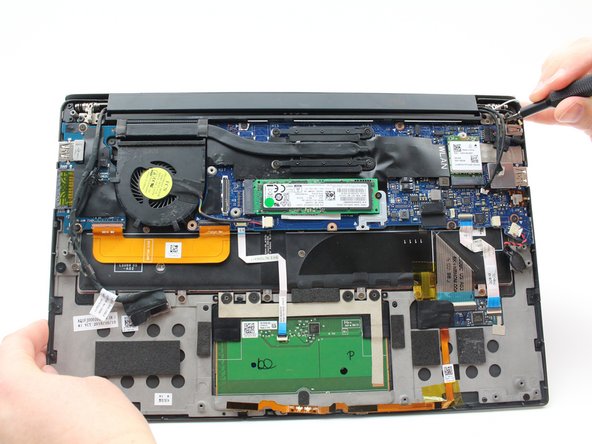
Keep your laptop open to make it easier to access those pesky screws on the bottom case. It’s a lot simpler to tackle this job with the laptop in an open position, so go ahead and get comfy with it!
– Grab your Phillips #0 screwdriver and take out the four black 4.6 mm screws holding the display mounts in place.
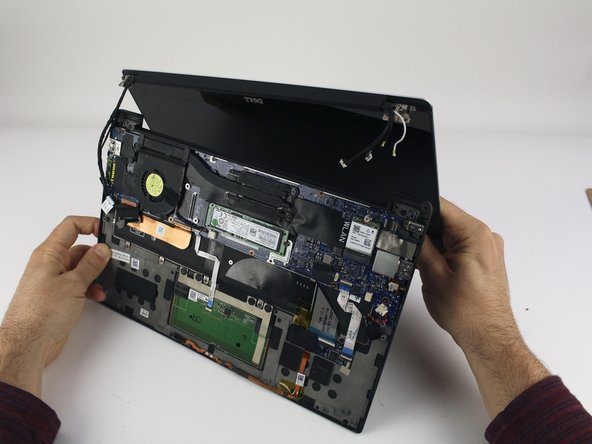
– Now, gently lift off the display assembly and set it aside.
Tools Used

Success!