Dell XPS 13 SSD Replacement
Duration: 45 minutes
Steps: 8 Steps
Ready to swap out the SSD in your Dell XPS 13? Let’s do this! Before you dive in, make sure to back up or clone your existing drive if it’s still kicking. This guide will help you either bump up your storage or trade out a faulty SSD. If you’re popping in a brand-new, blank drive, just a heads-up—you’ll need to reinstall Windows (or your preferred operating system) after you’re done with the swap. Let’s get your laptop back in action!
Step 1


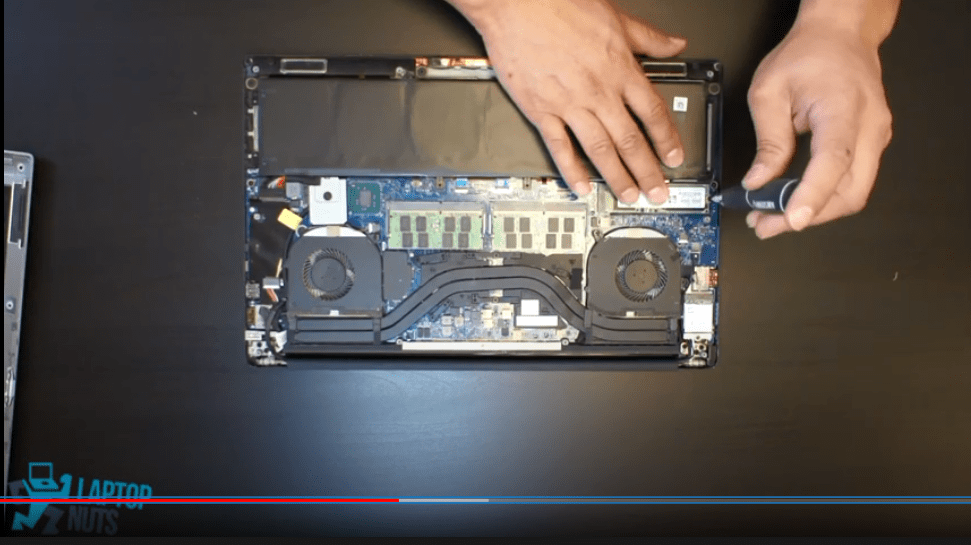
– Unscrew the eight 4 mm T5 Torx screws from the bottom cover. It’s like unlocking a hidden treasure, but without the chest!
Step 2


– Grab a trusty plastic opening tool and gently pop open the ‘XPS’ flap smack dab in the middle—it’s like a little treasure hunt for tech enthusiasts!
Step 3

– Time to flex! Unscrew the lone Phillips screw hiding under the flap.
Step 4

– Grab an opening pick or a nifty plastic pry tool, and gently sneak it into the case clips starting from the back edge. Take your time, no need to rush—steady hands win the day!
Step 5

– Pop off that bottom cover—time to let your device breathe!
Step 6


Keep it chill—no need to yank upwards!
– Gently tug the battery cable connector toward the battery to unplug it from its socket—nice and easy, no rush!
– Flip open the display and press that power button for a solid five seconds to zap any leftover charge hanging around in the system.
– If the connector’s playing hard to get, try nudging one side, then the other, like a little dance, to ease it out of its socket.
– Still stuck? Grab a spudger and use the pointed end to give the connector indent a gentle push—just enough to slide it free. No need to wrestle with it!
Tools Used

Step 7

– Unscrew the black 4 mm Phillips screw that’s holding your SSD in place. You’ve got this!
Step 8

Be gentle with that SSD—keep it low and steady, just like a smooth dance move!
– To put everything back together, just work your way through these steps in reverse – easy peasy!
– You did it! If you need help with another repair or have any questions, you can always schedule a repair