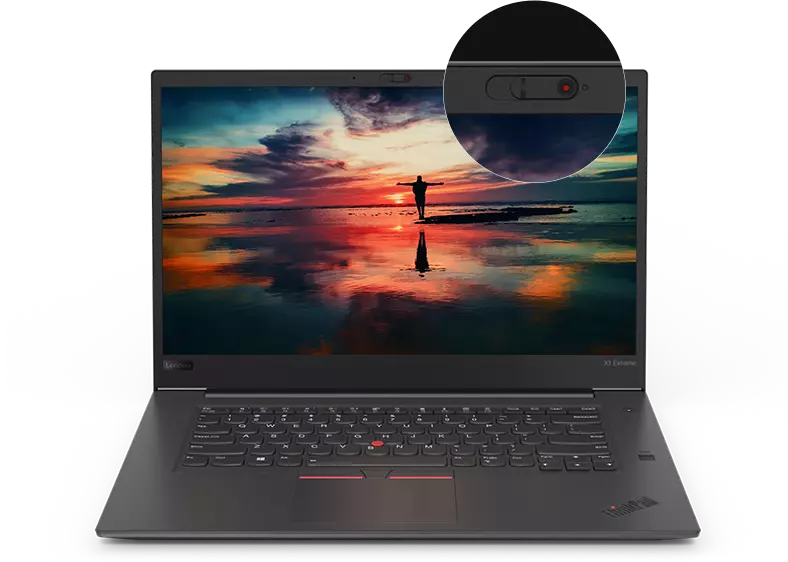
Lenovo ThinkPad X1 Extreme Fan Replacement
Duration: 45 minutes
Steps: 9 Steps
Got a Lenovo ThinkPad X1 Gen 1 Extreme (model number 20MF-000LUS used here) that’s running hotter than a summer beach or sounding like it’s auditioning for a percussion band? No worries! This guide will walk you through how to safely remove the fan and bring some chill back to your laptop. Sure, these laptops get loud and toasty when charging or pushing through heavy-duty apps, but if it’s overheating while doing nothing, there’s likely an issue. Now, don’t fret—before diving into a full fan replacement, take a closer look! Sometimes, the culprit ends up being dust or an unexpected stowaway object. A quick fan removal and cleanup with some trusty compressed air might just do the trick and save the day.
Step 1


Before you dive in, make sure your device is off and unplugged. Safety first, hero!
These screws will loosen, but they’ll stay attached to the cover. Don’t try to take them all the way out. Just let them do their thing and stay in place.
– Let’s get started by flipping your laptop over so the bottom is facing up and the trackpad is closest to you – easy peasy!
– Next, use a Phillips #00 screwdriver to remove the seven captive screws. Take your time, it’s a breeze!
– Now, gently slide a blue opening pick into the gap between the bottom panel and the chassis. You’ll need to pry off one clip on each side, but don’t worry, it’s a simple process.
– Finally, carefully remove the back cover from your device. You’re making great progress!
Tools Used

Step 2

– Grab your trusty Phillips #00 screwdriver and get ready to tackle those four 4 mm screws sitting pretty above the battery. Let’s get this show on the road!
Step 3

– Carefully lift the speaker modules on either side of the battery out of their pegs, and gently unwind the cable from the front of the battery—it’s all about finesse!
– Slide the speaker modules aside so they’re out of your way and ready for safekeeping.
Step 4


– Grab those tweezers and gently peel off that pesky plastic cover from the connector. You’ve got this!
– Now, take a spudger or your trusty fingernail and carefully lift the battery straight up from the motherboard. Easy peasy, right?
Tools Used

Step 5

– Gently lift the battery out of its cozy spot in the frame and set it free from the device.
Step 6


– Grab your Phillips #00 screwdriver and unscrew that 3mm screw anchoring the wireless adapter. It’s small, but it’s mighty!
– Gently slide the adapter out of its connector like you’re pulling a tiny treasure out of a hidden chest.
– Carefully detach the black and gray cables, then separate them from the fan’s frame with a little upward tug. Take it slow—you’re a pro!
Tools Used
Step 7


– Time to set that cable free! Flip up the tiny black tab to release the cable from the fan’s frame.
– Now, gently pry the cable away from the fan’s frame. You’re making great progress!
Step 8


These screws are designed to stay in place, so no need to worry about them escaping—they’ll stay securely attached to the fan.
– Unscrew the five screws holding the fan to the motherboard with a Philips #00 head screwdriver—it’s screwdriver time, let’s get to work!
Step 9


To track down these fans, just look for the labels ‘FANR1’ and ‘FANL2’ on the motherboard – easy peasy!
– Put your device back together by simply reversing these steps—it’s like rewinding a cool DIY movie!
– If you need help, you can always schedule a repair.