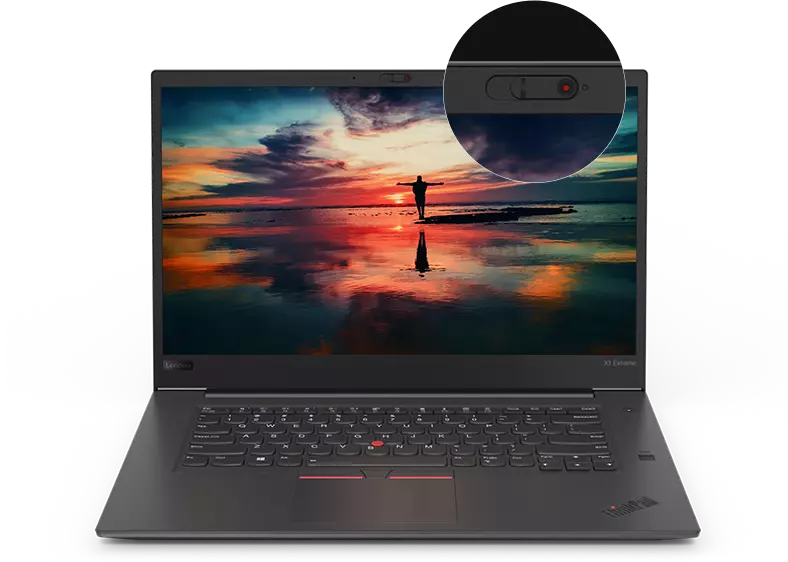
Lenovo ThinkPad X1 Extreme Motherboard Replacement
Duration: 45 minutes
Steps: 10 Steps
Your computer’s got a lot going on under the hood, and the motherboard is like the DJ making sure all the components are grooving in sync. If your computer’s moving slower than a snail on a lazy day, refusing to load, or throws the dreaded blue screen of death (BSoD) tantrum, chances are your motherboard needs a swap. Follow these steps to give your motherboard the boot and install a new one. Before you get your hands dirty, make sure your laptop is powered down and disconnected from the charger. Safety first, hero!
Step 1
– Grab those tweezers and gently lift off the plastic cover shielding the connector—it’ll come off like magic!
– Get your trusty spudger or use your fingernail to lift that battery straight up from the motherboard. Take it slow and steady—it’ll pop out just right!
Tools Used
Step 2
– Gently pop the battery out of the frame and let it make its grand exit from the device.
Step 3
– Grab your trusty Phillips #00 screwdriver and unscrew that 3mm screw that’s holding down the wireless adapter. You’ve got this!
– Gently slide the adapter out of its cozy connector. Easy peasy!
– Now, it’s time to detach the black and gray cables. Just give them a gentle tug upwards to separate them from the fan’s frame. You’re doing great!
Tools Used
Step 4
– Gently flip up the skinny black tab and unhook the cable that’s keeping the fan connected to the frame. You’re doing great!
– Carefully separate the cable from the frame of the fan. Keep it smooth and steady—you’re a pro at this!
Step 5
These screws won’t budge and are designed to stay snugly attached to the fan.
– Grab your trusty Philips #00 head screwdriver and loosen the five screws that are keeping the fan snugly attached to the motherboard. Easy does it!
Step 6
To locate the fans, look for the labels ‘FANR1’ and ‘FANL2’ on the motherboard – pretty straightforward, right?
– Carefully unplug the two cables hanging out on both sides of the fan like they’re fragile little wires of gold.
– Give the fan a nice lift upwards, scoop it out smoothly, and bid it farewell from the device.
Step 7
– Grab your Phillips #00 screwdriver and tackle those five 4 mm screws hanging out below the charging port. Easy peasy!
– Next up, use the same trusty Phillips #00 screwdriver to take out the two 3 mm screws. You’re cruising now!
– Keep that Phillips #00 screwdriver handy and remove the two 5 mm screws holding down the silver plate near the charging port in the top-right corner. You’re almost there!
– Slide that silver plate off the top of the charging port like a pro. Nice work!
Tools Used
Step 8
– Gently unplug all the ribbon cables from the motherboard.
– For each ribbon cable, flip up the small black latch at its connection point, then smoothly slide the ribbon out—like freeing it from a tiny handshake.
Step 9
– Unplug that black connector hanging out at the top right corner of the motherboard. It’s time to let it go!
– Take your trusty SIM eject tool and poke it into the tiny hole at the top. A little nudge should do the trick to pop that clip open.
– While keeping that gentle pressure on, give a little tug on the wire connected to it to pull it free. You’ve got this!
Step 10
– Carefully pop the motherboard out of the computer, like a pro.


