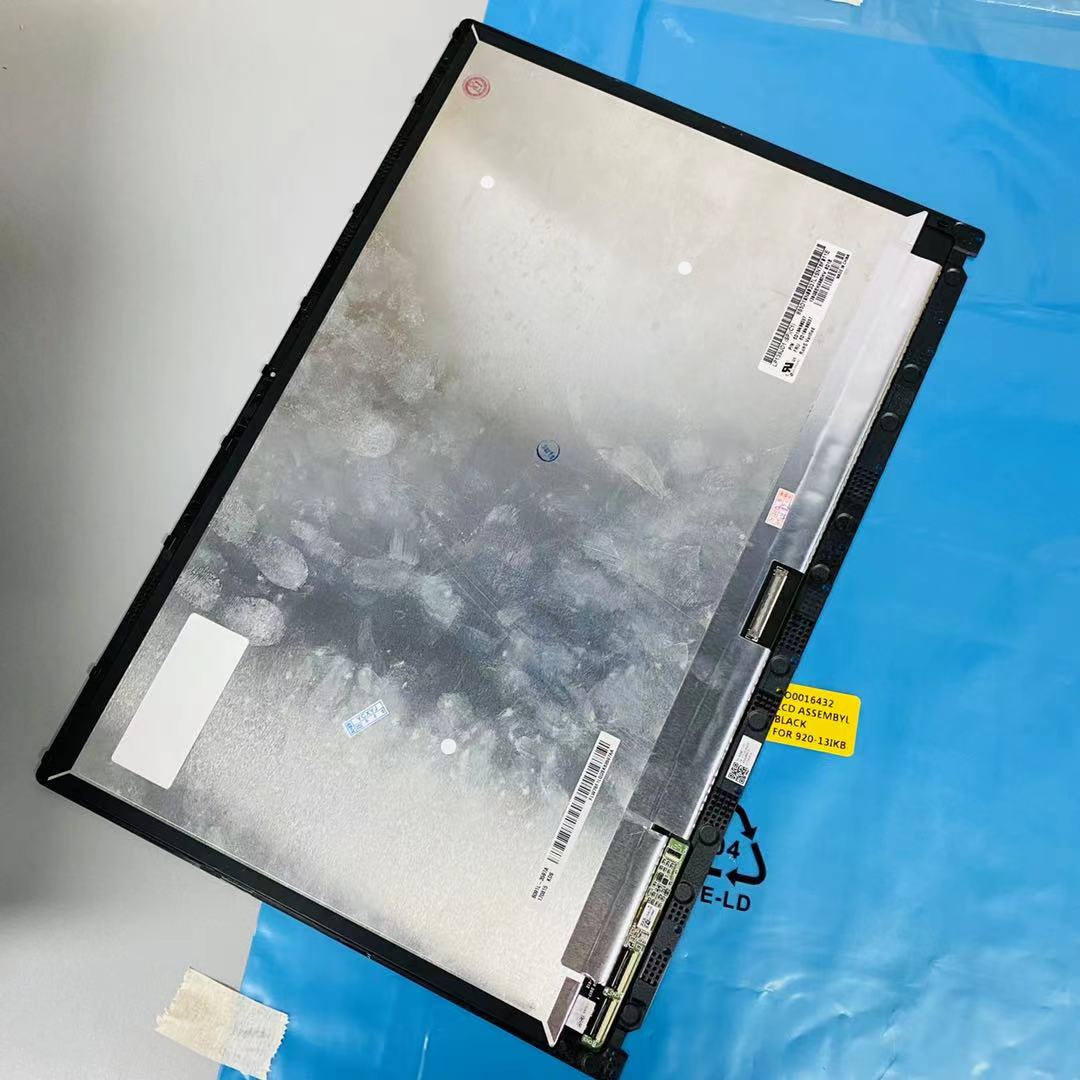
Lenovo Yoga 920-13IKB Screen Replacement
Duration: 45 minutes
Steps: 12 Steps
This guide will walk you through replacing the screen on your Lenovo Yoga 920-13IKB. We’ve broken it down into easy steps so you can get your device looking like new again. No need to worry, you’ve got this! And if you ever find yourself in a bind, don’t hesitate to schedule a repair.
Step 1


– Flip your device into tablet mode and let the screen take center stage—facing up and ready to roll.
Step 2


Hey, keep that metal cover straight and steady—it’s your device’s best friend, and bending it could mean trouble.
If you’re really stuck, don’t worry! You can try prying from the other side, just be super careful not to damage that screen or metal cover, okay?
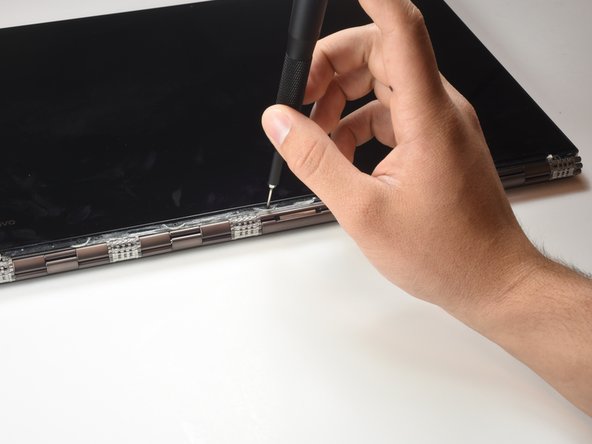
– Gently lift the metal cover from the bottom of the screen using the opening tool to uncover the edges of the white adhesive strip—steady hands win the day!
– Carefully pull the metal cover away from the device until it’s completely detached. Keep it smooth, no jerks.
– Clean off any old adhesive and straighten the metal cover when putting it back together—time for a bit of tidy-up magic.
– Remember to use fresh adhesive when reassembling. Give your repair the love it deserves!
Tools Used

Step 3

– Unscrew all eight of those tiny 3mm Phillips #000 screws chilling underneath the metal cover so you can finally free up that screen.
Step 4
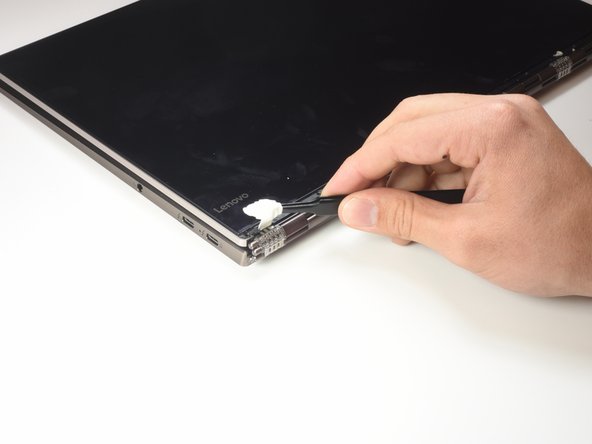

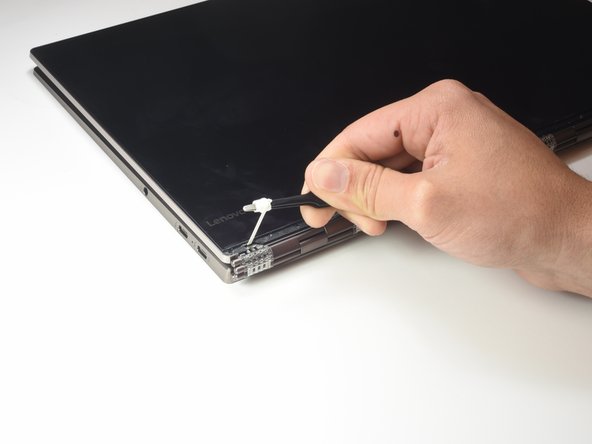
– Grab those sneaky white adhesives with your trusty tweezers and give them a little tug. Don’t be shy!
– Wrap the tape around the tweezers like you’re making a tiny roll of sushi, and voilà—success!
Tools Used

Step 5

– Time to get this repair started! Use the iFixit Opening Tool to carefully pry up the screen.
Tools Used
Step 6

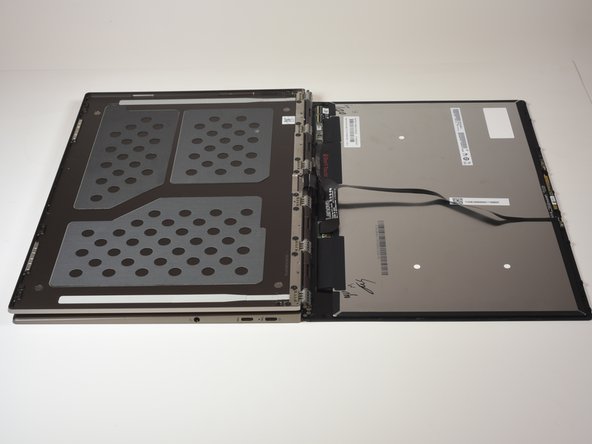
– Gently lift the screen with your hands and carefully flip it over so it’s face down—just keep the device right where it is. You’ve got this!
Step 7

– Lift the black tab at the top of the screen connector using the iFixit Opening Tool. A little gentle pressure should do the trick!
Tools Used
Step 8

– Gently grab those iFixit Tweezers and delicately disconnect the ribbon cable from its connector. You’ve got this!
Tools Used
Step 9

– Gently lift the tiny black tab on the smallest connector at the bottom of the screen using your opening tool. Take it slow and steady – it’s a delicate move!
Tools Used
Step 10

– Gently grab those iFixit Tweezers and delicately disconnect the ribbon cable from its connector. You’ve got this!
Tools Used
Step 11

– Gently flip up that chunky black cable at the bottom of the screen using your thumb—it’s like opening a tiny treasure chest!
– Grab your trusty opening tool and carefully lift up the brass tab to liberate the cable. You’ve got this!
Tools Used
Step 12

– Gently disconnect the ribbon cable from the connector to free the screen from the device. Take it slow and steady!

