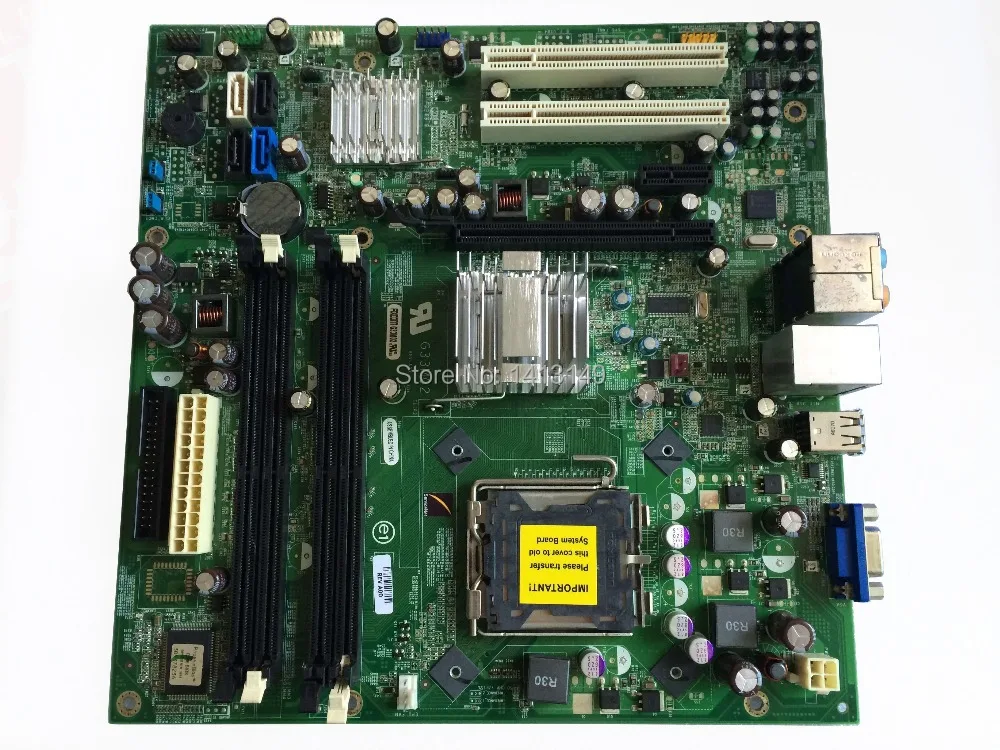
Dell Inspiron 530 Power Supply Replacement
Duration: 45 minutes
Steps: 7 Steps
Let’s dive into the exciting world of computer repair by tackling the power supply removal! Follow along as we guide you through this process with ease and a sprinkle of fun.
Step 1
– Lay the case down on its side, ready for action!
– Find and unscrew those two 13.1 mm thumbscrews with a smile.
Step 2
– Give the side panel a firm slide toward the back—it’s like opening a secret door! Then lift it off with style.
Step 3
– Find the power supply hiding in the upper-back corner of the case. Let’s get this repair started!
Step 4
– Time to disconnect the power! Carefully remove the two power cables from the motherboard.
Step 5
– Unplug the power cables connected to the CD/DVD drive and the hard drive like you’re liberating them from a tech nap.
Step 6
– Find those four Philips #0 8.9 mm screws chilling on the outside of the case and give them a little twist to remove them. You’re doing great!
Step 7
– Ready to wrap things up? Just retrace the steps in reverse to put your gadget back together again!
– And hey, if it’s feeling more like a puzzle than a project, remember you can always schedule a repair for some pro-level help.


