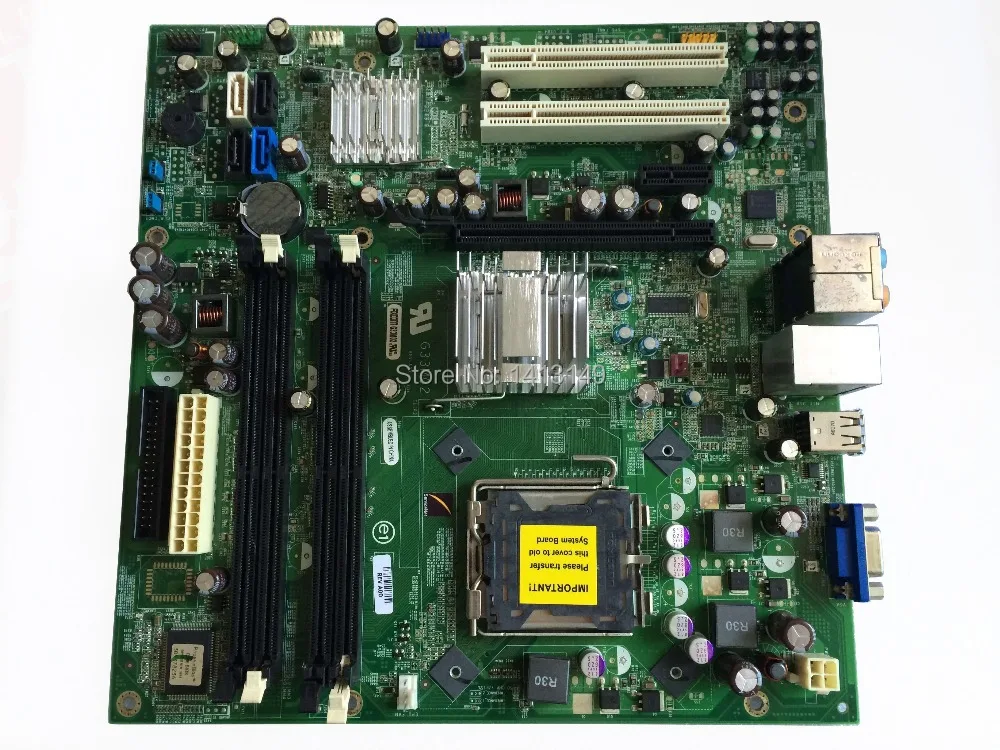
Removing Dell Inspiron 530 Processor
Duration: 45 minutes
Steps: 9 Steps
Here’s the deal: we’re talking about removing the computer’s processor—no sweat, just take it one step at a time! By the end, you’ll have it handled like a pro.
Step 1

– Set the case on its side, just like parking a tiny spaceship.
– Spot those two 13.1 mm thumbscrews and twist them out—they’re the key to your tech treasure hunt.
Step 2

– Push the side panel back with a bit of finesse and slide it off like a pro.
Step 3

– Find the processor’s heat sink and fan—it’s like the VIP lounge for your CPU. Let’s make it shine!
Step 4

– Unplug that fan power cable from the motherboard—it’s like giving your computer a breather!
Step 5

The screws won’t fully pop out, so don’t sweat it—just let them loosen up and keep moving!
– Let’s get started! Locate the four Phillips #0 screws at the corners of the fan and carefully unscrew them.
Step 6

– It’s time to get up close and personal with your device’s cooling system – carefully remove the fan and heat sink to move forward with the repair.
Step 7

– Give that silver lever a gentle press-down, let it pop back up, and you’re good to go!
Step 8

– Let’s get started by carefully opening the metal casing that covers the processor. This is where the magic happens, and we’re about to uncover it!
Step 9

– Now it’s time to put everything back together! Simply follow the steps in reverse order, and you’ll be all set.
– Pro tip: When you’re reassembling in step seven, make sure the corner of the processor with the gold triangle is facing the release lever. That’ll help everything click into place.
– Need a hand? If things are feeling tricky, don’t hesitate to schedule a repair.