Acer Aspire 5253 Motherboard Replacement
Duration: 45 minutes
Steps: 33 Steps
Step 1
– Flip that laptop over to get started!
Step 2
– Give that battery a little freedom! Slide the switch like shown, and you’ll see an unlocked lock pop up against a red background. You’re all set!
Step 3
– Next, give that other switch a little nudge while the unlocked symbol is still shining bright. The battery should pop up like it’s ready for a party, no longer snug against the bottom of the laptop.
Step 4
– Gently lift out the battery from the side closest to the switches. It’s like giving the battery a little nudge to freedom!
Step 5
– Boom! You’ve successfully popped out the battery—nice work!
Step 6
– Alright, time to play detective! Spot the two sneaky screws holding the back cover panel on the laptop. They’re the culprits keeping it all together.
Step 7
The screws measure 3/8″ in length with a 1/4″ head, perfect for the task—small but mighty!
– Carefully remove the two screws securing the back panel with a Philips #00 screwdriver. You’ve got this!
Step 8
– After you’ve successfully removed both screws, grab your trusty plastic opening tool and gently lift the panel. Start at the indented notch and move left and right as you go. You’re doing great!
Step 9
– Once you’ve loosened the panel using the plastic opening tool, slide your finger into the gap, grip it confidently, and pop that panel off the laptop like a pro.
Step 10
– Flip your laptop over like a pancake and pop it open, just like the image shows.
Step 11
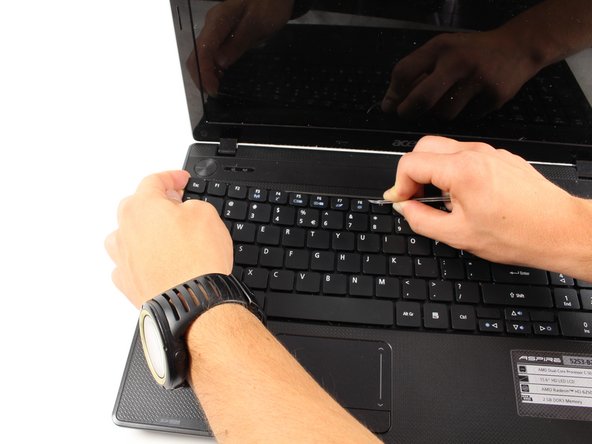
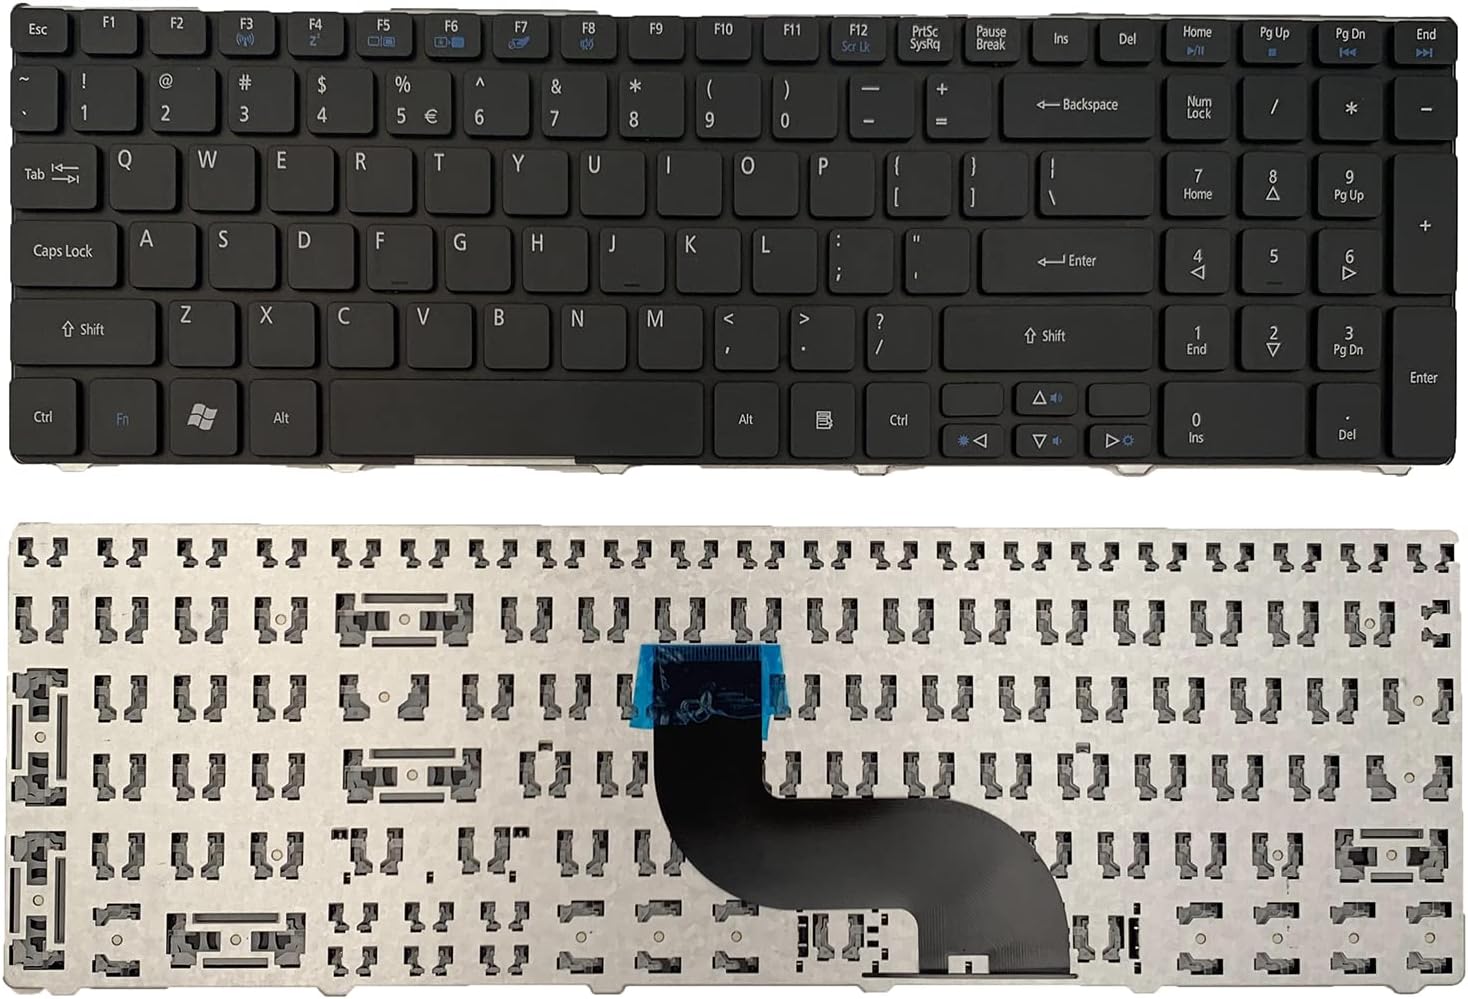
– Find those sneaky little tabs that are holding the keyboard hostage.
Step 12
The keyboard might flex and sound like it’s coming apart, but don’t sweat it—that’s totally normal!
– Grab some slim tweezers, gently squeeze the tabs holding the keyboard in place, and lift the keyboard’s edge. Easy does it!
Tools Used
Step 13
– When the keyboard starts popping up, use your hand to gently hold the detached section in the air. You’re doing great!
– Keep pressing those tabs and lifting the keyboard steadily—you’re practically a keyboard-lifting pro now!
Step 14
Be gentle when lifting the keyboard, excessive force can damage your laptop, so take your time and do it with care!
– Once you’ve carefully separated the keyboard from the laptop body, gently lift it up and tilt it forward. Let it rest comfortably on the laptop, just like it’s taking a little break. Check out the angle, and you’re good to go!
Step 15
– Grab your tweezers and slide the white tabs down on both sides—don’t worry, it’s super simple. This will pop the blue and black connector loose. Easy, right?
Tools Used
Step 16
Ensure it comes off smoothly, or you might end up tearing it. Just take your time and be gentle!
– Gently wiggle the blue and black connector free from its socket. You’ve got this!
Step 17
– Give the keyboard a gentle tug and watch it glide away from the laptop like it’s saying, ‘See ya later!’
Step 18
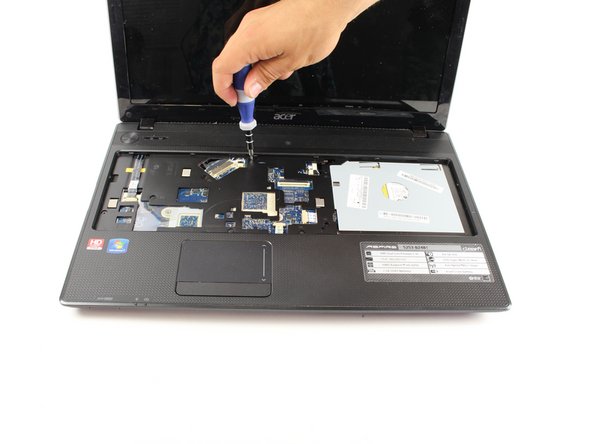
– Alright, you’ve got the essentials out of the way, now it’s time to tackle a few more screws! Flip your laptop over and grab your trusty Phillips #00 screwdriver. First up, let’s remove all the screws marked in red. These little guys are 1/4″ in head diameter and 3/8″ in length.
– Next, let’s focus on the screws in orange. Using that same Phillips #00 screwdriver, take these out. They measure 5/32″ in head diameter and 5/32″ in length. Make sure to keep these screws separate from the others!
Tools Used
Step 19
– Now, flip your laptop back over and grab your screwdriver. It’s time to unscrew those 1/4″ diameter, 7/32″ length screws shown in the picture. Take your time, but don’t stress – you’re almost there!
Step 20
– The highlighted areas indicate where various components connect to the motherboard, like the power button and trackpad. You’ll want to gently detach these connections just like you did with the keyboard, using your trusty tweezers. You’ve got this!
Tools Used
Step 21
– Take a close look at all the connectors up ahead. Grab your trusty tweezers and, with a light touch, work on the black part. Gently pull out both sides. Once it shifts back a bit, you can slide the connector out—just like you would with the keyboard.
– In the third picture, you’ll spot the speaker connector. This one’s a breeze—just grab it with your tweezers and pull it straight out. Easy peasy!
Tools Used
Step 22
– Grab a plastic opening tool or your trusty hands and gently lift up the corner of the laptop’s top panel. You’re doing great!
– Once you feel it start to budge, keep lifting with your tool or hand until it’s completely free. Almost there!
Step 23
– Pop off that top panel, and voilà, your laptop’s insides are on display. Now, all eyes on the prize—find that fan!
Step 24
Heads up! One of those screws is hiding right under a bundle of wires. Just take a moment to ensure you don’t accidentally snip those wires while you’re unscrewing. You’ve got this!
– Now that you’ve spotted the fan, grab that trusty screwdriver and get ready to unscrew those three highlighted screws. You’ve got this!
Step 25
– Gently lift the fan out of its cozy spot.
Step 26
– Carefully use tweezers to release the wires that connect the fan to your laptop – it’s a delicate step, but you’ve got this!
Tools Used
Step 27
– You’re making great progress! Now that the fan is fully disconnected, you can carefully pull it away from the laptop. Keep going, you’re doing awesome!
Step 28
– Alright, it’s time to zero in on those three screws—each with a 1/4″ diameter head and a 7/32″ length. Grab your trusty #00 Phillips screwdriver, show those screws who’s boss, and give them a quick twist to pop them out. Easy peasy!
Step 29
– Let’s get started by tracking down the two strips and the wire bundle that connect to the motherboard from other components.
Step 30
– Gently remove the connections, just like you did for the keyboard earlier—it’s all about finesse!
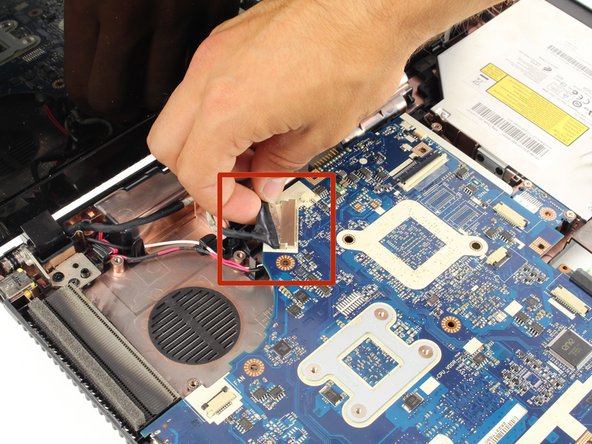
– The third type of connector, marked in red, is a simple one. Just grab one side of it, give it a gentle pull with your fingers, and it’ll pop right out like magic!
Step 31
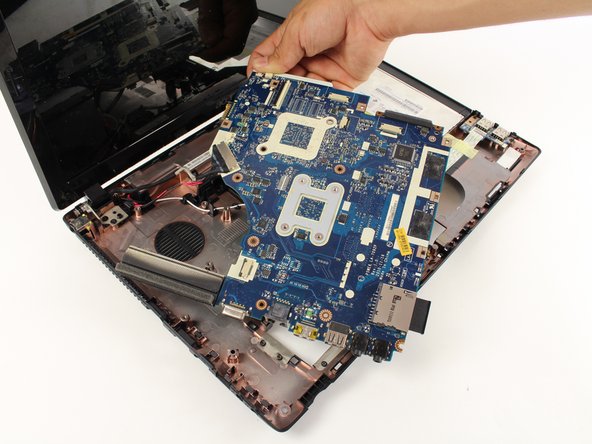
– Gently hoist up the motherboard like you’re lifting a newborn puppy, and spot the last bundle of wires waiting to be unplugged.
Step 33
– At this stage, your motherboard should be totally free of connections and ready to lift out smoothly.
Success!


