Acer Aspire 5253 Optical Drive Replacement
Duration: 45 minutes
Steps: 9 Steps
Step 1
– Flip that laptop onto its back, like you’re tucking it in for a nap.
Step 2
– Slide the switch to ‘unlock’ your battery—it’s the one with the red background and the open lock icon. Easy-peasy, right?
Step 3
– Now, flip the other switch while the unlocked symbol is still showing. The battery should pop up and no longer sit flush with the bottom of the laptop. You’re getting closer!
Step 4
– Now it’s time to remove the battery – simply lift it out of the laptop from the side closest to the switches.
Step 5
– You’ve done it! The battery is out and you’re one step closer to getting your device back in action. High five!
Step 6
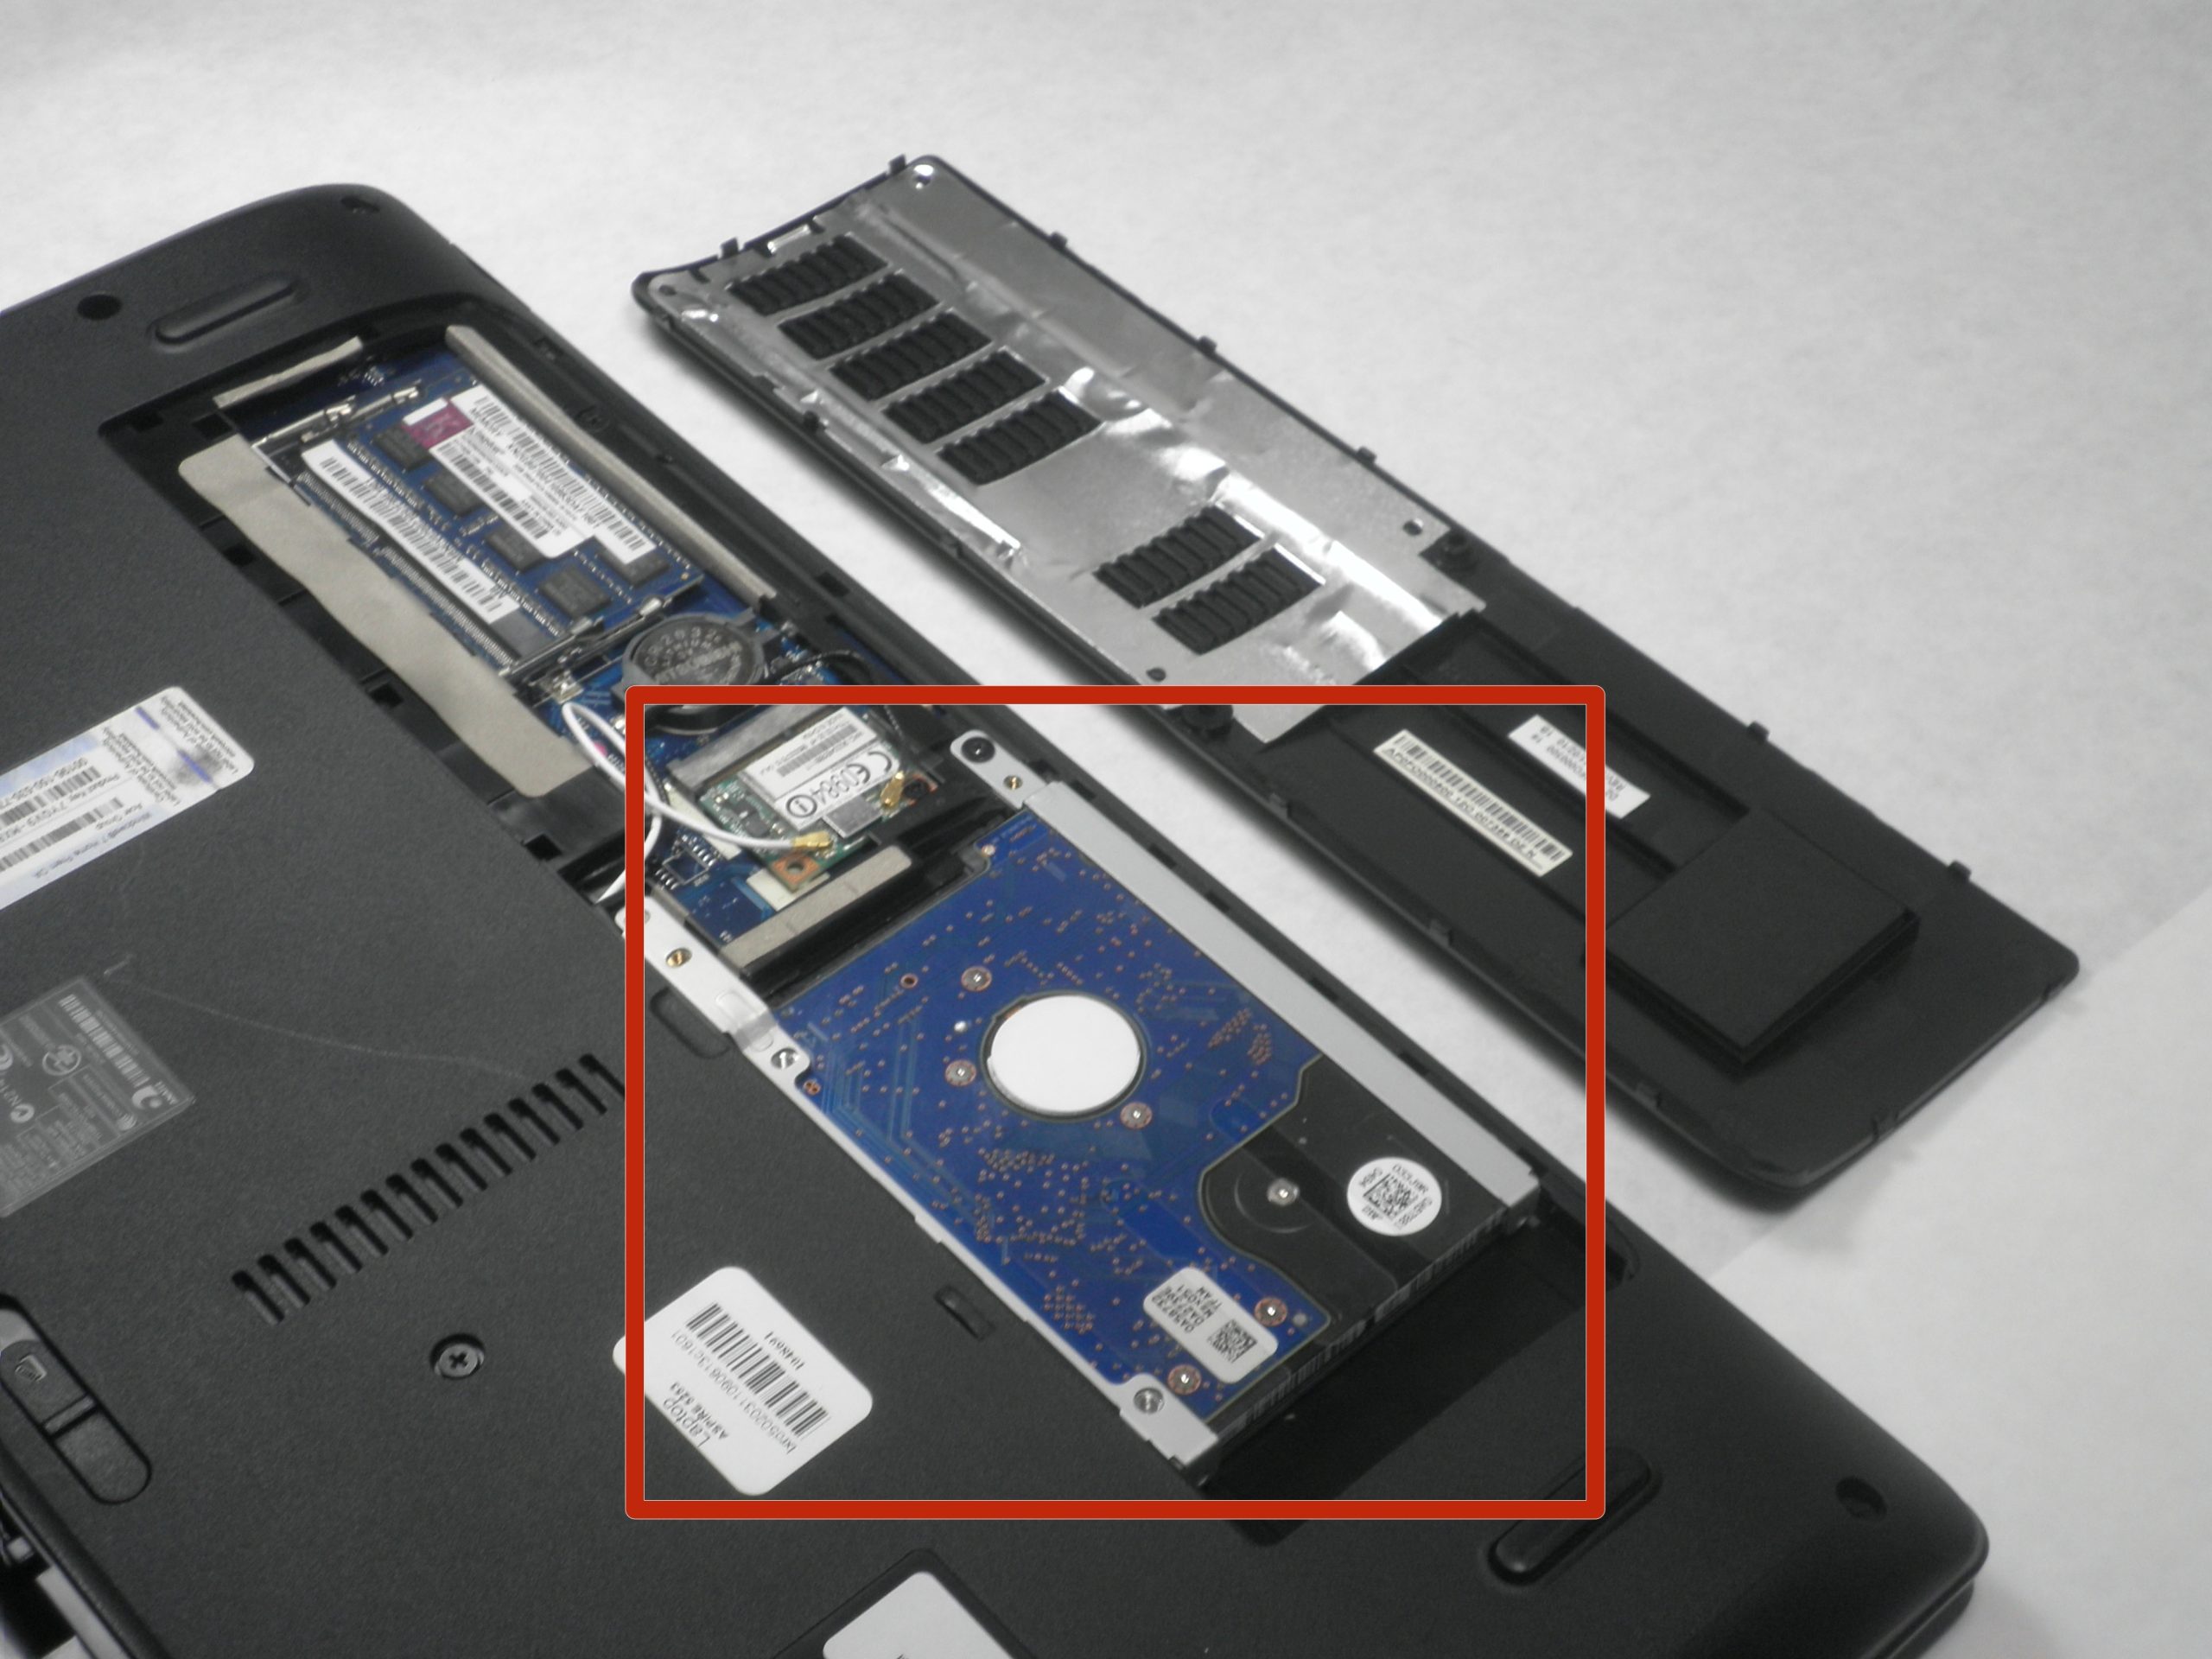
– Flip your computer over and find the sneaky little screw hiding between the battery and the cover panel, just like the picture shows.
Step 7
Alright, here’s the scoop: this screw is rocking a 3/8″ length and a 1/4″ head. It’s tiny but mighty, so handle it like the MVP it is!
– Let’s get started by removing the screw using a Phillips #00 screwdriver – easy peasy!
Step 8
– Gently wiggle the optical drive loose like you’re coaxing out a shy turtle.
Step 9
– To get your device up and running again, just work your way back through these steps in reverse – easy peasy!
– You did it! If you need help with another repair or have any questions, you can always schedule a repair


