Asus Transformer T100 Motherboard Replacement
Duration: 45 minutes
Steps: 20 Steps
The motherboard is the brain of your tablet, handling all the heavy thinking. To reach it, you’ll need to pop off the plastic backing, remove the battery, and take out the camera. Keep it steady—you’ve got this!
Step 1


– Pop the tablet off the base by pushing the big silver button hanging out down below. You’ll find this shiny button lounging in its spot at the tablet’s base.
– Once you’ve pressed the button, give the tablet a confident lift upward to remove it—it’s all about that upward motion!
Step 2


– Time to get started! Insert your trusty opening tool into the seam of the tablet casing and gently pry it upwards – you got this!
– With a bit of gentle pressure, you’ll start to feel the clips releasing. Keep going, you’re making great progress!
Step 3

Be careful not to snap those clips! If you do, the screen might not stay as secure as it should. Take your time, and if you’re unsure, just remember we’re here to help. If needed, you can always schedule a repair.
– Gently work the tool around all four edges of the tablet, making sure those clips let go like they’re supposed to.
Step 4


– Pop off that rear casing like a pro!
Step 5

– Check out the red square in the image—that’s where the camera board is hanging out.
Step 6


– Grab your trusty Phillips #1 screwdriver and let’s tackle those two screws on the camera board. You’ve got this!
Tools Used

Step 7


– Gently lift the power button cable retention clip on the motherboard and carefully pull the cable out. Take your time, no rush here.
Step 8


If you’ve done this step right, the camera board should now be nice and loose, with the tape still holding onto the connection. You’re on the right track!
– Find that shiny silver tape on the camera connection piece that links up with your tablet. It’s like a treasure hunt!
– Carefully peel back the silver tape from both sides of the connection. You’re doing great!
Step 9


This port is clip-free! Just give that orange piece a gentle tug, and it should slide right out.
– Carefully wiggle the Orange ribbon cable free from its connection port.
Step 10

– Gently peel away the copper tape like you’re unwrapping a present!
Step 11


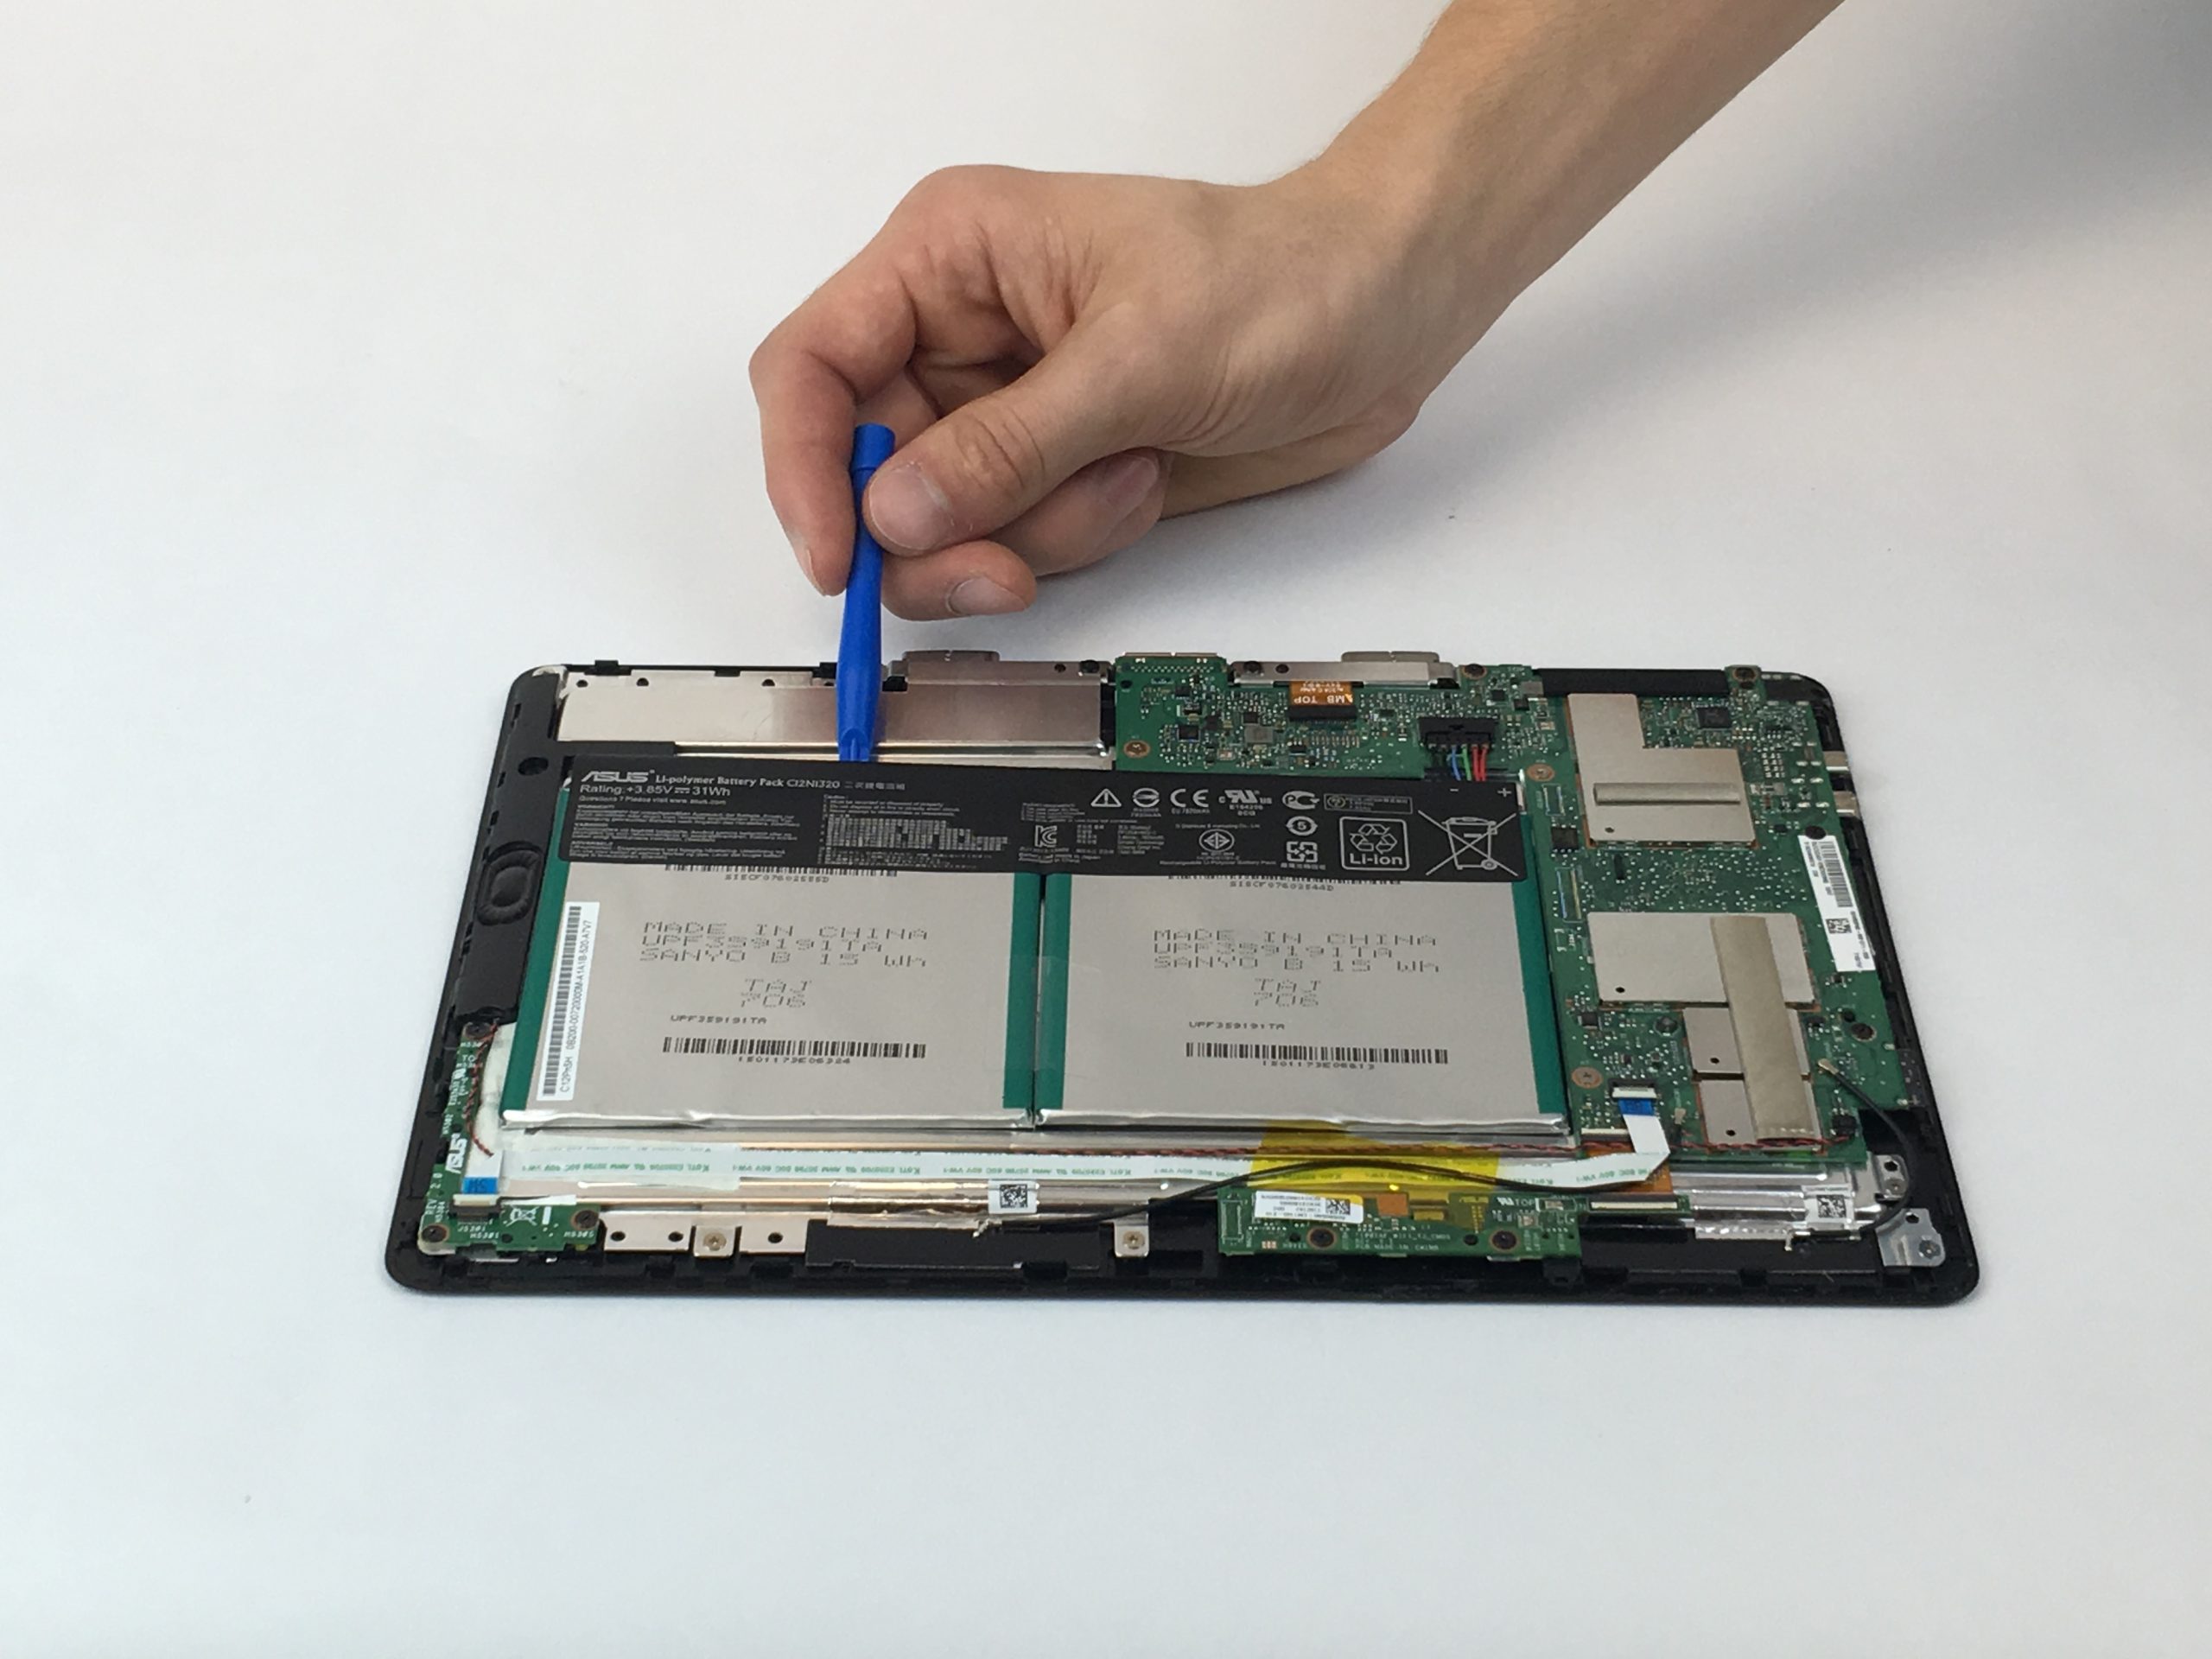
– Peel back that funky see-through yellow plastic chillin’ above the battery connection port—be gentle while doing it!
Step 12


As you lift the battery out, the wire harness will slide out smoothly—like it’s saying, ‘See ya later!’
– Turn the device so the top of the screen faces you. Slide the plastic opening tool under the battery, and with a bit of finesse, gently pop it out.
Step 13


– Carefully detach the battery by gently prying it away from the connected side. Don’t rush—steady hands win the race!
– The sticky adhesive backing will release as you lift the battery, making it easier to peel away.
Step 14

– Grab your trusty Phillips #1 screwdriver and unscrew the marked screws. They’re just waiting for you to give them a little twist!
Tools Used
Step 15

– Spot the funky little black and red wire twisted together near the bottom of the motherboard.
– Grab your tweezers and, with a smooth motion, carefully ease that black and red wire out of its snug little home in the connection port on the motherboard.
Tools Used

Step 16


Lift this wire straight up—it’s an upward motion, not a sliding one like the other ports. You’ve got this!
– Find the black wire with a silver connection, right next to the black and red wire. It should be easy to spot.
– Gently use your tweezers to disconnect that wire from the motherboard. It’s a simple step, but handle it with care.
Tools Used
Step 17


– Near the top of the motherboard, grab your trusty tweezers and smoothly coax that orange connector right out of its port—no rush, just a gentle slide!
Tools Used
Step 18


Be gentle when using tweezers – make sure you’re only grabbing the soft protective layer, and peel it off with care.
– First things first, find that LCD connection port, which is right next to the orange connection apparatus port. It’s like a little treasure waiting to be discovered!
– Now grab your trusty tweezers and gently peel off the protective layer from the connection port. It’s like unwrapping a gift, but for your device!
– With the tape gone, your LCD connection port should look all shiny and ready for action. Just like new!
Tools Used
Step 19


This part can be a little tricky since the LCD connection has two sections. Try gently wiggling one side free first, then slide out the second side afterward. Patience is key!
– Grab those tweezers and carefully pop the LCD connector out of its port—like a pro!
Tools Used
Step 20


There’s a little bit of adhesive hanging out on the backside of the motherboard, making it just a tad resistant to that folding action.
– Use the top edge of the motherboard as a pivot point, and gently swing it back until it rests snugly outside the tablet housing.
– When you’ve nailed this step, it should look just like the image above.