Dell Inspiron 1545 CPU Heat Sink Replacement
Duration: 45 minutes
Steps: 7 Steps
If your laptop feels like it’s running a hot marathon, it might be time to give the CPU Heat Sink some TLC. This essential piece of hardware keeps your laptop’s brain—the CPU—chilled out and in check. Let’s dive into this repair with confidence and get your laptop back to being cool, calm, and collected!
Step 1

– Alrighty! Before you even think of popping out that battery, make sure the laptop is unplugged from all power sources and fully shut down. Safety first, always!
– Flip that laptop over like a pancake – gotta access its backside!
Step 2

– Push down the release latch and gently pull the battery backward at the same time—like giving it a little nudge to freedom.
Step 3

– Gently slide the battery out of its bay like you’re nudging a napper awake—take it slow and steady.
Step 4

The top 3 screws are ‘captive’ (they’re held in place by a retaining ring) and won’t budge an inch.
– Carefully remove the four 3mm Phillips #1 screws that are keeping the base cover snug and secure. You’ve got this!
Step 5


– Gently pop the base cover up and away from your laptop like you’re unveiling a surprise package!
Step 6

These screws are held in place by a washer, so don’t worry if you can’t fully take them out!
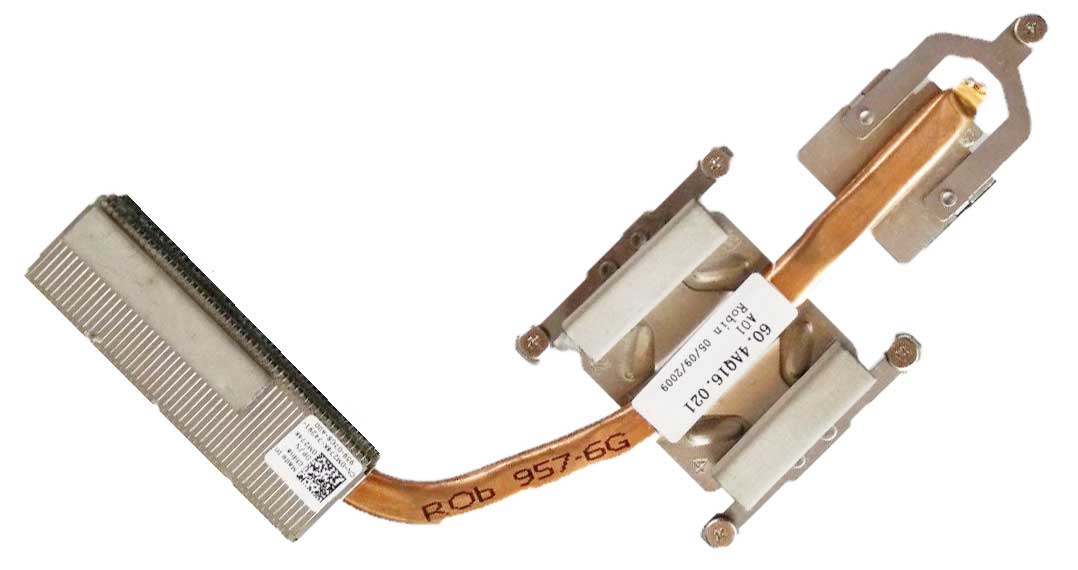
– Unscrew those 5 little screws (4mm, Phillips #1) that keep the CPU Heat Sink snugly attached to the motherboard. You’ve got this!
Step 7

– Gently lift the Heat Sink unit to set it free.