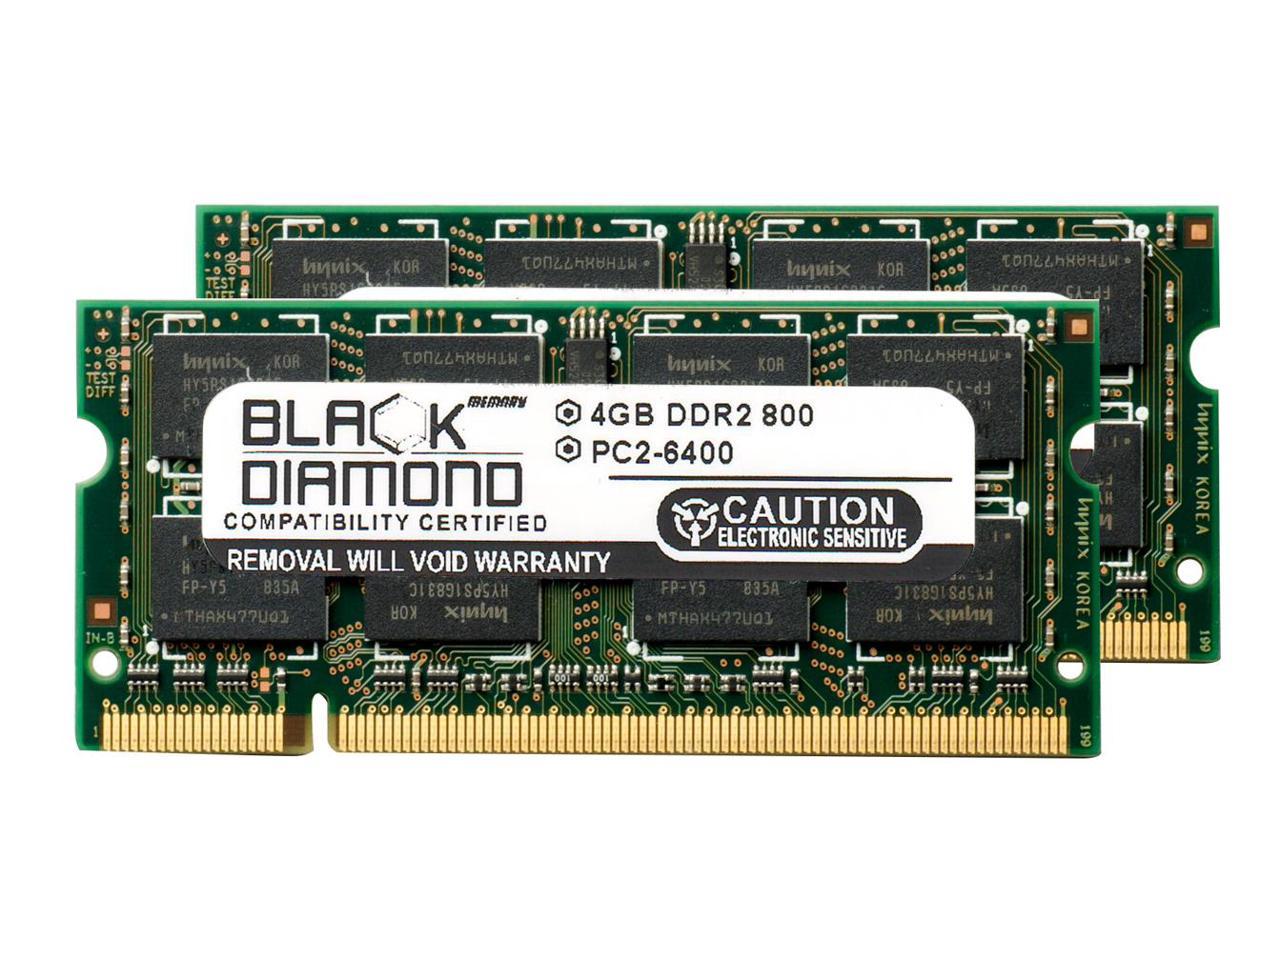
Dell Inspiron 1545 RAM Replacement
Duration: 45 minutes
Steps: 6 Steps
Get ready to breathe new life into your device! This guide is perfect if one of your RAM modules has gone rogue or you’re itching to upgrade to a bigger, better RAM setup – if your device allows it, that is.
Step 1
– Before you start removing the battery, make sure your laptop is completely powered off and unplugged from any power sources. Safety first, right?
– Next, flip your laptop over so you’re working from its back side. You’ll be able to see everything you need to get to!
Step 2
– Press the release latch and smoothly pull the battery backwards — like you’re unlocking a secret door.
Step 3
– Gently slide the battery out of its cozy little bay—it’s easier than it sounds!
Step 4
The top 3 screws are designed to stay put thanks to a handy retaining ring, so don’t worry about them falling out on you!
– Whip out your trusty Phillips #1 screwdriver and unscrew the four 3mm screws holding down the base cover—don’t worry, they’re more bark than bite!
Step 5
– Gently pop off the base cover by lifting it straight up—no need to wrestle with it, just finesse it away!
Step 6
– Gently push the securing clips on both ends of the memory stick until the stick pops up like it’s saying, ‘I’m free!’
– Carefully lift the memory stick out of the laptop. No tugging, just a smooth lift-off!
– Repeat the same moves to take out the second memory stick. You’ve got this!


