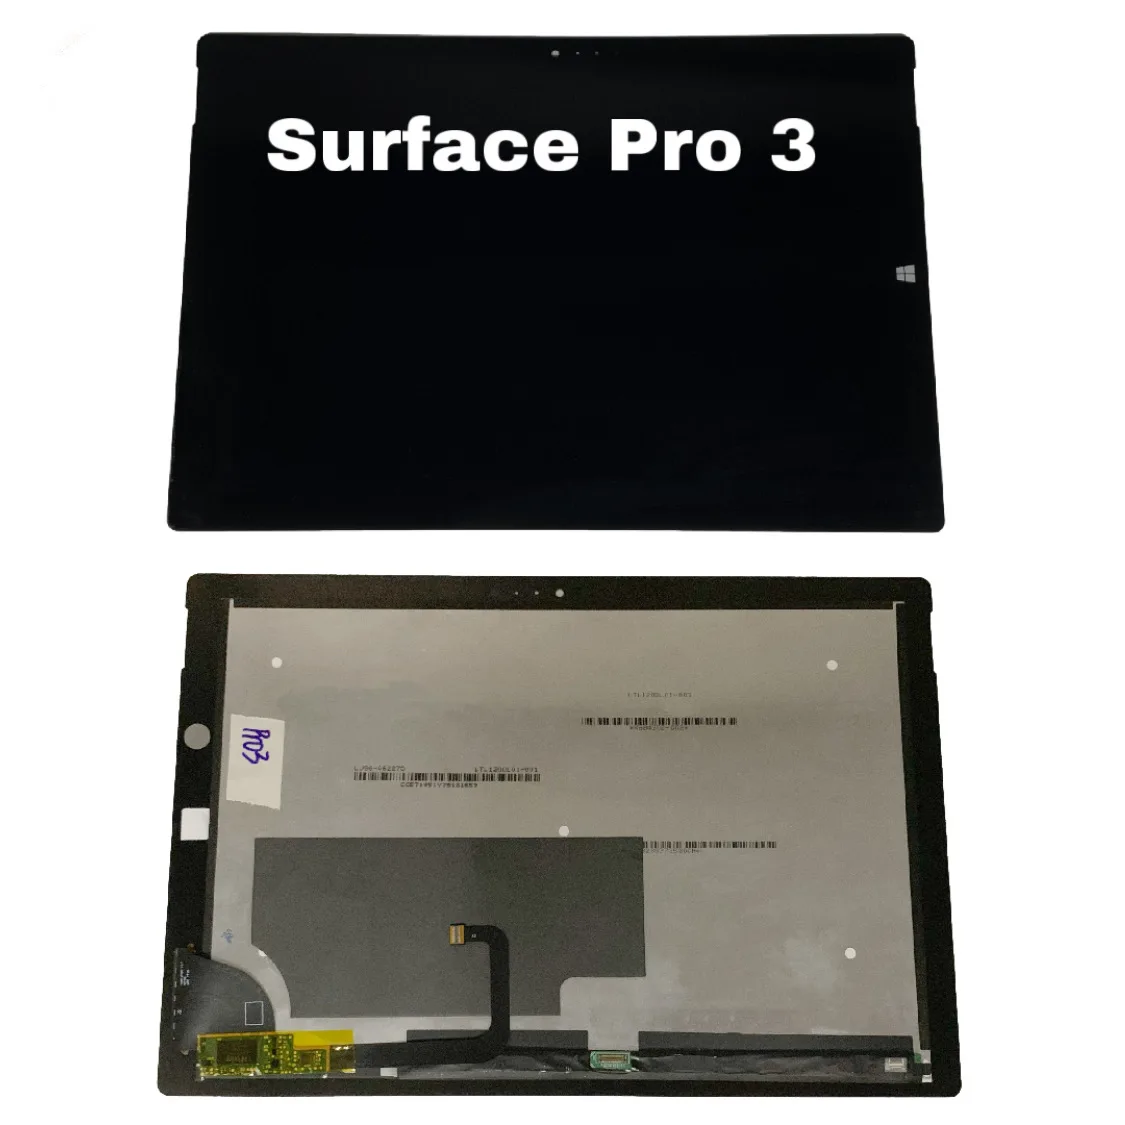
Microsoft Surface Pro 3 Headphone Jack Replacement
Duration: 45 minutes
Steps: 14 Steps
Ready to take on the challenge of removing your Surface Pro 3’s headphone jack? First things first, we’ll carefully detach the screen and digitizer to get to the heart of the action. Then, it’s straight to extracting the headphone jack itself. Take it step by step, and you’ll have it done in no time!
Step 1


Before diving in, make sure your Surface Pro’s battery is running low—below 25%. Trust us, nobody wants a fiery surprise or an unplanned explosion from a charged lithium-ion battery during a repair.
Take it easy with that heat gun! Too much heat can mess up your display or battery, and we definitely don’t want that.
The display is quite snugly attached to the device’s frame.
– Ready to take that display off? Warm up the adhesive first by applying heat. A heat pad, heat gun, or iOpener works great. No fancy tools? A hair dryer will do the trick in a pinch.
– Gently and evenly heat the edges of the display until it’s just a bit too hot to touch. Try to keep it at that temperature for a few minutes. Steady hands, you’ve got this!
Tools Used

Step 2


Be gentle, friend! The glass is super thin and can crack if you apply too much pressure. Take your time and work carefully.
Heads up! The Wi-Fi antennas are stuck under the screen border at the top, near the camera. They can get damaged easily, so be extra careful when prying that top edge loose. If needed, add a bit more heat to help things along.
Got a seriously cracked display? No worries! If your suction cup isn’t sticking, try putting a layer of packing tape over the screen first. You could also get creative and superglue that suction cup right to the display. Just make sure you’re ready for a little adventure!
– Grab a suction cup or an iSclack and give the glass a gentle tug to create a small gap between the glass and the metal frame. You got this!
– Ease an opening pick into the gap you’ve created, and start slicing through that adhesive like a pro.
– Glide the pick carefully along the sides and bottom edges of the display to separate the adhesive. If things get sticky (pun intended), apply a bit more heat to loosen it up.
Step 3


The screen is super delicate and can break easily. Watch out for those sharp glass pieces while you work!
– Keep that heat gun buzzing as you move around the screen, warming up each section just right.
– While you’re doing that, grab your trusty plastic opening tool and those handy opening picks to gently nudge the screen free.
Tools Used
Step 4


– Gently lift the screen while being super careful not to damage any wires. You’ve got this!
Step 5


Watch out for that sneaky little rectangular bridge connector hiding underneath! It’s small, so keep an eye on it—don’t let it escape!
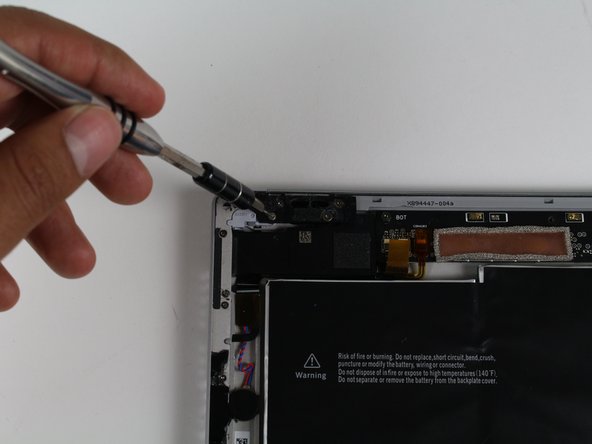
– Take out the 3 mm T3 Torx screw holding the battery connector in place, then pop that connector free like a pro.
Step 6


Watch out for that little, rectangular bridge connector hiding underneath! It’s a sneaky one, so make sure it doesn’t wander off while you’re working.
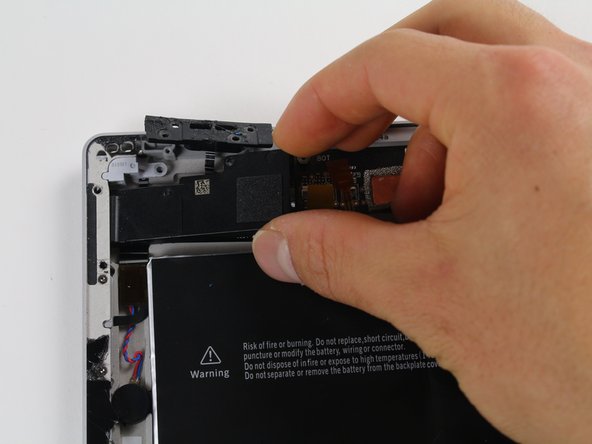
– Twist out that lone 4 mm T3 Torx screw holding the display cable like a pro.
– Gently pop up the connector to free the cable—you’re on a roll!
Step 7


– Grab that vibrant orange cable attached to the shiny silver connector—don’t be shy!
– Gently lift the orange cable upwards until you hear that satisfying click as the connector pops off.
– Once you’re done, voila! The screen is officially divorced—completely disconnected.
– Heads-up: Your new display might not have all the bits and pieces you need to wrap things up. Hold onto the parts from the original display and migrate them over to the new one like a pro!
Step 8

– Pop out that lone 4 mm T5 Torx screw—you’re unstoppable!
– Tackle the quartet of 4 mm T3 Torx screws next. Four screws? No sweat!
– Lastly, handle the single 7 mm T3 Torx screw. You’ve got this!
Step 9

– Grab that trusty 4mm nut driver and spin off the nut like a pro.
Step 10

– Grab those trusty plastic opening tools and gently pop off the black piece.
Step 11

– Gently wiggle that gray headphone jack free and set it aside with care!
Step 12

– Gently pry away the black ribbon wire from the device using the trusty metal spudger. You’ve got this!
Tools Used


Step 13

– Unscrew the two 4 mm T3 Torx screws—time to show them who’s boss!
Step 14


– You made it! To put everything back together, just follow these steps in reverse. Nice job!
– If you need help with anything or want to get your device repaired, you can always schedule a repair.