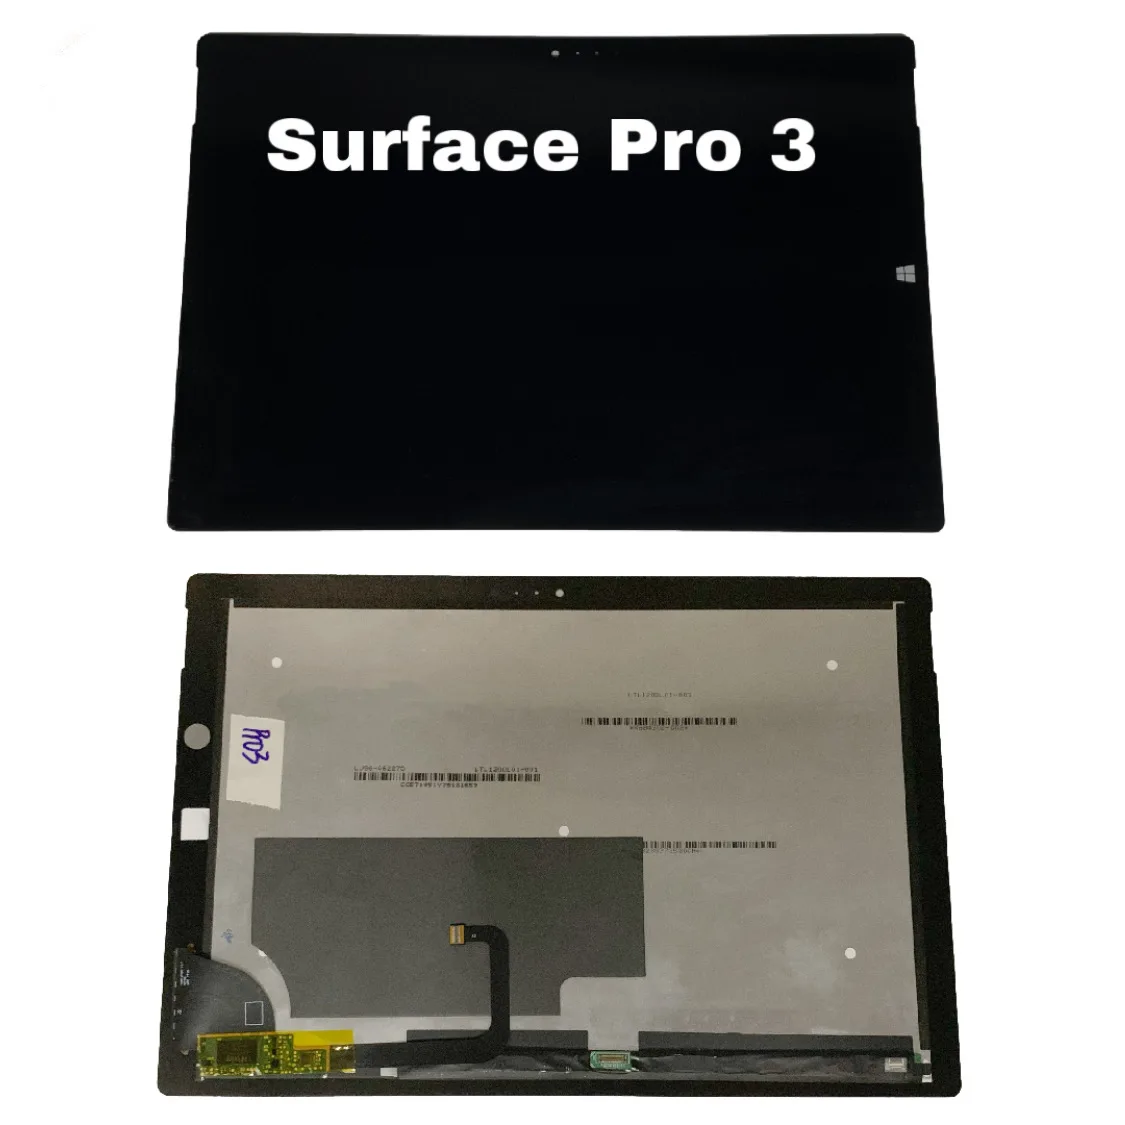
Microsoft Surface Pro 3 Rear Facing Camera Replacement
Duration: 45 minutes
Steps: 11 Steps
Get ready to dive into the world of Surface Pro 3 repairs! This guide will walk you through the process of gently removing your rear camera with confidence. We’ll kick things off by taking off the screen and digitizer, and then we’ll smoothly transition right into the fun part—detaching the rear-facing camera. Let’s get started!
Step 1


Before diving in, make sure to drain that Surface Pro battery to below 25%. A fully charged lithium-ion battery can be a bit of a drama queen and might catch fire or even explode if it gets a little too rough during the repair.
Watch out when using a heat gun! Too much heat can turn your display and/or battery into a sad story. Keep it cool and steady!
The screen is seriously stuck to the frame like it’s holding on for dear life.
– Time to loosen that display! Warm up the adhesive by hitting it with some heat—think heat pad, heat gun, or an iOpener. If you’re improvising, a trusty hair dryer works too.
– Keep the heat steady and focus on the edges of the display. You want it warm enough that touching it makes you pull your hand back (but not molten lava hot). Hold that warmth for a few minutes to make the adhesive easier to work with.
Tools Used

Step 2


Handle this step like a pro—remember, the glass is super thin and cracks faster than fragile vibes, so don’t go Hulk-mode on it.
Heads up—the wi-fi antennas are glued along the top edge near the camera. They’re delicate, like your favorite vinyl record, so take your time, add extra heat if needed, and glide through this step with care.
If your screen is sporting some serious cracks, don’t worry if your suction cup doesn’t want to stick right away. A little trick is to first cover the display with some packing tape to give it a better surface to cling to. If that doesn’t do the trick, you can get a bit crafty and superglue your suction cup to the display. You’ve got this!
– Grab a suction cup or an iSclack and gently pull up on the glass to create a tiny gap between the glass and the metal frame. You’ve got this!
– Carefully slide an opening pick into that gap to slice through the adhesive. Take your time; precision is key!
– Now, glide the pick around the edges and bottom of the display to sever the adhesive. If things get a bit sticky, feel free to apply some extra heat!
Step 3


Handle with care! The screen is ultra-thin and fragile, so take it slow and steady—watch out for any sneaky shards of broken glass.
– Keep that heat gun moving around the screen like you’re giving it a warm hug!
– As you glide around, grab your trusty plastic opening tool and those handy opening picks to gently coax the screen away from its cozy spot.
Tools Used
Step 4


– Gently lift the screen up, making sure to avoid any wires getting snagged. You’ve got this!
Step 5


Don’t let that tiny, rectangular bridge connector slip away – it’s hiding underneath, so keep a close eye on it!
– Pop out that 3 mm T3 Torx screw holding down the battery connector, then gently unplug the battery connector. You’ve got this!
Step 6


Watch out for that sneaky little rectangular bridge connector hiding underneath! It’s small, but it’s important—don’t let it escape your grasp!
– Let’s get started by removing the single 4 mm T3 Torx screw that’s holding the display cable in place.
– Now, gently lift the connector to release the cable – you’re making great progress!
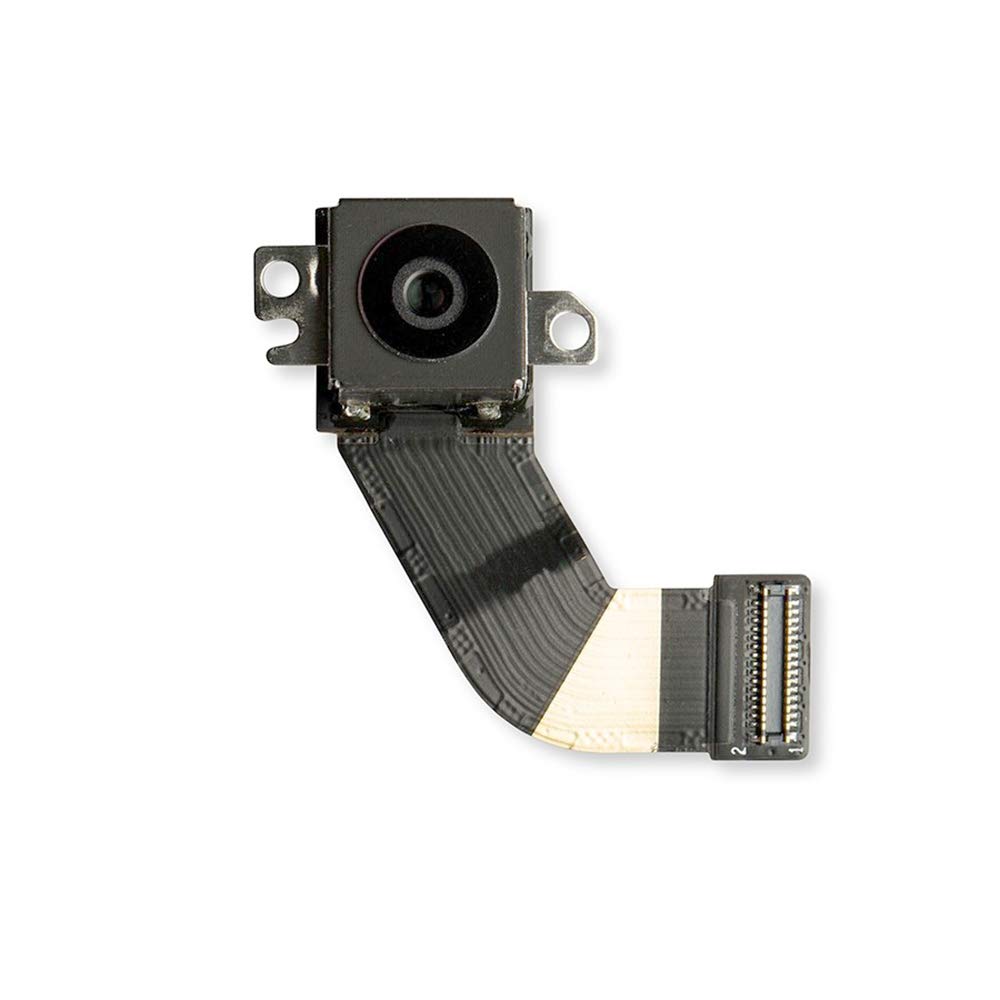
Step 7


– Grab that bright orange cable connected to the shiny silver connector.
– Gently lift the orange cable until the connector gives a little pop and comes off.
– Congratulations! The screen is now fully disconnected.
– Before you get too excited, remember that the replacement display might not come with all the necessary parts. So, be sure to save every bit from the original display and transfer what you need to the new one.
Step 8

– Use your T3 Torx Screwdriver to pop out a single, snazzy 4mm screw—it’s not as tricky as it sounds!
– Next up, grab that same T3 Torx Screwdriver and tackle the quartet of slightly beefier 7mm screws. Don’t worry, you’ve got this!
Tools Used

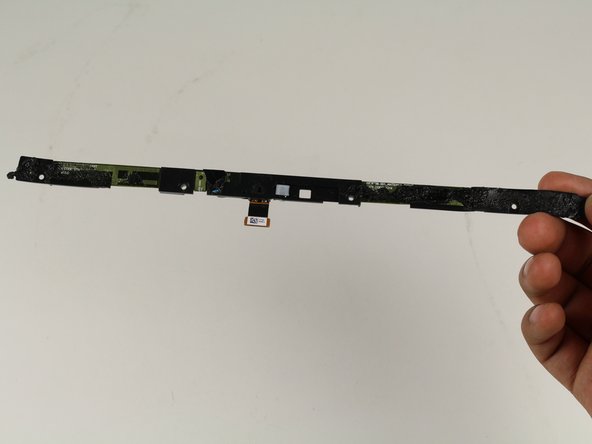
Step 9
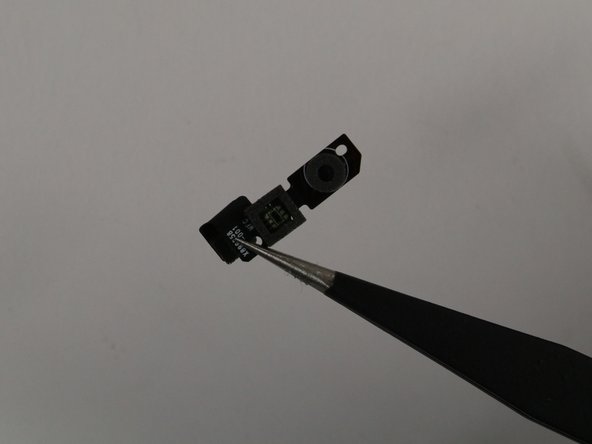

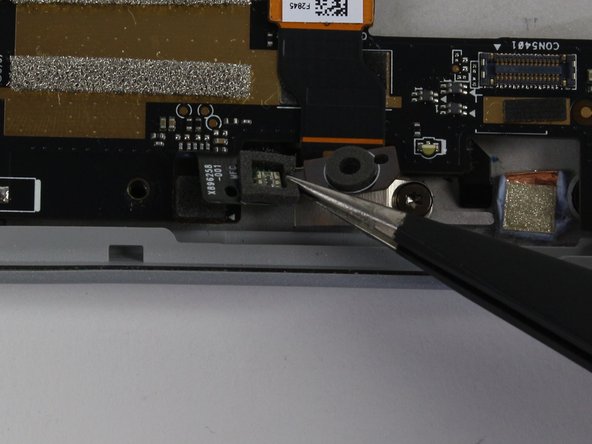
– Find the black piece in the image.
– Carefully pop it off by using tweezers to lift it up gently. Easy does it!
Tools Used

Step 10
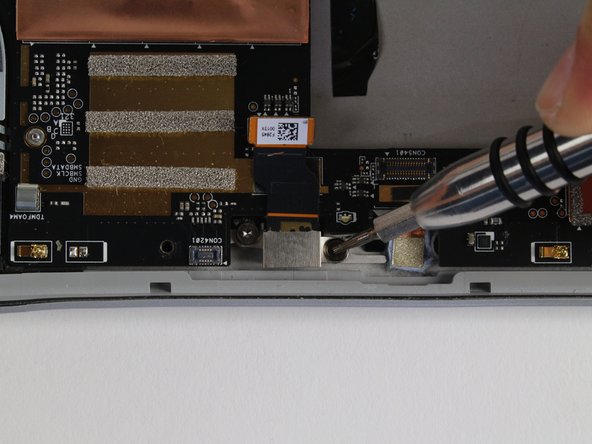

– Unscrew those two 4mm screws using your trusty T5 Torx Screwdriver. You’ve got this!
Tools Used

Step 11

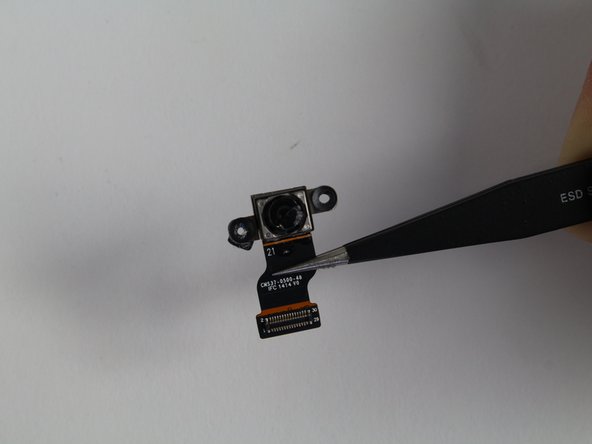
– You did it! To put everything back together, just follow these steps in reverse. Nice job!
– If you need help or have any other devices that need fixing, you can always schedule a repair.