
Table setting for the Mousta 3D Printer – Builder Line 2016
Duration: 45 minutes
Steps: 4 Steps
Step 1


– Fire up your machine and head to the Quick Settings in the Home Menu – let’s get this repair started!
– Now, select the ‘Level Table’ option. Easy peasy!
– Choose ‘Home XYZ’ and watch as the head moves to its starting position. You’re making great progress!
Step 2


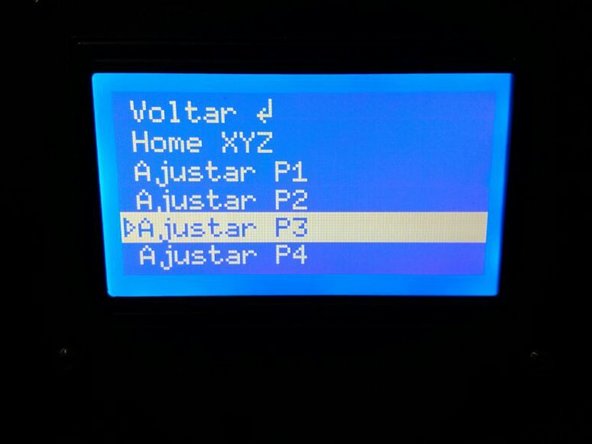
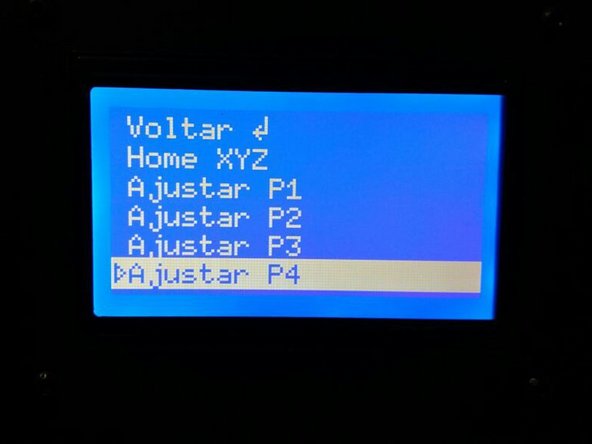
– Level the table by adjusting all 4 points, just like the diagram shows. Easy peasy!
– Pick the ‘Set P1’ option to adjust the height at the first point, and you’re on your way to a perfectly leveled table.
Step 3
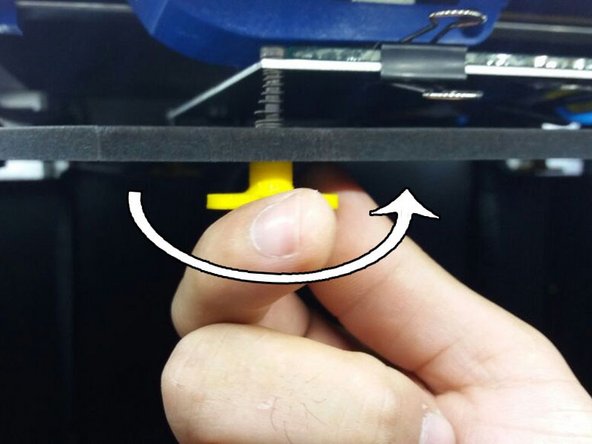

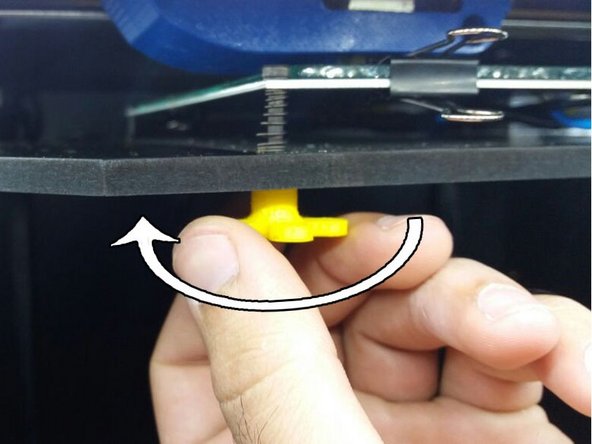
– Keep the nozzle just a smidge away from the glass—think the thickness of a sulphite sheet.
– Want to bring the table closer to the nozzle? Just give that rosette a clockwise twist!
– Need to move the table away from the spout? A quick counterclockwise turn on the rosette will do the trick!
Step 4

– Boom! Your table is perfectly level!
–
Success!