Xbox One Kinect LED Sensor Replacement
Duration: 45 minutes
Steps: 4 Steps
When the LED sensor is glowing, it means your sensor is happily connected! But if it’s playing hard to get and stays dark, the sensor module might be the culprit. Keep your chin up, and let’s figure this out together!
Step 1

– First things first: peel off that sticker on the underside of your device—like revealing a secret doorway to adventure!
– Underneath, you’ll find four trusty 3.1×23.5 mm T10 screws. Grab your screwdriver and unscrew with finesse. Keep track of these screws; they hold the key to your repair progress.
– While you’re down there, go ahead and remove the four smaller 3.1×7.5 mm T10 screws hanging out in the same area. Jot down their sizes and exact locations to stay organized and keep the screw crew together.
Step 2


– Pop off the back panel like a pro. No stress, it’s easier than you think!
– Slide off those black panels on either side of the Kinect with style, and unscrew the 3.1×7.5mm T10 screws hiding underneath. You’re practically an expert already!
Step 3


– With your thumbs, give a solid press on the outer case on both sides of the stand. This will help you pop out the internal assembly like a pro.
– Now, gently lift the internal assembly using your trusty spudger.
– Carefully remove the assembly from the case. Voilà! You’ve just unlocked access to the inner shell of the Kinect, along with the heat sink, microphone, and LED sensor.
Tools Used

Step 4


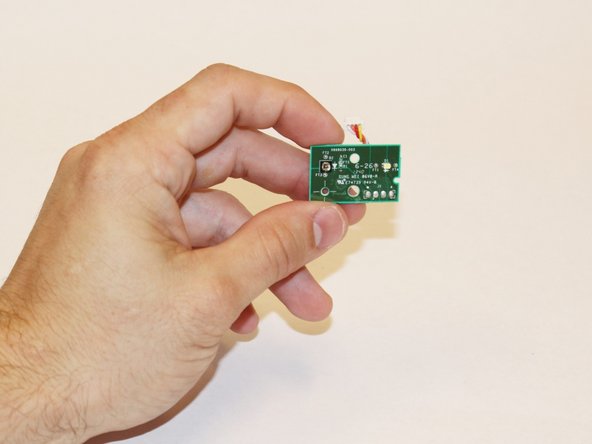
– First, carefully disconnect the ribbon cable that connects the sensor driver board to the motherboard – it’s time to set it free!
– Next, remove the 3.0×7.5 mm T9 screw that’s holding the sensor driver board to the heat sink. You’re making great progress!
– Now, gently remove the infrared sensor board for the Kinect. You’re doing amazing – keep it up!
