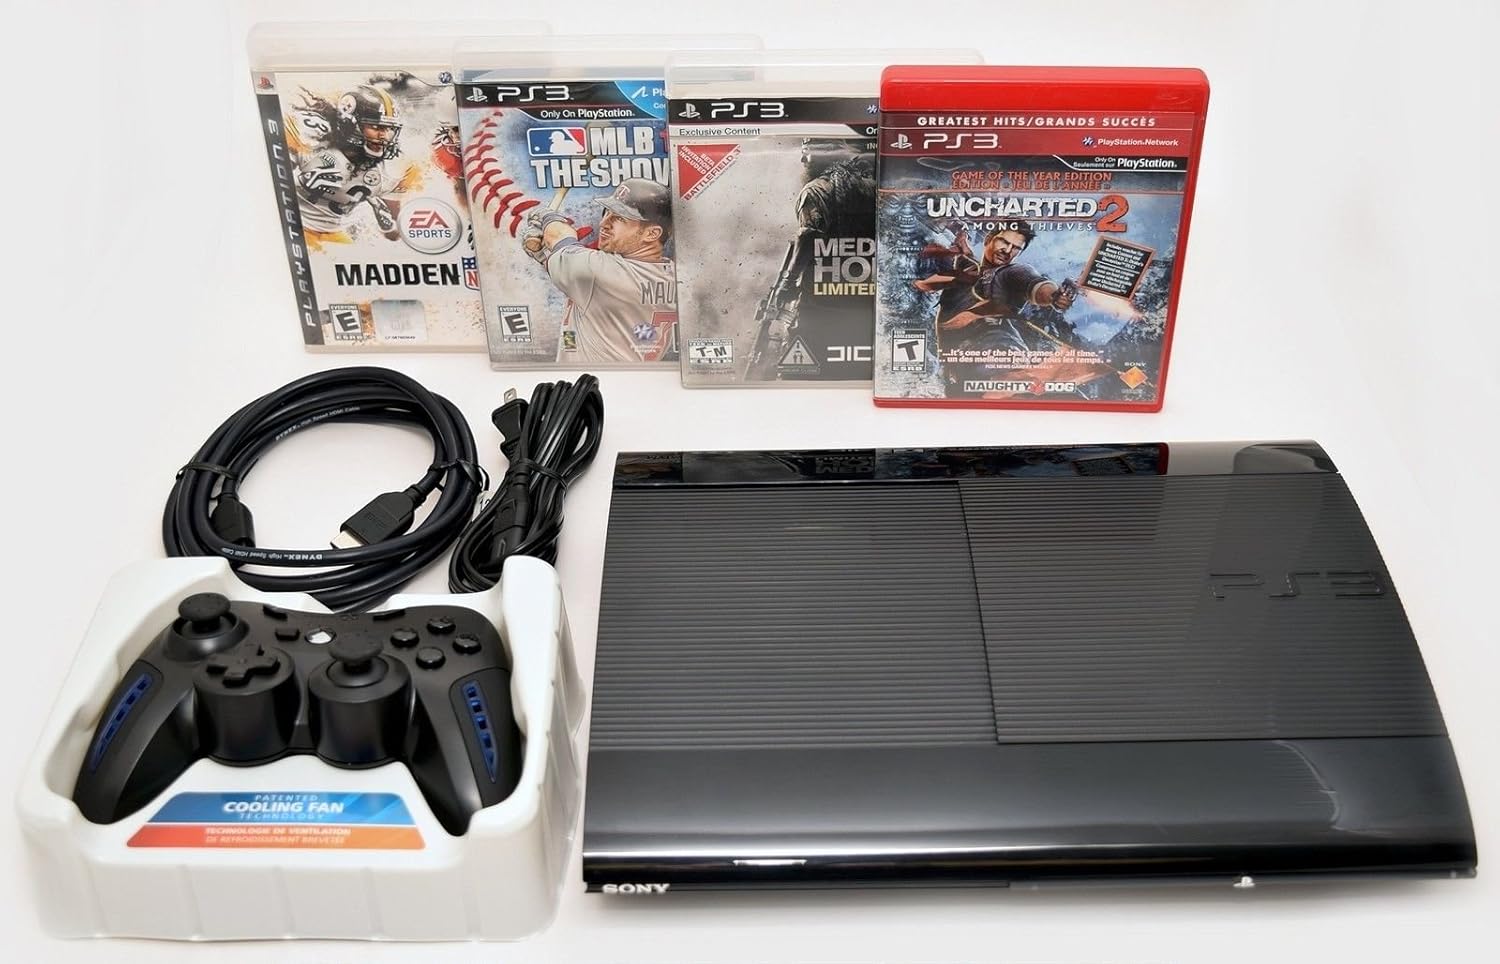
PlayStation 3 Super Slim Wi-Fi Antennas Replacement
Duration: 45 minutes
Steps: 14 Steps
Let’s get that Wi-Fi signal flying right! This guide walks you through removing the Wi-Fi antennas on the PlayStation 3 Super Slim. First, you’ll pop off the mounted antennas. Then, you’ll tackle the antenna wires by carefully unplugging them from the motherboard sockets. Step by step, we’ve got this!
Step 1


The bay cover is located on the right side of your device.
– Let’s get started! Remove the side HDD bay cover by sliding the panel towards the back of the device. It’s time to take a look inside!
Step 2


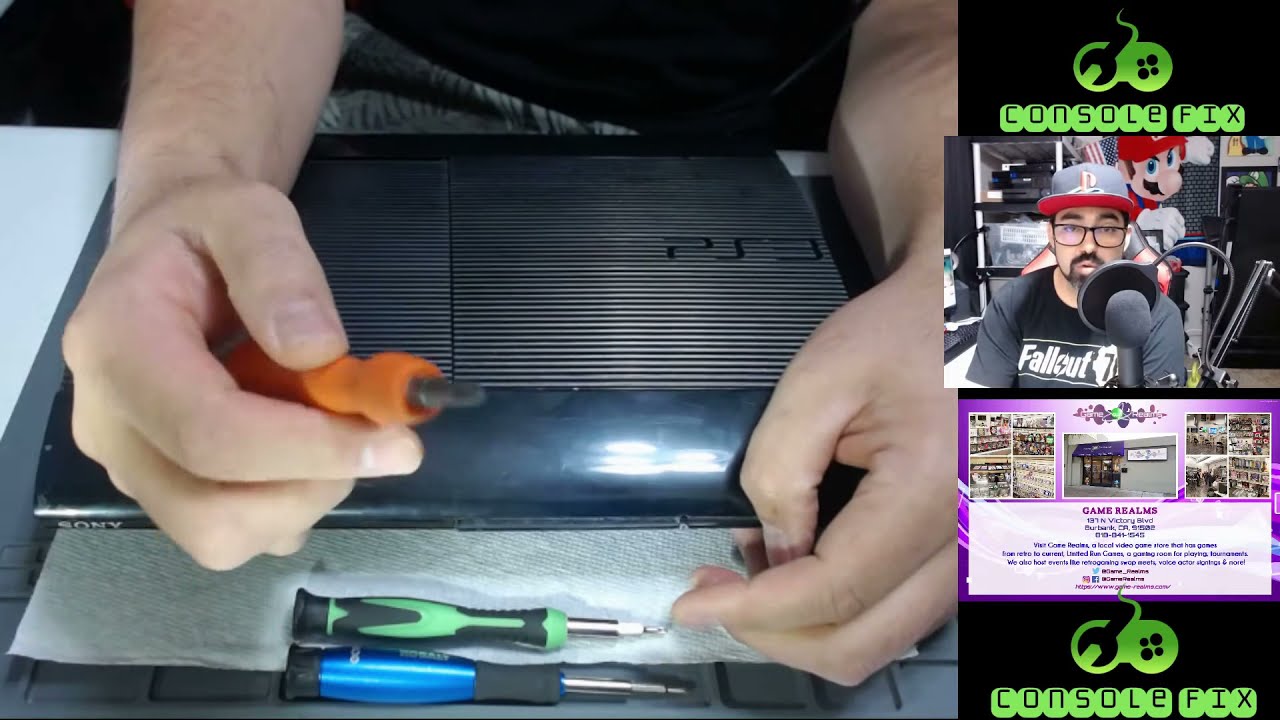
– Alright, let’s get those screws out! Grab your trusty T-8 security screwdriver and take out all three black screws—each one’s got a length of 9.8mm.
– Now switch it up to that Phillips #1 screwdriver and gently remove the lone blue screw, which is 7.9mm long. You got this!
Tools Used

Step 3


Pop out that HDD like a pro and store it in a safe, cozy spot to keep your data out of harm’s way.
– Give that tab a gentle tug to pop the HDD out like a pro!
Step 4


Time to get started! One screw is hidden underneath the warranty sticker. Don’t worry, you can either carefully peel off the sticker or poke a hole through it with your screwdriver – either way, you’re one step closer to fixing your device!
– Flip that device over and gently pop off the three rubber feet covers at the bottom with your trusty metal spudger. These covers are like hiding spots for screws—time to expose them!
– Now grab your Phillips #1 screwdriver and unscrew the four black 36.3mm long screws hiding underneath. You’re on a roll—keep going!
Tools Used
Step 5


This step can be a bit of a challenge—think of it as a patience tester. If the hook on the front panel doesn’t budge, you can try gently prying all the hooks loose. Just proceed with care, as these little hooks can be surprisingly fragile.
– First up, let’s tackle that top panel! Find the hook on the far right, give it a little unlatch, and gently lift the panel just a smidge while applying some pressure.
– Next, it’s time to unhook the second right-side buddy! Grab your trusty plastic opening tool and slide it into the marked area to unlatch it.
– Now, slide that panel to the left and watch as the rest of the hooks pop free. You’re doing great!
Step 6

– Pop off that back panel like a pro by pressing down the tab on the right side of your device and giving the panel a smooth slide to the left. Easy, right?
Step 7


– Let’s kick things off by unscrewing those five shiny silver screws that are 20.8mm long using your trusty Phillips #1 screwdriver.
– Next up, grab your T-8 security screwdriver and carefully remove the two black screws, each measuring 9.9mm, from the disc reader.
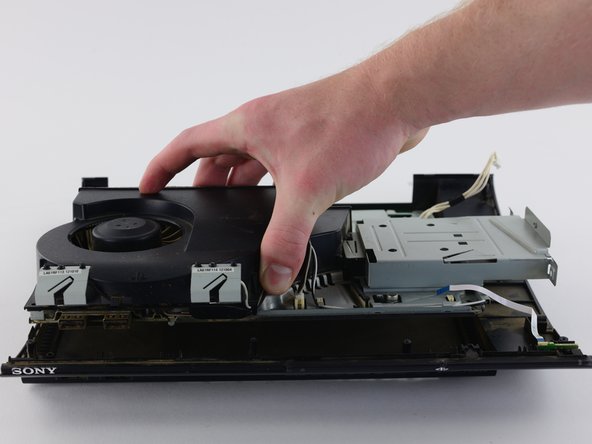
– Now, it’s time to gently lift off the top black plastic shell. You’ve got this!
Tools Used
Step 8


– First, gently move that optical drive out of the way to expose one of the silver 8.8mm long screws – it’s time to get this repair started!
– Next, grab your trusty Phillips #1 screwdriver and remove the two silver 8.8mm long screws, one from each side. You got this!
Tools Used
Step 9


When unplugging the cable, grip the sturdy plastic male connector—not the delicate wires—to keep everything safe and sound.
– Unhook the cable from the plug and release those wires from the two little plastic hooks—easy breezy!
– Carefully detach the power supply unit—it’s like a superhero move, but for your device!
Step 10


– Gently lift the front white flex-ribbon cable from its base, giving it a little upward tug.
– Next, tackle the black and blue flex-ribbon cable hiding behind it. Pull up on the black tab and then slide the cable out like a pro.
Step 11


– Turn the device around to face the opposite way—180 degrees, just like flipping a pancake!
– Gently unplug the back white ribbon cable by giving it a smooth upward pull from its base. It’s like unplugging headphones, but for your device.
– Slide out the optical drive carefully; it’s ready for a little getaway.
Step 12


– First, find that snazzy white flex ribbon cable connecting the power button to the motherboard. Gently pull it out from the motherboard end, like you’re coaxing a shy kitten.
– Next up, grab your trusty Phillips #1 screwdriver and tackle those five black screws that are 8.3mm long. They won’t know what hit them!
– Now, let’s move on to the two silver screws that are 12.8mm long. Give them the same treatment with your Phillips #1 screwdriver.
– Finally, it’s time to liberate the device from the bottom shell casing. You got this!
Tools Used
Step 13


– Grab your trusty Phillips #1 screwdriver and carefully unscrew those two black screws, each measuring 8.3mm, from the Wi-Fi antennas.
– Gently lift the Wi-Fi antennas off their mount, and voilà!
Tools Used
Step 14


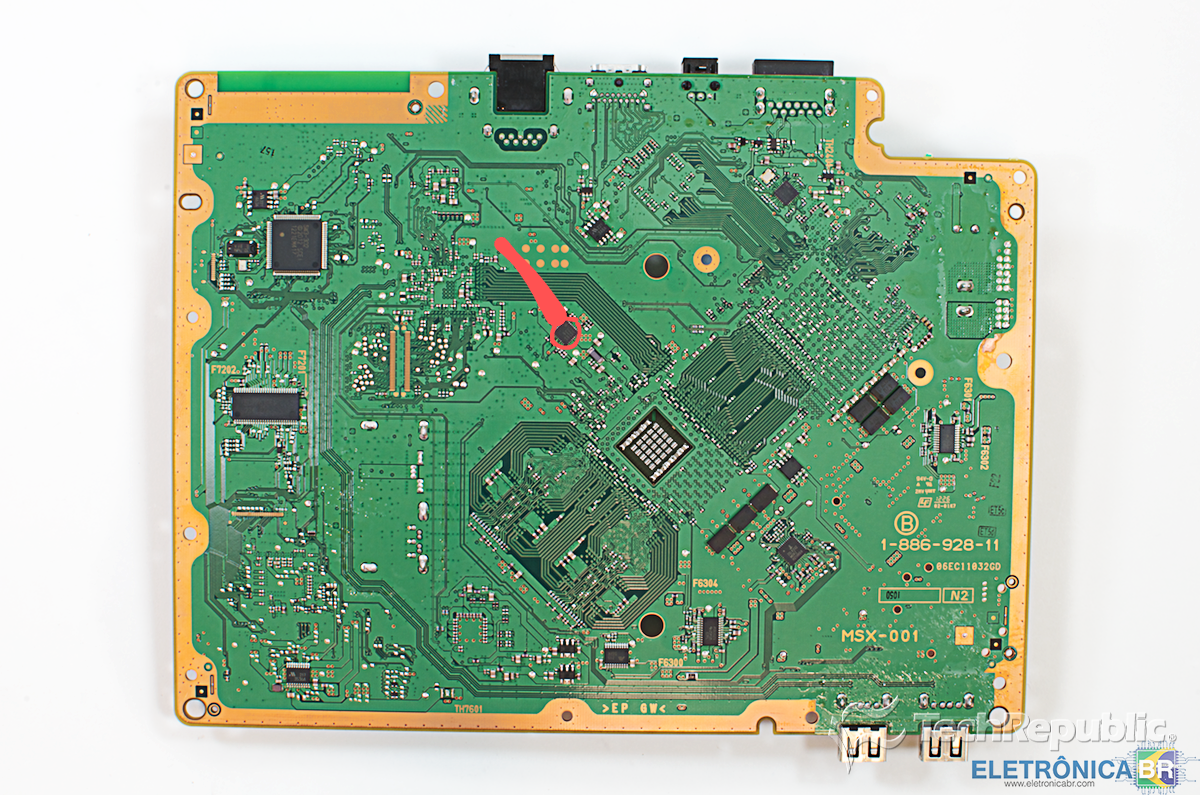
The ports for the Wi-Fi antennas on the motherboard are marked B and W, making reassembly a breeze!
– Grab a trusty plastic opening tool and carefully pop those Wi-Fi wires out of their sockets on the motherboard—nice and easy does it!
– Gently unhook the wires from around the motherboard and the fan cover. Once they’re free, you can fully liberate those antennas!
– Got your shiny new Wi-Fi antennas? Sweet! Slide those wires into their respective sockets, guide them through the hooks like a pro, and secure the antennas onto their mounts. Boom, you’re all set!