PlayStation 3 Super Slim Wi-Fi Antennas Replacement
Duration: 45 minutes
Steps: 14 Steps
Ready to tackle some Wi-Fi antenna action on your PlayStation 3 Super Slim? This guide will walk you through the process of removing the mounted antennas and then carefully detaching the antenna wires from their sockets on the motherboard. Let’s get those antennas out with confidence!
Step 1


The bay cover is located on the right side of your device. Easy spot, right?
– Slide the panel towards the back of the device to pop off the side HDD bay cover. Easy peasy!
Step 2


– Whip out your trusty T-8 security screwdriver and take out all three black screws—they’re the long ones, measuring 9.8mm.
– Next up, grab a Phillips #1 screwdriver and carefully unscrew the blue 7.9mm screw. Nice and easy!
Tools Used

Step 3


Carefully take out the HDD and store it safely to keep your precious data intact!
– Give that tab a gentle pull to slide out the HDD. Nice and easy, you’ve got this!
Step 4


There’s a sneaky screw hiding under the warranty sticker. Don’t worry, you can either peel it off or carefully poke through it with a screwdriver to reveal the hidden treasure.
– At the bottom of your device, carefully use a metal spudger to lift out the three rubber feet covers. No rush, just take your time!
– Next, grab a Phillips #1 screwdriver and remove the four black screws that are 36.3mm long. They’re hiding right underneath, so get ready to unscrew them one by one.
Tools Used
Step 5


Alright, this part can be a bit of a challenge. If the hook on the front panel won’t budge, you might need to go ahead and carefully pry all the hooks loose. Just a heads-up though, these hooks are pretty delicate, so proceed with caution.
– First up, let’s tackle that device! Find the hook on the far right under the front panel. Give it a little unlatch, lift the panel up just a smidge, and apply a gentle push.
– Next, it’s time to unhook the second one on the right side. Slide a trusty plastic opening tool into the designated area and give it a little nudge.
– Now, slide that panel to the left and watch as the rest of the hooks release their grip. You’re doing great!
Step 6

– To get started, gently press down the tab on the right side of your device and slide the back panel to the left. It’s like giving your device a little nudge to let it know you’re ready to dive in!
Step 7


– Grab your trusty Phillips #1 screwdriver and unscrew the five shiny silver 20.8mm-long screws—it’s like finding hidden treasures!
– Next up, switch to a T-8 security screwdriver to tackle the two black 9.9mm-long screws hanging out in the disc reader. You got this!
– Now, gently lift off that sleek top black plastic shell—like opening a fancy present. Voilà!
Tools Used
Step 8


– First, gently slide the optical drive out of the way to expose one of the silver 8.8mm long screws – it’s time to get started on this repair!
– Next, use a trusty Phillips #1 screwdriver to remove the two silver 8.8mm long screws, one on each side. You got this!
Tools Used
Step 9


When you’re disconnecting the cable from the plug, remember to give a gentle tug on the plastic male connector, not the wires. Keep it cool and keep it safe!
– Unplug the cable and gently detach the wires from those two plastic hooks. You’ve got this!
– Next up, let’s take out the power supply unit. Easy peasy!
Step 10


– Gently lift the white flex-ribbon cable at its base and remove it with a smooth upward pull—it’s gotta go!
– Next up, handle the black and blue flex-ribbon cable behind it. Lift the black tab with finesse and slide the cable out—it’s like pulling off an escape artist’s stunt!
Step 11


– Flip your device upside down like you’re giving it a little vacation!
– Gently lift the back white flex-ribbon cable straight up from its cozy spot.
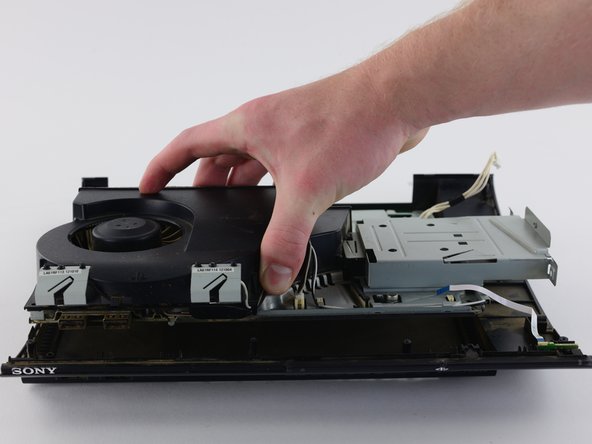
– Carefully take out the optical drive like you’re unveiling a hidden treasure!
Step 12


– Find the white flex ribbon cable that hooks up the power button to the motherboard—it’s like the lifeline for your power button. Gently unplug this cable from the motherboard side. No yanking, just a smooth pull!
– Grab your trusty Phillips #1 screwdriver and remove the five black screws (they’re 8.3mm long, in case you’re keeping track). Keep those screws safe—they’ve done their job well.
– Next up, tackle the two silver screws with your Phillips #1 screwdriver. These are the 12.8mm long ones. Give them a little thank you for holding things together so well.
– Now it’s time for the big move—carefully lift the device out of the bottom shell casing. You’re almost there, so take it slow and steady!
Tools Used
Step 13


– Use a Phillips #1 screwdriver to take out the two black screws (8.3mm) holding down the Wi-Fi antennas.
– Gently lift those Wi-Fi antennas off their perch—they’re free now!
Tools Used
Step 14


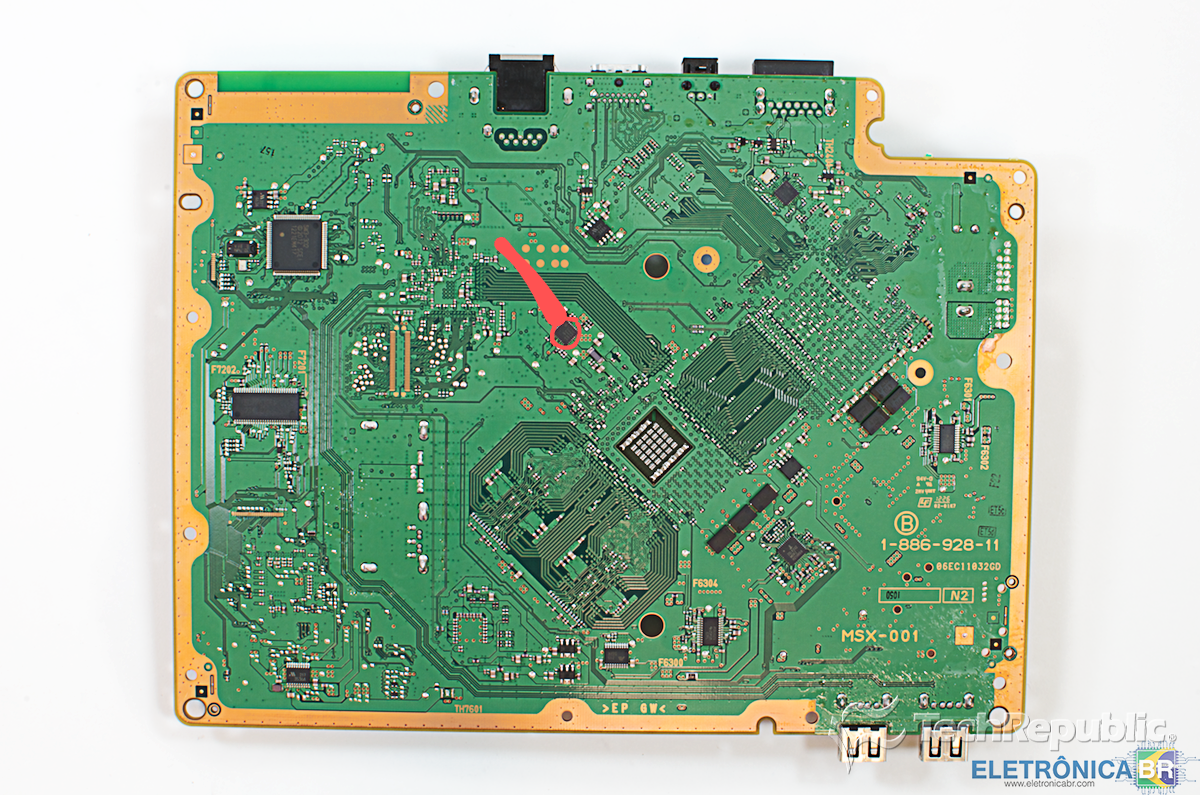
The Wi-Fi antenna ports on the motherboard are marked B and W to keep things crystal clear when you put it all back together.
– Pop your device back together by following these steps in reverse. You’ve got this!
– If you need help, you can always schedule a repair.