How to Replace Nintendo Switch Joy-Con: Step-by-Step Guide
Duration: 45 minutes
Steps: 8 Steps
Is your Nintendo Switch Joy-Con joystick feeling a bit rebellious, drifting off on its own without your permission? No worries! You can easily get it back on track with this handy guide. This method works for all joystick models, so you’re covered no matter which Nintendo Switch you have. Stick drift usually happens when pesky debris builds up after lots of gaming sessions. But fear not! You can clear out that gunk using simple household items—no complicated disassembly required. In just about 10 minutes, you’ll have your Joy-Con feeling like new again! And remember, if you run into any tough spots, feel free to schedule a repair for some extra help.
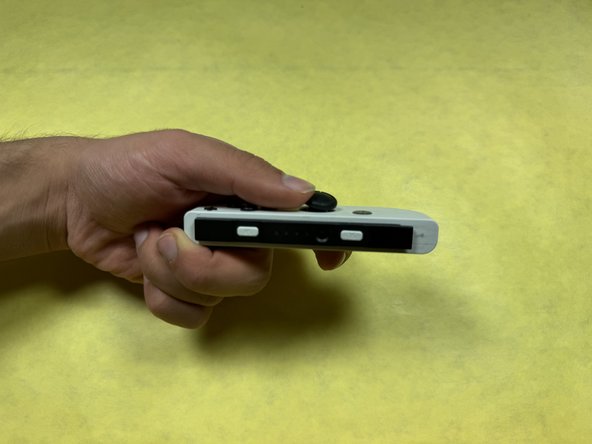
Step 1


– Turn your device over so it’s facing down.
– For the Joy-Con with the stick drift issue, press and hold the release button, then slide it off like a pro.
Step 2

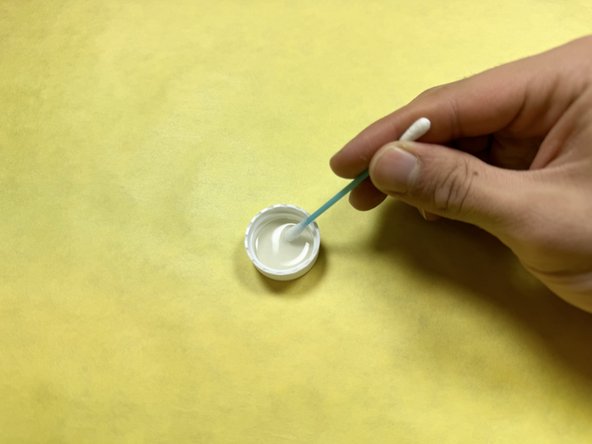
– Grab the lid, pour a bit of rubbing alcohol on it, and give that cotton swab a nice dip.
Step 3
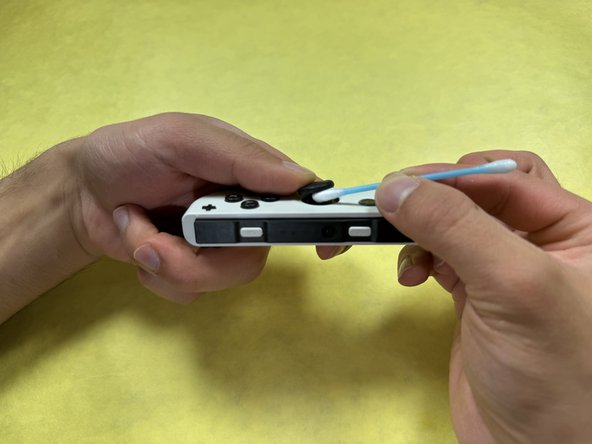

– Gently twirl the stick while using the cotton swab to swipe under the rubber holding the joystick cover—it’s a quick sweep to evict any lurking debris.
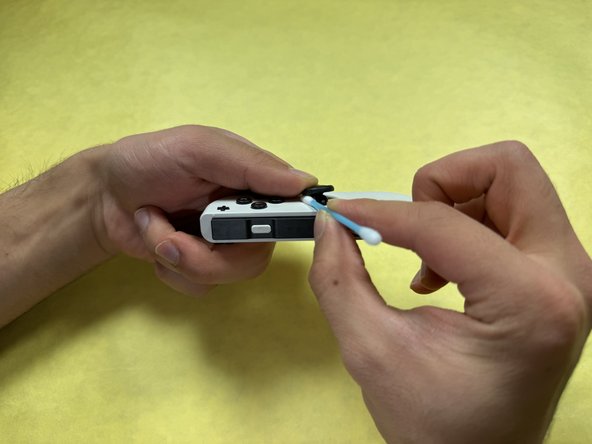
Step 4

– Give the joystick a few smooth, round spins—two or three times should do the trick!
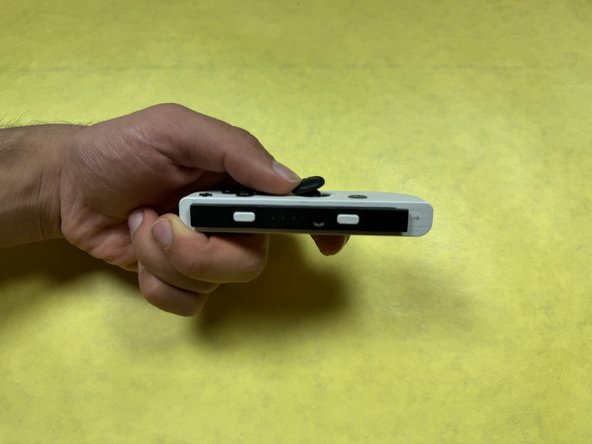
Step 5

– Let the Joy-Con chill for a solid 30 seconds. It’s like giving it a little timeout to gather itself.
Step 6


– Snap that Joy-Con back onto the side of the Switch’s body like you’re reuniting old friends.
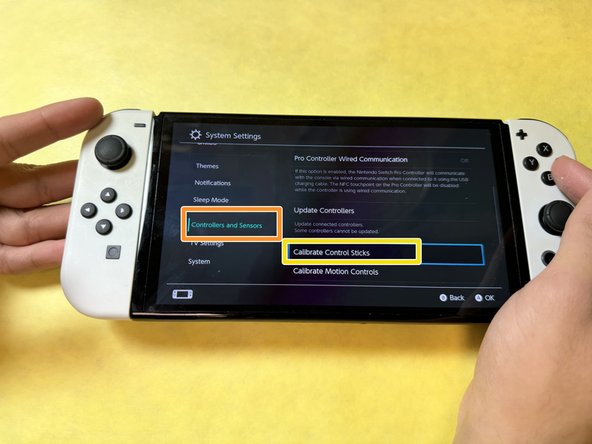
Step 7

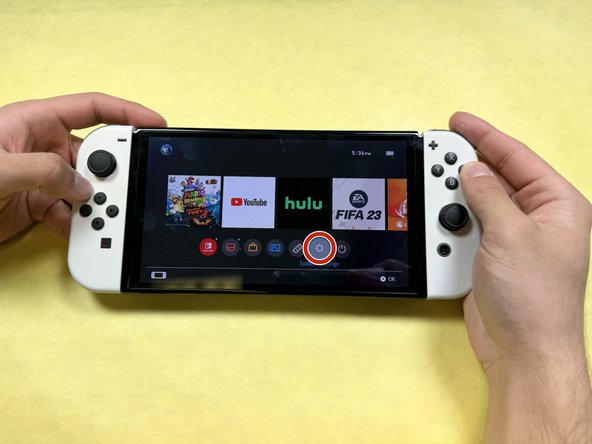
– Power up your Switch and land on the home screen—welcome to your gaming hub!
– Tap on ‘System Settings’—it’s the icon that looks like a gear. You got this!
– Select ‘Controllers and Sensors’ from the list—you’re so close!
– Hit ‘Calibrate Control Sticks’—time to fine-tune those sticks like a pro!
Step 8
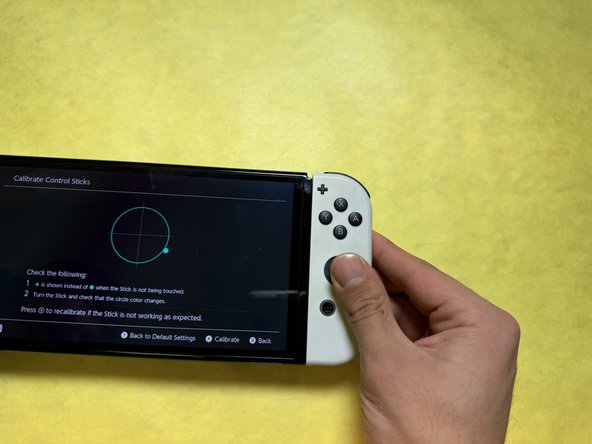
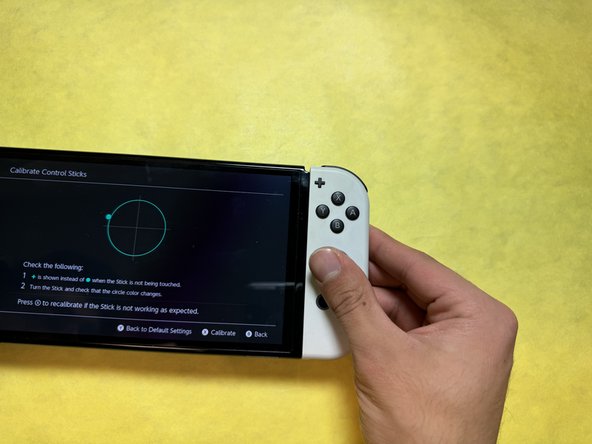

– Give your joystick a new lease on life by recalibrating it—just follow the on-screen steps and let the magic happen!


