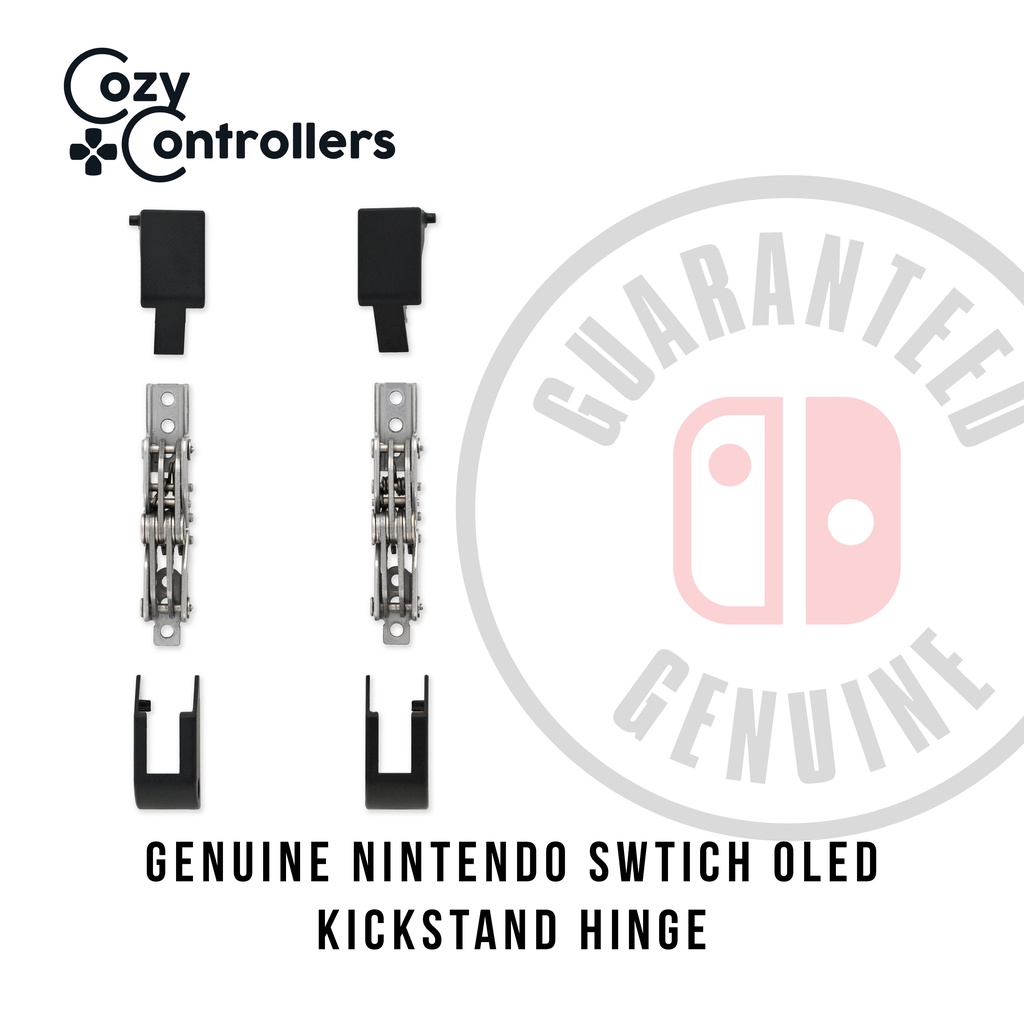
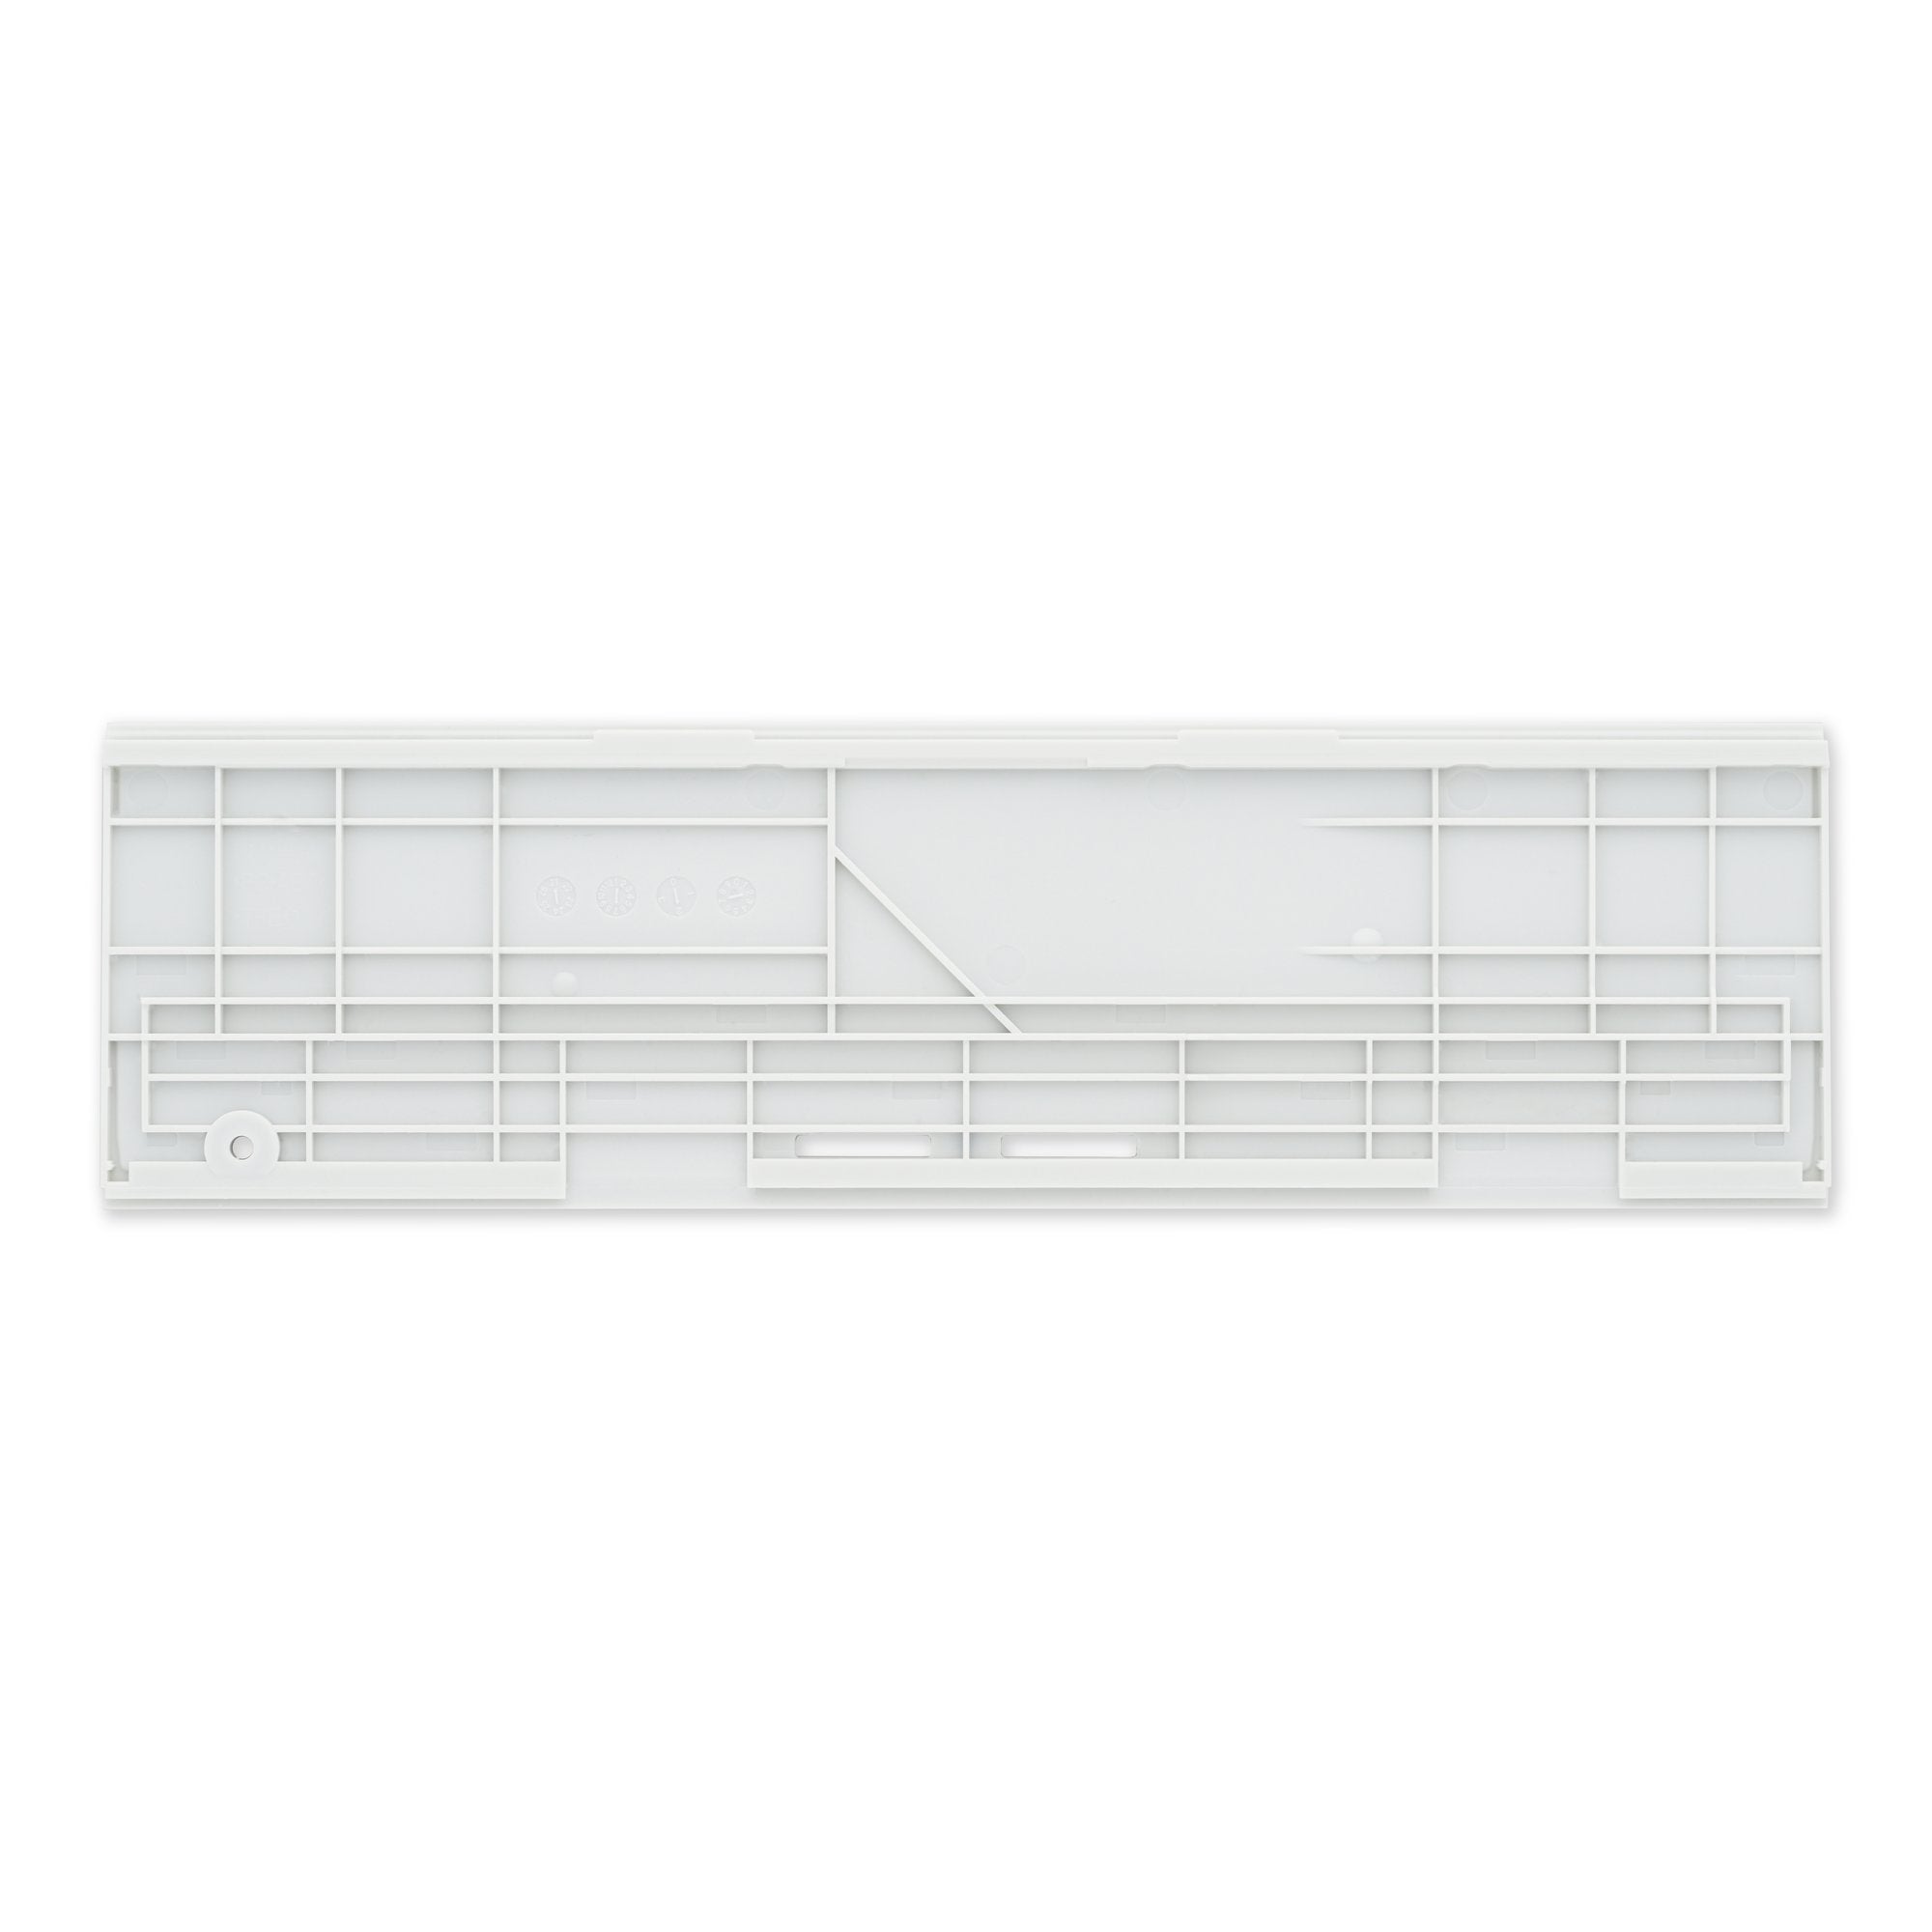
How to Replace Nintendo Switch OLED Kickstand Hinges
Duration: 45 minutes
Steps: 18 Steps
Get ready to tackle the kickstand hinge replacement on your Nintendo Switch OLED! While the dock uses JIS screws, a Phillips screwdriver will do the trick in a pinch. Just be sure to handle those screws with care to avoid stripping them. Our Phillips bits are crafted to work seamlessly with JIS-style screws, making your repair journey smoother. If you find yourself in a bind, remember, you can always schedule a repair!
Step 1
Before you start, make sure your device is totally powered down – it’s time to get this repair party started, and we want to make sure everything is safe and ready to go!
– Keep a hold on the small round button on the back of the Joy-Con controller.
– As you keep the button pressed, slide the controller upward.
Step 2
Now, go ahead and repeat the same steps for the other Joy Con. You’ll be a pro in no time!
– Keep sliding that Joy Con up until it pops right off the console! You’ve got this!
Step 3
When dealing with stubborn screws, press down firmly, take it slow, and try a different JIS or Phillips driver if they won’t budge.
– Grab a Phillips driver or JIS driver, and pop out that 2mm screw holding the rear case top to the frame.
Step 4
– Grab your trusty Phillips screwdriver and unscrew the two 2 mm screws holding the bottom of the rear case snug against the frame. Easy does it!
Step 5
To keep those pesky screws from getting stripped, apply a solid downward push, take your time, and if they’re being stubborn, give a JIS 000 or PH 000 driver a shot. You’ve got this!
– Grab your trusty Phillips driver and unscrew the 3.8 mm screw that’s holding the right Joy-Con sensor rail to the back case. Easy does it!
Step 6
– Grab your trusty Phillips driver and unscrew that 3.8 mm screw holding the left Joy-Con sensor rail snugly to the rear case. You’ve got this!
Step 7
Got a microSD card hanging out in the slot? Pop it out now before diving into the next step.
– Give that kickstand a little nudge with your finger and watch it pop up from the back of your device!
Step 8
– Grab your trusty Y00 screwdriver and get ready to tackle those two 4.3 mm screws holding the rear case in place. Let’s unscrew them and see what’s inside!
Step 9
If the case is being stubborn, grab an opening pick to pop those plastic clips!
– Gently lift the rear case from the top of the device and pop it off.
Step 10
– Grab your trusty Phillips driver and unscrew the four 2.1 mm screws holding the kickstand to the rear case. Let’s get this done like pros!
Step 11
Now, just rinse and repeat for the other hinge bracket—you’re almost there!
– Pop open that kickstand with confidence!
– Grab your trusty Phillips driver and carefully take out the 1.7 mm screw nestled on the side of the hinge bracket.
Step 12
– First, let’s close that kickstand and get ready for action!
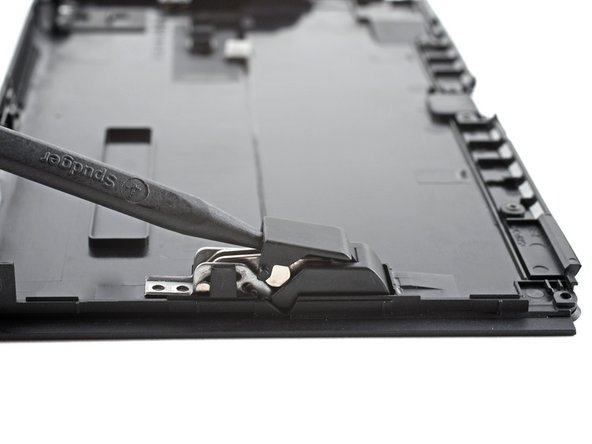
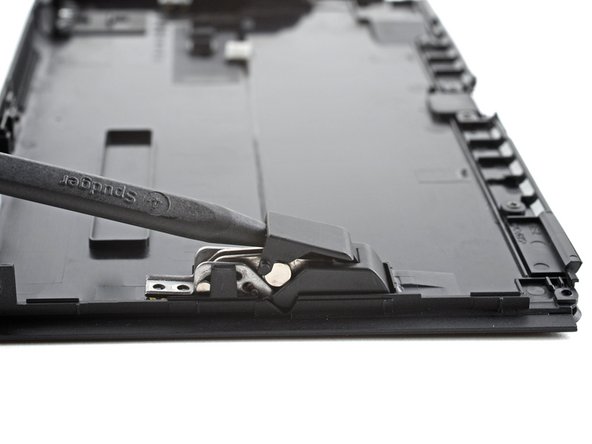
– Next, take your trusty spudger and gently slide the tip between the hinge bracket and the top of the hinge.
– Now, give it a little upward pry to pop that bracket free from its snug plastic clips.
Tools Used
Step 13
Now, give the other hinge bracket the same treatment. Keep it steady, you’re doing great!
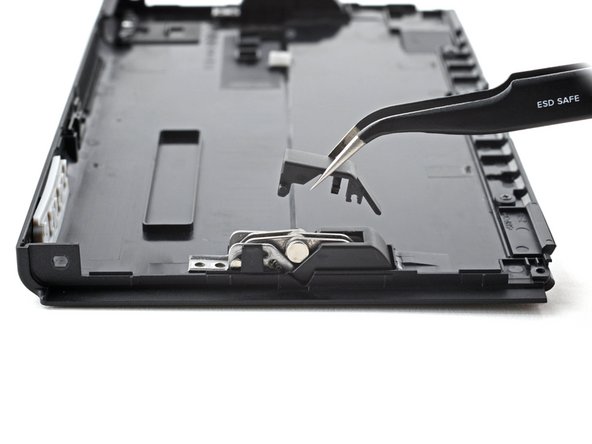
– Grab those tweezers or just use your fingers, and gently pop off the hinge bracket like a total pro.
Tools Used
Step 14
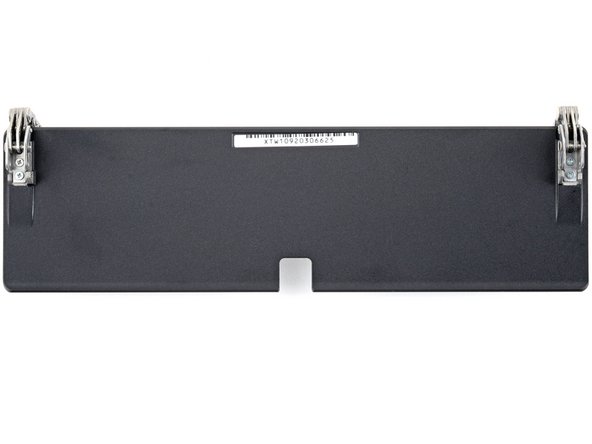
– Take off the kickstand from the back of the case.
Step 15
– Slide the flat end of a spudger between the hinge bracket and the bottom of the hinge.
– Gently pry upwards to free the hinge bracket from its plastic clips.
Tools Used
Step 16
Now, give the other hinge bracket the same TLC and repeat the process.
– Time to get a little handy! Use tweezers or your fingers to gently pry off the hinge bracket. Take your time and be careful, you got this!
Tools Used
Step 17
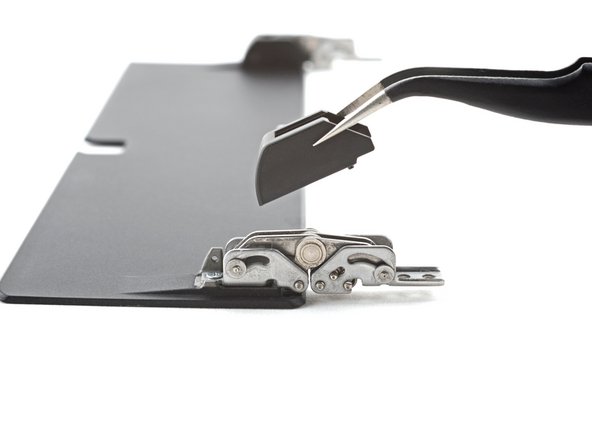
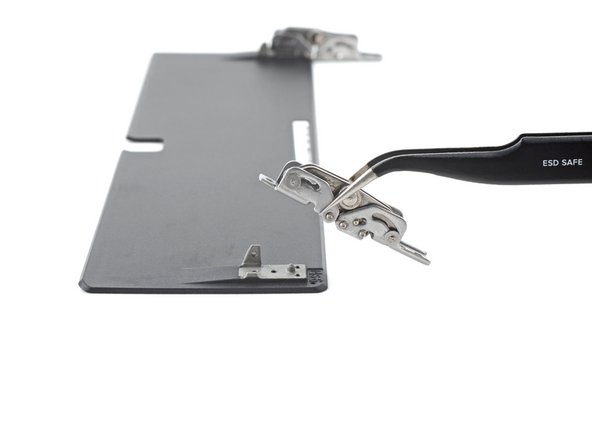
– Bend those hinges around the kickstand like a pro to expose the screws waiting to be freed.
– Grab your trusty Phillips driver and let’s unscrew those four 2.3 mm screws that are holding the hinges to the kickstand in place. You’re doing great!
Step 18
Work your magic on the other hinge, just like you did with the first one!
– To put your device back together, simply follow these steps in reverse—it’s like rewinding the repair magic!
– Check out your new part compared to the original one. Sometimes, you’ll need to move over some bits and bobs or peel off any adhesive coverings before installation.
– Things didn’t go quite as planned? No worries! Try some quick troubleshooting, or if you’re stumped, you can always schedule a repair.
–
Success!
