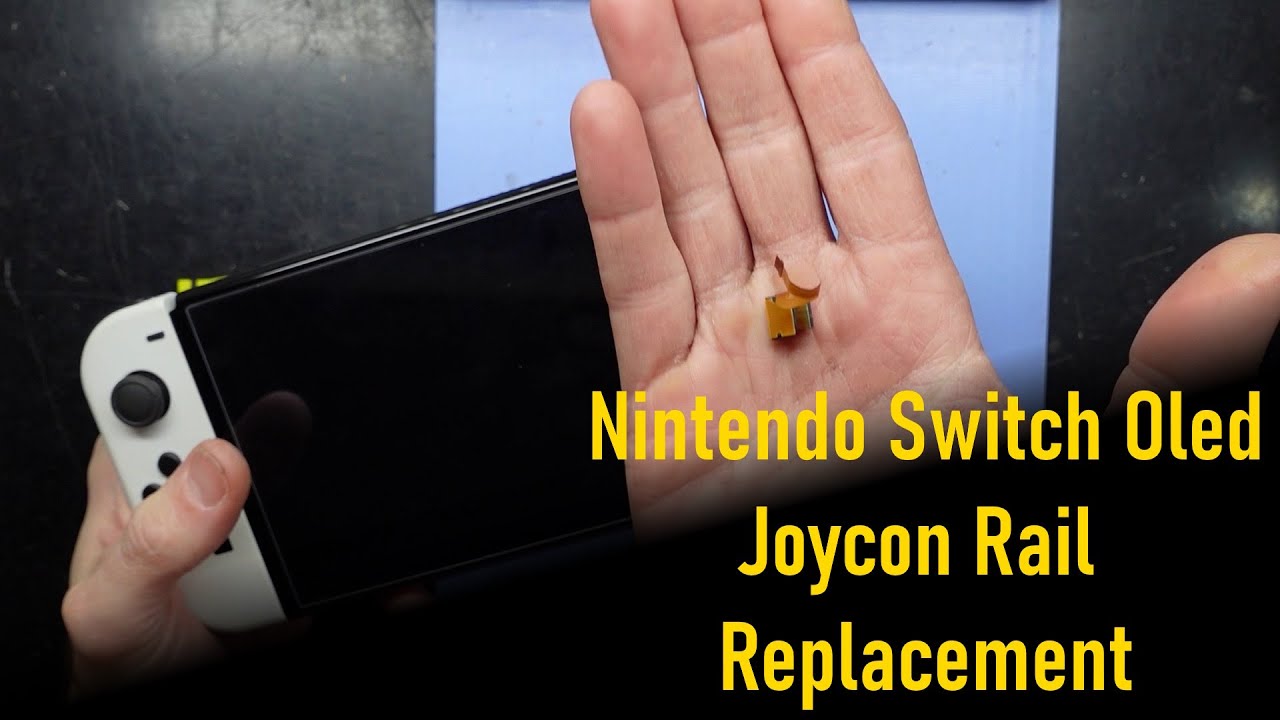
Step-by-Step Nintendo Switch OLED Repair Guide
Duration: 45 minutes
Steps: 23 Steps
Ready to swap out the middle case in your Nintendo Switch OLED dock? No worries! The dock uses JIS screws, but a Phillips screwdriver will do just fine in a pinch—just be extra careful not to strip them. If you’ve got a Phillips bit, it’ll work with those JIS screws too. Before you dive into the repair, make sure to disconnect all cables from your dock. Ready? Let’s do this!
Step 1


– With a gentle pull, remove the rear cover by freeing those plastic clips from the frame.
– Now, take off the rear cover.
Step 2


– Grab your trusty Y0 screwdriver and loosen up the 7.5 mm screw holding the baseplate snug against the frame. Let’s keep it moving!
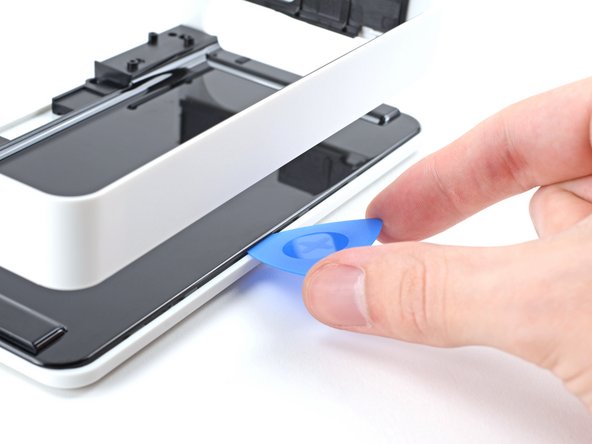
Step 3


– Gently slide your opening tool between the frame and the plastic screw cover in the bottom-left corner.
– Give a little pry with the tool to lift the screw cover off the frame.
– Now, carefully remove the screw cover.
Step 4


– Grab that Y0 screwdriver—it’s time to remove the seven screws holding the midframe to the frame:
– Four of them are 3.9 mm screws.
– Three are 7.5 mm screws.
– And one final solo 3.9 mm screw—don’t let it feel left out!
Step 5


– Use your fingers to gently pop the midframe out of the frame. You’ve got this!
Step 6


– Gently grab the baseplate with your fingers, give it a light tug to pop it off the frame, and unhook it from those sneaky plastic clips.
– Lift off the baseplate and set it aside.
Step 7


– Gently use the flat side of a spudger to pop open the little locking flap on the ZIF connector for the motherboard cable. You’ve got this!
Tools Used

Step 8


– Grab your trusty tweezers and gently wiggle that cable free from its connector—smooth moves, tech hero!
Tools Used

Step 9
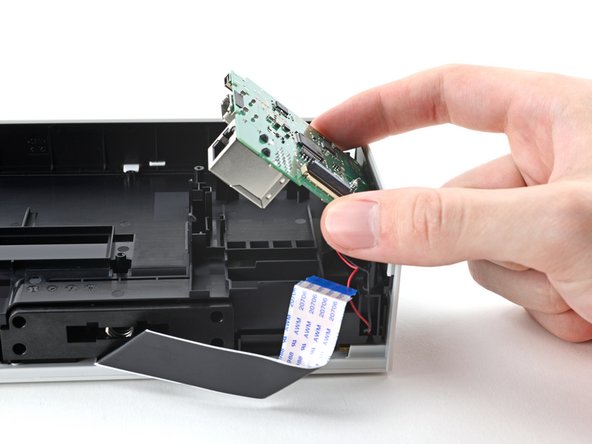


Hold up! Don’t yank the motherboard out just yet—it’s still chilling with the frame via a JST cable.
– Gently use your fingers to nudge those plastic release tabs and free the motherboard from its cozy spot.
– Lift the motherboard up and away from the frame with care—it’s a smooth move, not a tug-of-war!
– Let the motherboard chill by the frame for a moment before you jump to the next step.
Step 10


– Grab those blunt tweezers or your trusty fingers and gently wiggle the LED’s JST connector out of its socket. Easy does it!
Tools Used
Step 11

– Grab your trusty Phillips screwdriver and get ready to tackle those four 6.9 mm screws holding the USB-C assembly snugly to the frame. Let’s get this party started!
Step 12


– Gently lift off the top section of the assembly.
Step 13


If you took the dock apart a certain way, those little springs might still be hanging out up top in the assembly—just a heads up!
– Pop out those two springs—don’t worry, they won’t bite!
Step 14


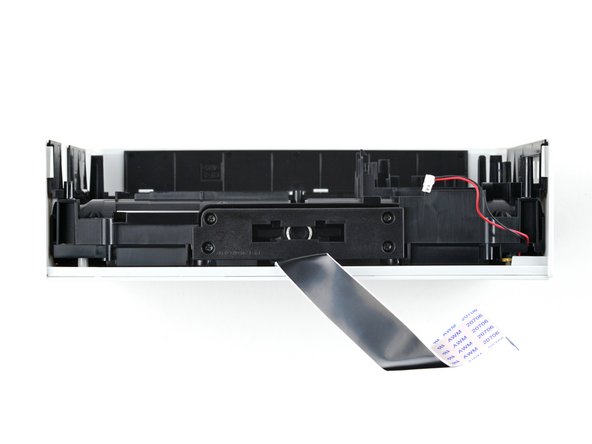
– Carefully detach the bottom section of the assembly.
Step 15


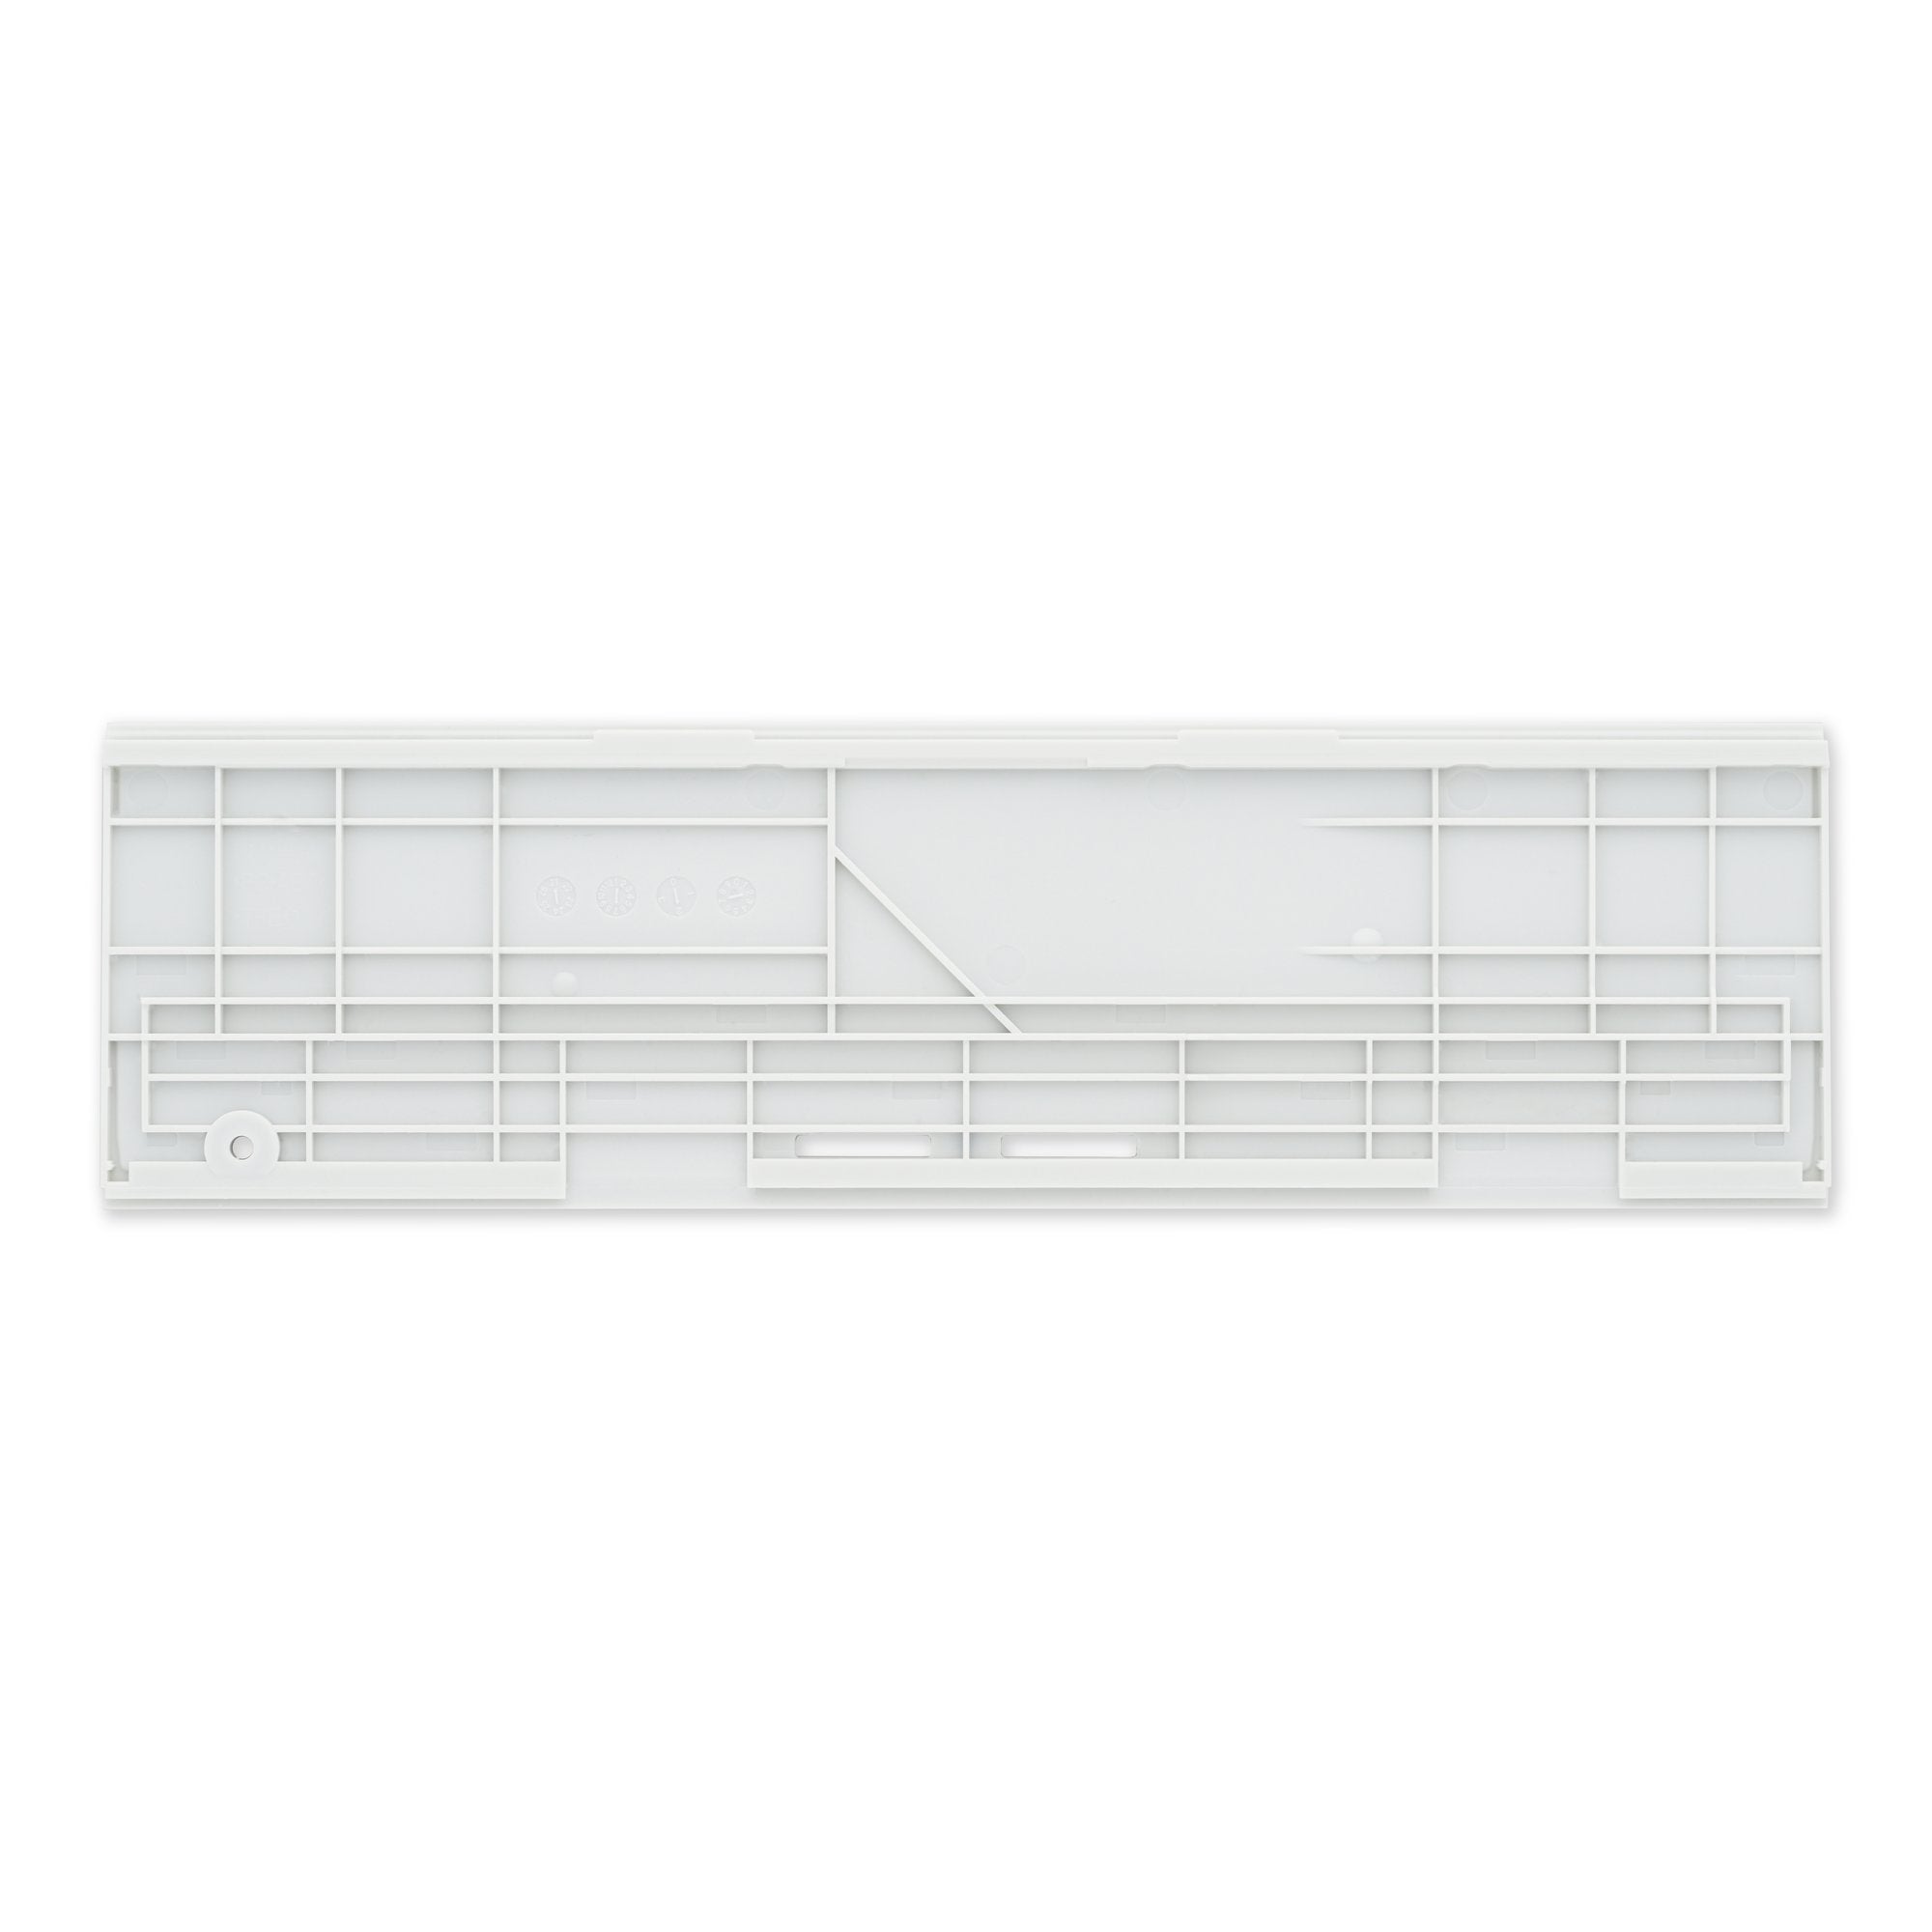
– Grab your trusty Phillips driver and carefully remove the eight 6.9 mm screws holding the middle case to the frame. You’ve got this!
Step 16


– Gently pop off the middle case’s top half from its plastic clips around the frame with your finger. Easy peasy!
Step 17


– Gently wiggle your fingers to pull apart the two halves of the middle case—it’s like opening a stubborn cookie, but way cooler.
Step 18


– Slide the top half of the middle case through the top of the frame, keeping those plastic clips angled upward.
Step 19


– Grab your trusty Phillips driver and unscrew those two 4.4 mm screws that hold the bottom half of the middle case to the front cover. Easy peasy!
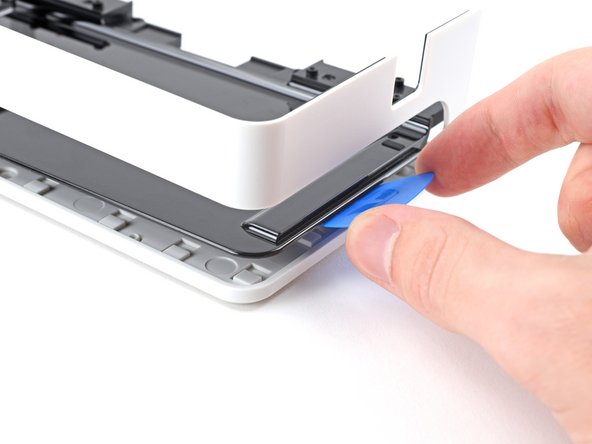
Step 20


– Gently slide an opening pick into the gap between the bottom half of the middle case and the frame. You’re doing great!
– Now, glide that pick along the vertical edge of the middle case’s bottom half to pop those pesky plastic clips free from the front cover. Keep it up!
Step 21


– Keep gliding that pick along the bottom edge of the middle case to pop those plastic clips free! You’re doing great!
Step 22


If you’re still feeling a bit of a tug, just glide that pick around the edges one more time until the bottom half of the middle case pops free.
– Gently work the pick under the middle case’s bottom half and pry it up to fully separate it from the frame. Take your time, you’ve got this!
Step 23


– Time to put everything back together! Just follow these steps in reverse, and you’ll be good as new.
– Before you start reassembling, take a minute to compare your new part with the original one. You might need to transfer some components or remove adhesive backing from the new part.
– If things didn’t quite go as planned, don’t worry! Try some basic troubleshooting or check out our troubleshooting tips for help.
– You’re almost done! If you need help or want to make sure everything is done correctly, you can always schedule a repair with Salvation Repair.
Success!