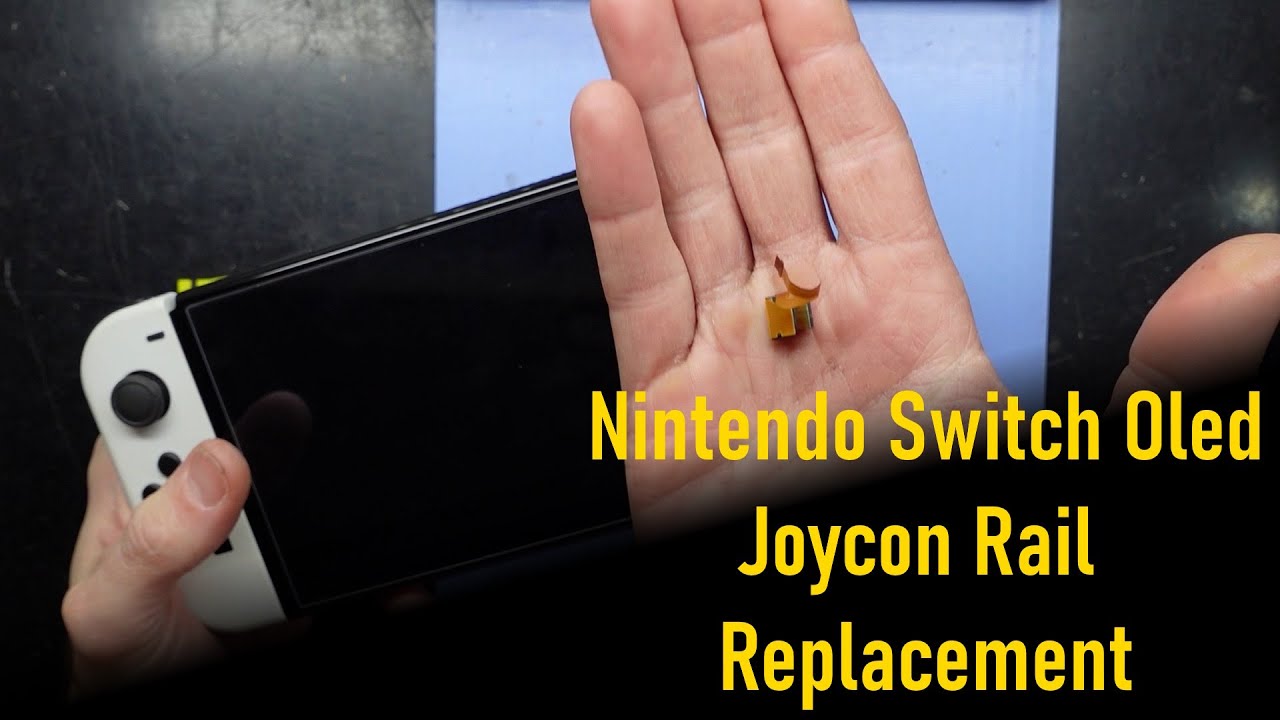
Step-by-Step Guide: Replace Nintendo Switch OLED LED
Duration: 45 minutes
Steps: 24 Steps
Ready to swap out the LED in your Nintendo Switch OLED dock? You got this! The dock uses JIS screws, but if you don’t have the exact tool, a Phillips screwdriver will work just fine—just keep those screws safe from stripping! Salvation Repair’s Phillips bits are perfectly compatible with JIS-style screws, so no worries there. Before diving in, make sure to unplug all the cables from your dock to avoid any hiccups along the way.
Step 1


– Gently use your fingers to wiggle the rear cover away from the frame and pop those plastic clips loose.
– Take off the rear cover—it’s as easy as pie!
Step 2


– Grab your Y0 screwdriver and unscrew the 7.5 mm-long screw that’s holding the baseplate and frame together. You got this!
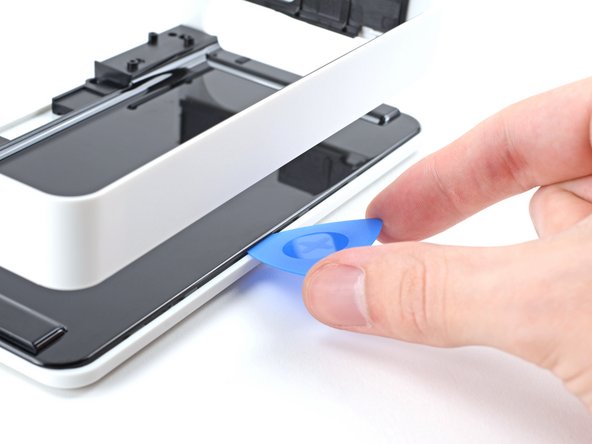
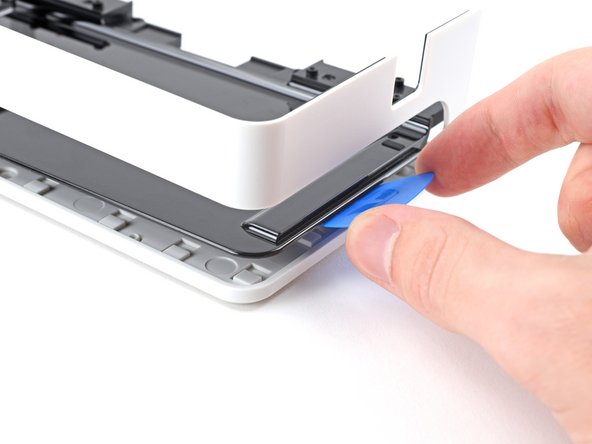
Step 3


– Slip your opening tool between the frame and that sneaky little plastic screw cover at the bottom-left corner.
– Pop that cover off by prying with the tool like you mean it.
– And voila, the screw cover is off!
Step 4


– Grab your trusty Y0 screwdriver and let’s tackle those seven screws holding the midframe in place. You’ve got this!
– First up, we have four of the snazzy 3.9 mm screws.
– Next, you’ll find three slightly longer 7.5 mm screws.
– And to wrap it all up, there’s one more 3.9 mm screw waiting for your attention.
Step 5


– Time to get a little hands-on! Use your fingers to gently pry the midframe away from the frame.
Step 6


– Gently use your fingers to nudge the baseplate away from the frame and pop it free from its plastic clips—easy does it!
– Lift off the baseplate and set it aside. Boom, you’re done with this step!
Step 7


– Gently use the flat end of a spudger to lift up the little locking flap on the motherboard cable’s ZIF connector. Take it slow and steady—it’ll pop right up!
Tools Used


Step 9
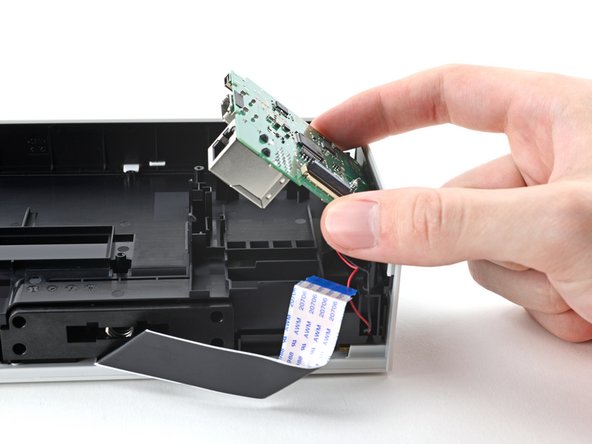


Hold your horses! Don’t yank the motherboard out just yet; it’s still hanging on to the frame with a JST cable.
– Give those plastic release tabs a gentle tug with your finger to set the motherboard free.
– Lift the motherboard up and away from the frame like you’re unveiling a surprise.
– Take a moment to rest the motherboard by the frame before diving into the next step.
Step 10


– Gently coax the LED’s JST connector out of its socket using some blunt tweezers or your trusty fingers. You’ve got this!
Tools Used
Step 11

– Grab your Phillips screwdriver and take out those four 6.9mm screws holding the USB-C assembly to the frame.
Step 12


– Gently lift off the top part of the assembly.
Step 13


Depending on how you took apart the dock, those little springs might still be hanging out with the top part of the assembly.
– Pop out those two springs—easy peasy!
Step 14


– Let’s get started by removing the bottom-most portion of the assembly. This is the first step in taking your device apart, and it’s a great opportunity to get familiar with the inner workings of your device.
Step 15


– Grab your Phillips driver and unscrew the eight 6.9 mm screws holding the middle case in place. This step’s a breeze—just make sure you don’t lose those little screws!
Step 16


– Gently use your finger to pop the top half of the middle case from the plastic clips around the frame. You got this!
Step 17


– Gently pry apart the two halves of the middle case using your fingers.
Step 18


– Carefully slide the top portion of the middle case through the frame’s upper edge, ensuring those plastic clips get a nice upward angle to fit in smoothly.
Step 19


– Grab your trusty Phillips driver and unscrew those two 4.4 mm screws holding the middle case’s bottom half to the front cover. Easy peasy!
Step 20


– Wedge an opening pick between the middle case’s bottom half and the frame.
– Glide the pick along the vertical edge of the middle case’s bottom half to pop the plastic clips securing it to the front cover.
Step 21


– Keep gliding that pick along the bottom edge of the middle case to pop those plastic clips free! You’re doing great!
Step 22


If it’s still giving you a hard time, work the pick around the edges again until the bottom half of the middle case pops free.
– Use the pick to carefully pop off the bottom half of the middle case from the frame. Easy peasy!
Step 23


– Gently grab the bottom half of the middle case and wiggle it free from the front cover—no need to rush, just let it slide off like butter!
Step 24


– Time to put your device back together! Just follow these steps in reverse and you’ll be golden.
– Before you dive in, give your new replacement part a good look next to the original. You might need to swap over some bits or peel off those pesky adhesive backings before you get it all set.
– Things not going as smoothly as you’d hoped? No worries! Check out some basic troubleshooting tips, or if you’re still stuck, feel free to schedule a repair for some extra help.
–
Tools Used
Success!