Microsoft Surface Laptop 7 (13.8-inch) Battery Replacement
Duration: 45 minutes
Steps: 12 Steps
If your battery is looking a little puffy, be sure to take the necessary precautions to stay safe!
Get ready to give your Microsoft Surface Laptop 7 (13.8-inch) a fresh new heartbeat with a battery replacement! Lithium-ion batteries are like us—they have a lifespan, and when they start acting up by not holding a charge or needing constant love, it’s time for a change. If your battery is looking a bit puffy, be sure to take the right precautions. Let’s make your laptop feel alive again!
Step 1
Before diving into this repair adventure, make sure your laptop’s battery is below 25%. A feisty battery can misbehave and even catch fire if it gets damaged.
– Disconnect all cables and power down your laptop completely. Time for a little break before we dive into the repair action!
Step 2
– Shut your laptop and flip it over so the rubber feet are showing off on the bottom.
Step 3
Watch out for those feet—they might just pop off in a flash! Keep an eye on them so they don’t wander off.
You can also give the spudger’s point a try! Just a heads up, though: if you’re planning to reuse that foot, be careful not to cause any damage.
– Carefully slide one arm of your angled tweezers into the little nook near the upper right corner of one of the feet.
– Use your tweezers to lift and pop off the foot.
– Repeat the same steps to take off the other feet.
– To put a foot back on, just line up the pegs on the bottom with the cutouts in the frame and give it a good press until it’s snug.
Tools Used
Step 4
As you dive into this repair, be sure to keep an eye on each and every screw. They all have their special spots, and you want to make sure they return home safe and sound!
Even though the Surface Laptop 7 rocks those Torx Plus screws, standard Torx bits can totally do the trick. Just remember to apply steady, downward pressure to keep things from slipping!
– Let’s get started! Use a Torx Plus 5IP screwdriver to remove the four 4.5mm-long screws (with washers) that are holding the lower case in place. Easy peasy!
Step 5
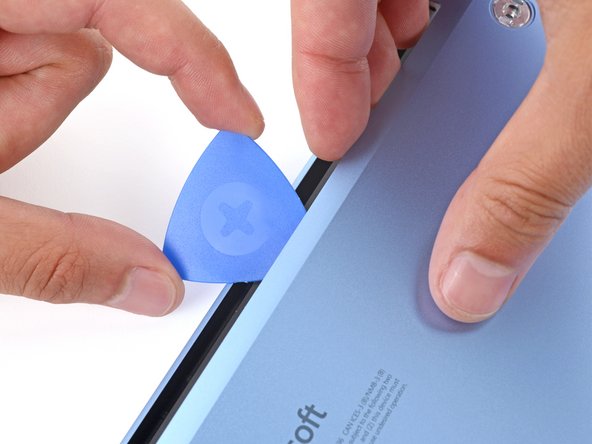
Avoid inserting the pick near the outer edges to prevent damaging the antenna bar.
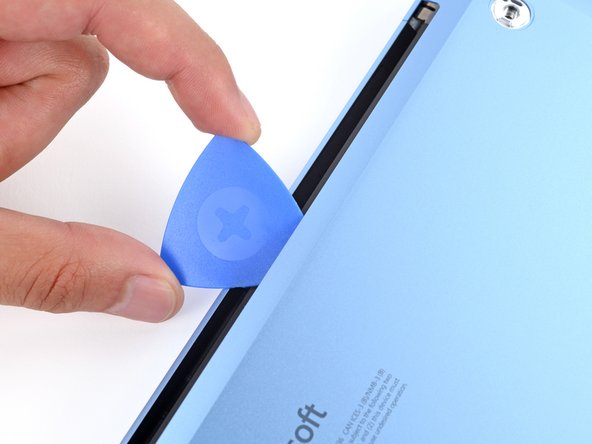
– Slide the tip of your trusty opening pick under the top edge of the lower case, about an inch (2.5 cm) to the left or right of that iconic Microsoft logo. Let’s get this party started!
Step 6
– Give that pick a little twist to lift the lower case—just enough so you can grab it with your hand.
Step 7
– Gently lift the lower case and remove it with care.
Step 8
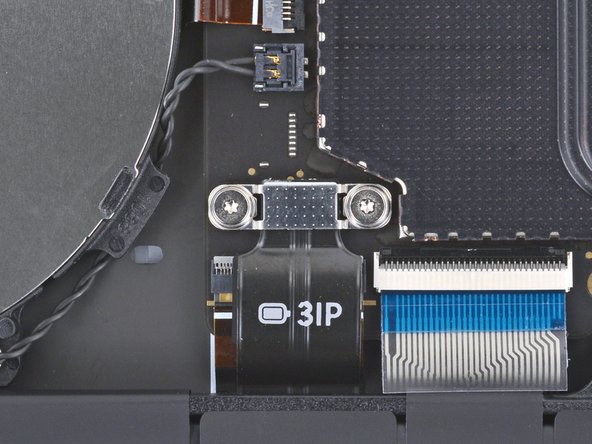
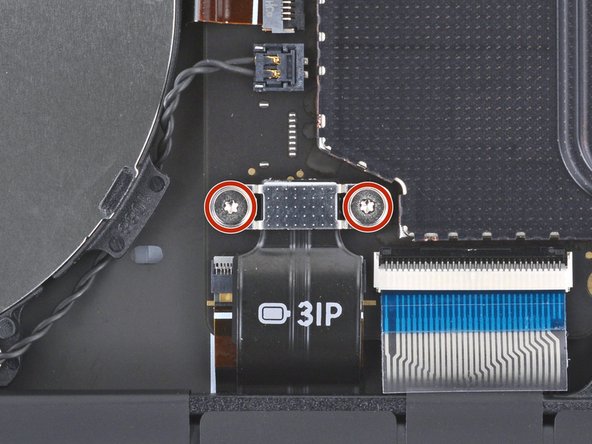
– Grab your trusty Torx Plus 3IP screwdriver and get ready to unscrew! Remove those two 2.3 mm-long screws that are holding the battery connector cover in place. You’ve got this!
Step 9
– Gently pry off the battery connector cover using your trusty tweezers or fingers. You’ve got this!
Step 10
To reconnect a press connector, line it up with the socket and give it a gentle press on one side until you hear a satisfying click, then press down on the other side. It might take a couple of tries to get it just right—no need to force it!
– Gently slide the flat end of a spudger under the top edge of the battery press connector, then give it a little nudge to pop it free and disconnect it.
Tools Used
Step 11
Handle that screwdriver like a pro and steer clear of the battery! Puncturing it is a big no-no.
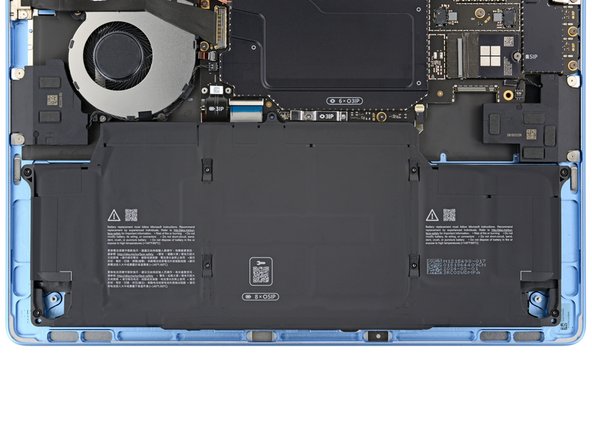
– Let’s get started! Use a Torx Plus 5IP screwdriver to remove the eight 5.4mm-long screws that are holding the battery in place. Take your time and make sure to keep track of those tiny screws!
Step 12
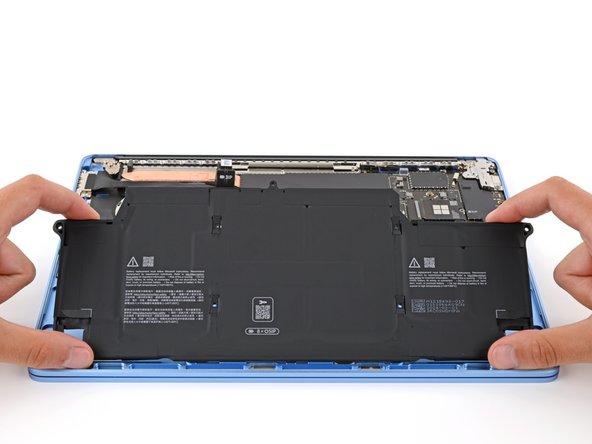
Never reuse a banged-up or broken battery—it’s a serious fire risk. Swap it out for a new one.
If your battery is looking a little puffy, don’t worry! Take some precautions to handle it safely and we’ll get through this step together.
– After completing this guide, don’t forget to calibrate your new battery.
– Take your e-waste to an R2 or e-Stewards certified recycler.
–


