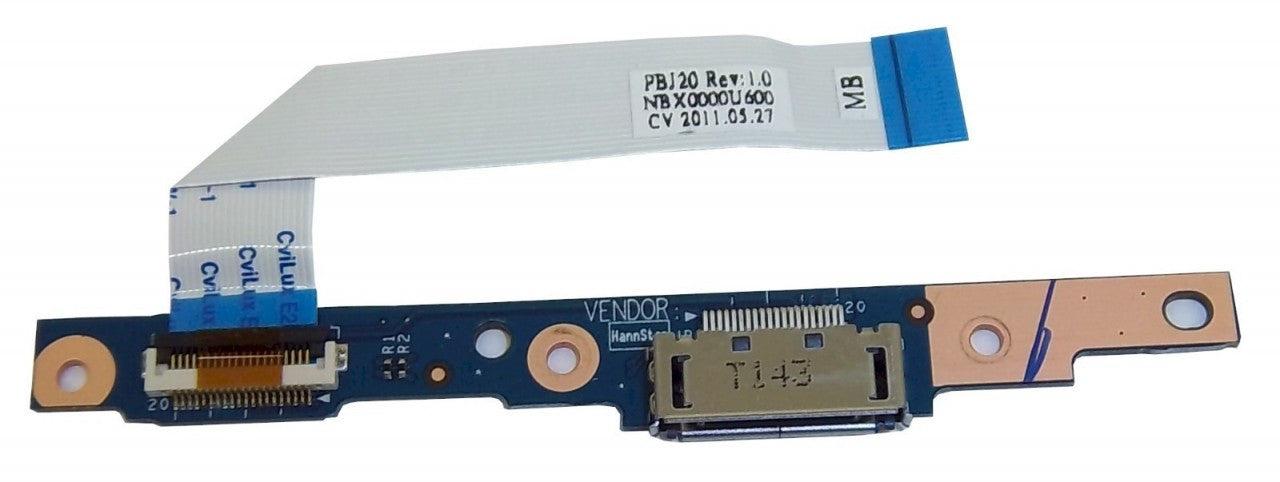
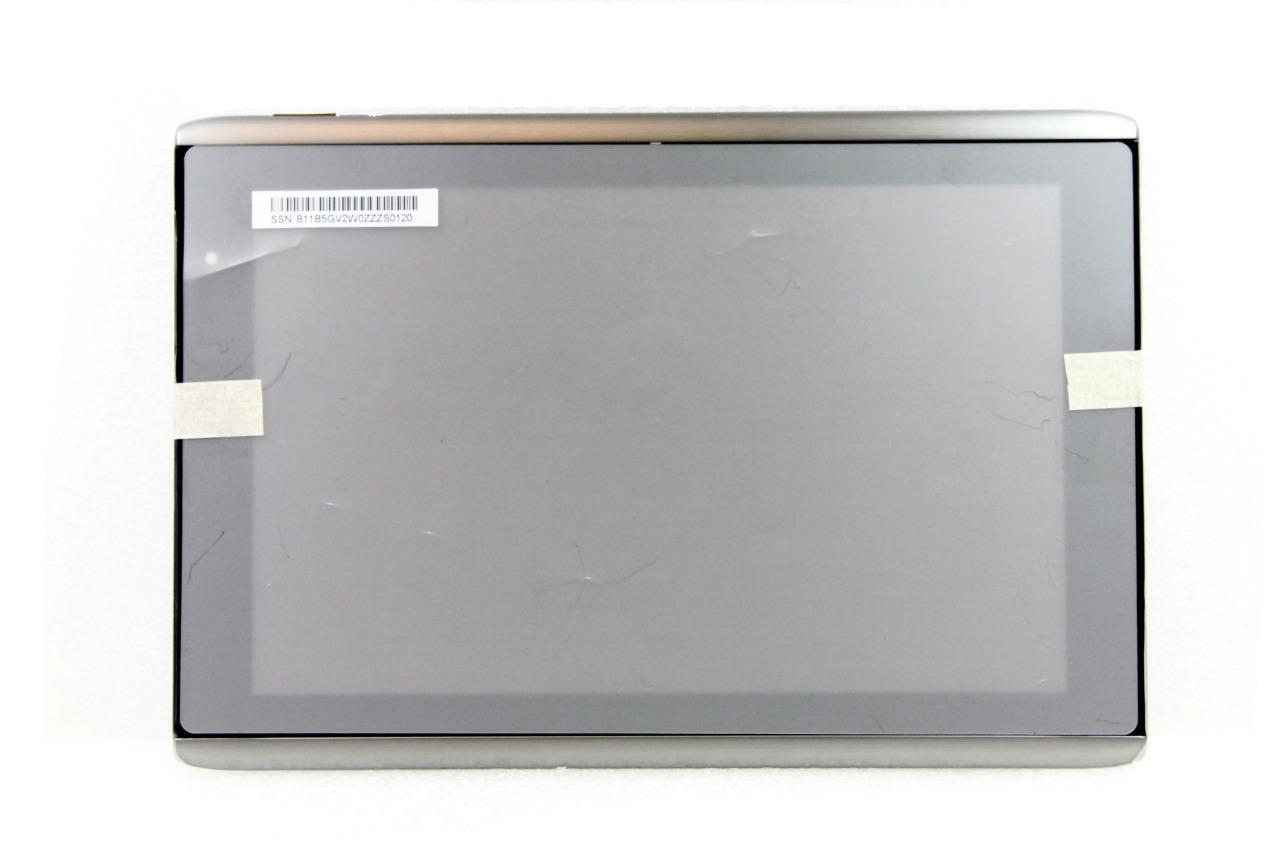
DIY Guide: Acer Iconia Tab A501 Docking Port Replacement
Duration: 45 minutes
Steps: 6 Steps
The Docking port is your trusty sidekick for hooking up accessories like keyboards to your device. Follow the guide to swap out that old docking port and keep the good times rolling!
Step 1
Before you start, make sure to power down your device – it’s an important safety step!
– Grab a plastic opening tool and gently start popping off the back cover, beginning near the volume buttons. Take your time—no need to rush!
– Work your way along the short side near the camera and continue around the device. Keep it steady and smooth—you’re doing great!
Step 2
– Once you’ve worked your way around about halfway, the back cover will practically fall off like it’s ready for a vacation. Nice and easy!
Step 3
In the next step, remember to handle the motherboard with care—no squeezing too tight or scratching it up!
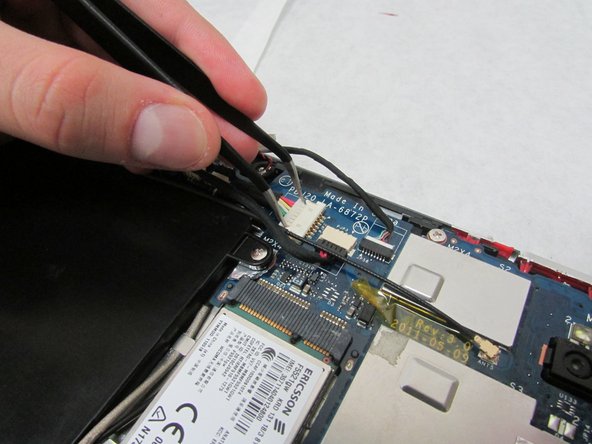
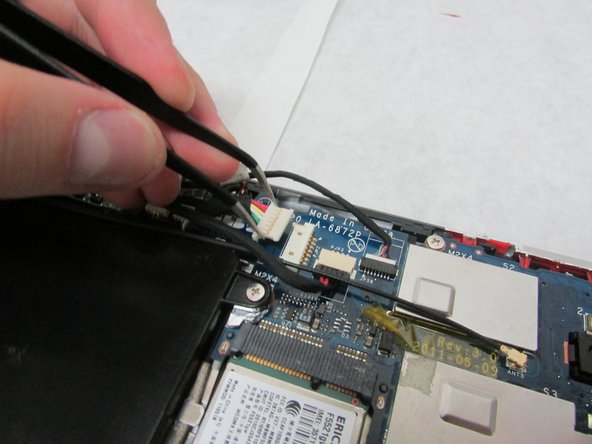
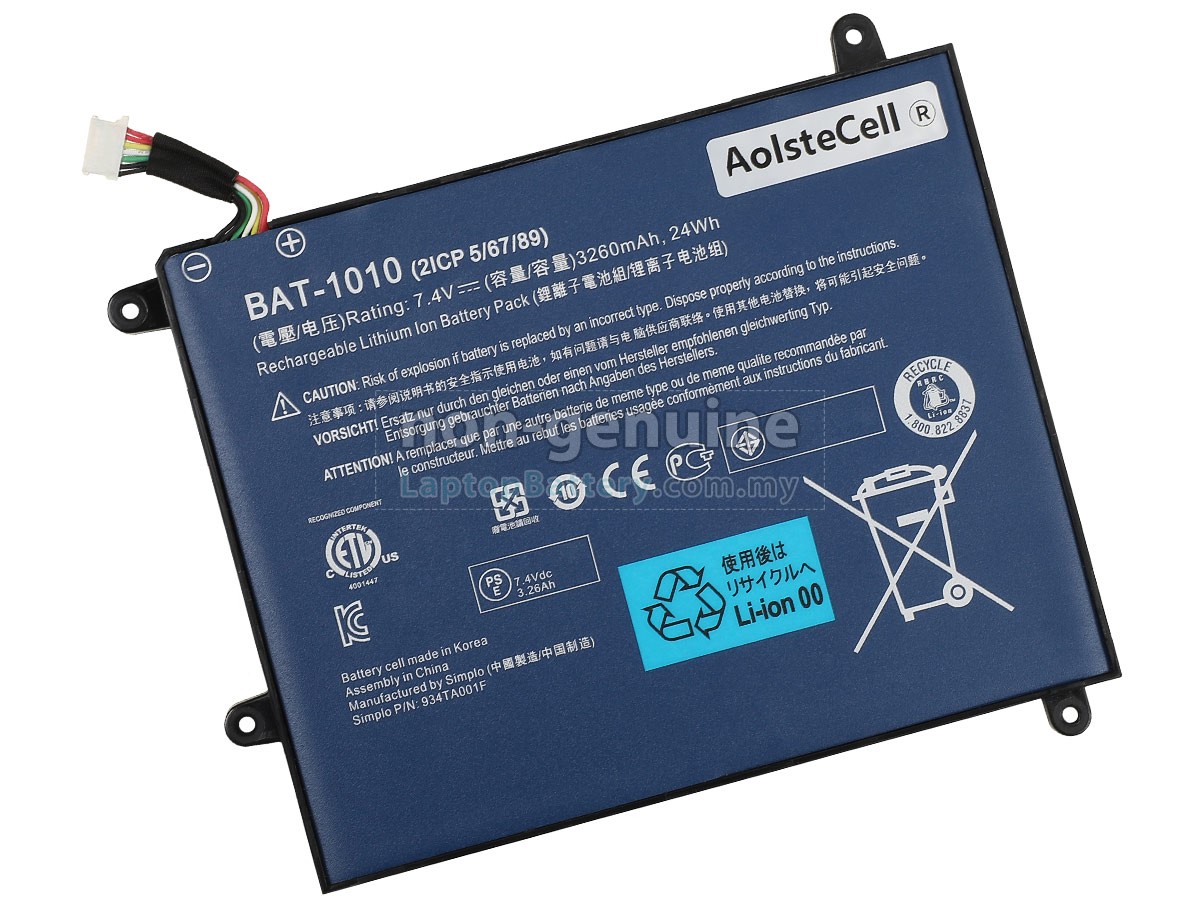
– Grab those angled tweezers and gently disconnect the white motherboard-battery connector located right in the middle of the side opposite the docking port. You’ve got this!
Step 4
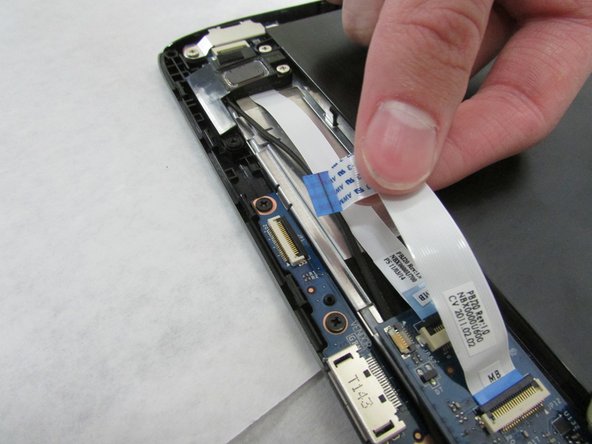
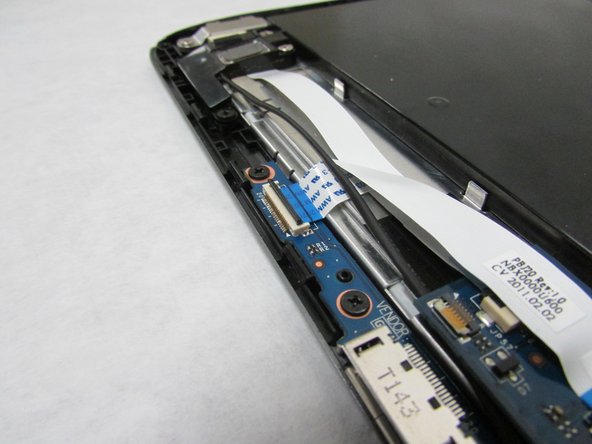
– Grab your trusty plastic opening tool and gently lift the locking mechanism on the flat, white ribbon cable that’s folded up on the docking port board.
– Once that’s popped open, carefully disconnect the folded, white ribbon cable from the docking port board.
Step 5
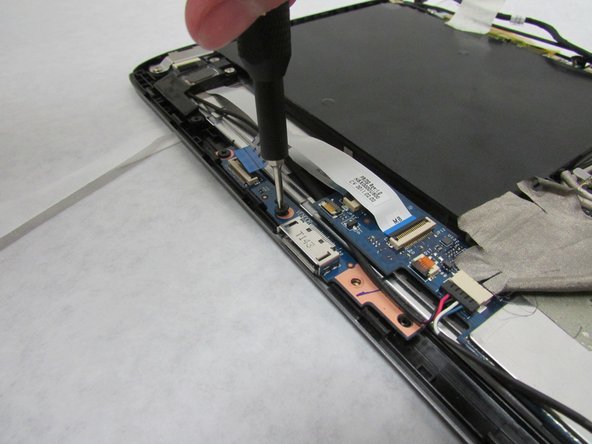
– Grab your trusty Phillips #1 screwdriver and loosen up those three 3.0 mm Philips head screws keeping the docking port locked in place. Easy does it!
Tools Used
Step 6
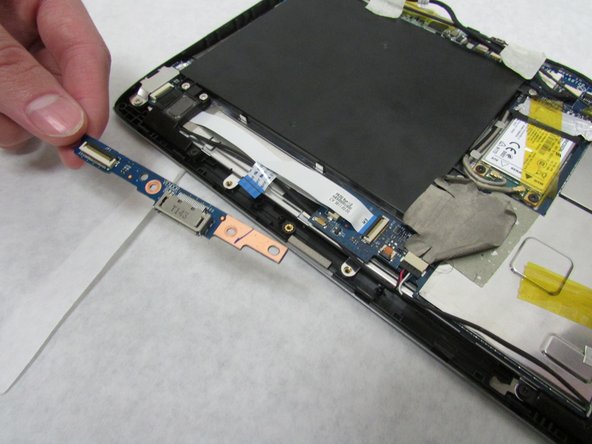
– Take out the docking port with care, and remember, it’s just a little piece of your device. You’ve got this!
Success!
