How to Replace the Charging Port on Acer Iconia Tab A501
Duration: 45 minutes
Steps: 6 Steps
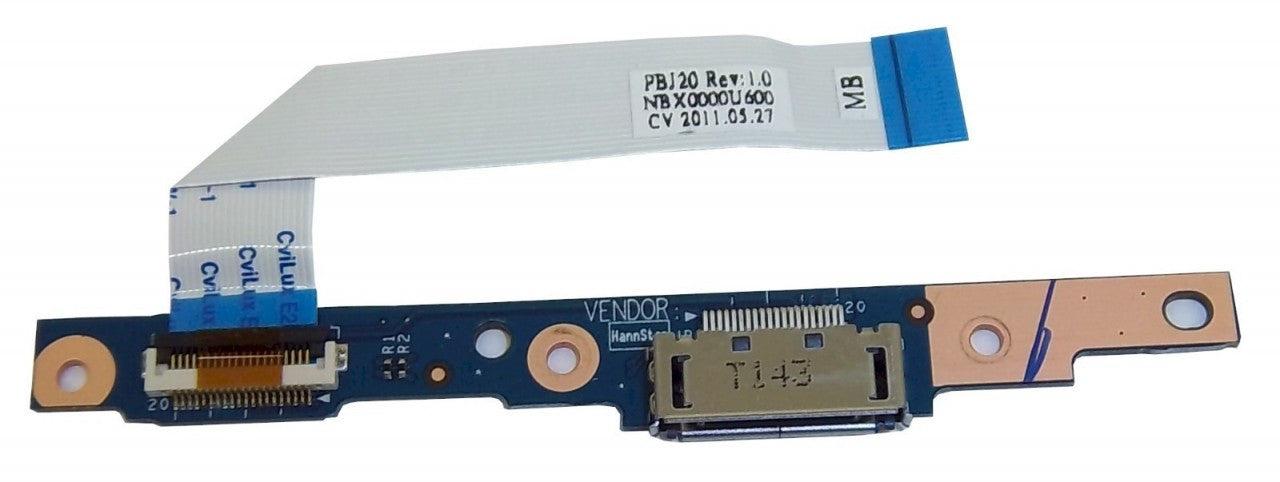
The charging port is a vital component of your device, making it possible to power up that battery and keep the fun going! In this guide, we’ll walk you through the steps to replace the charging port on the Acer Iconia Tab A501. Let’s get started!
Step 1
Make sure to switch off your device before diving in.
– Grab a trusty plastic opening tool and gently start prying off the back cover, kicking things off near the volume buttons.
– Keep working your way around, focusing on the short side near the camera, and continue all the way around the device like a pro.
Step 2
– Once you’ve worked your way about halfway around the device, the back cover will pop off like a charm. Smooth moves!
Step 3
– Peel away any tape that’s holding down the sleek, black braided cable linking the charging port to the motherboard. You’ve got this!
Step 4
As you move on to the next step, just remember to handle that motherboard with care! No squeezing too hard or scratching it, okay? You’ve got this!
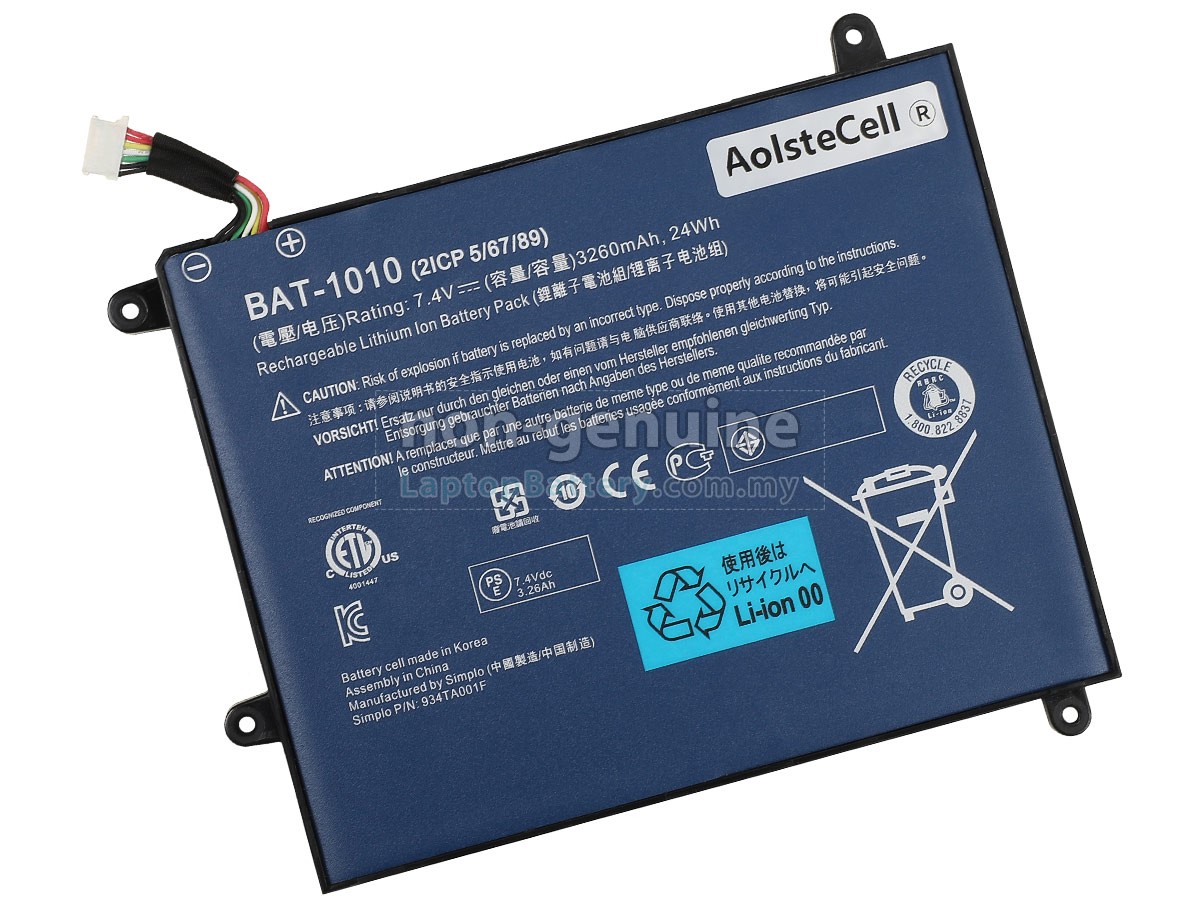
– Grab those angled tweezers and gently disconnect the motherboard-battery cable from the white connector located right in the center of the side opposite the docking port. You’ve got this!
Tools Used
Step 5
For the next step, go easy—no need to Hulk out here! Avoid squeezing too hard or scratching up the motherboard.
– Grab your angled tweezers and gently disconnect the red-wired cable from the beige connector located in the middle of the side opposite the docking port. Take your time and make sure everything stays nice and steady!
Tools Used
Step 6
The port might be snugly taped from below, so don’t be shy—give it a little nudge to pop it out.
– Now that you’ve tackled this project like a pro, it’s time to put everything back together! Just retrace your steps, and you’ll be golden.
– Oops! If you didn’t quite finish, no worries at all.
–
Tools Used
Success!


