Acer Iconia Tab A501 Battery Replacement Guide
Duration: 45 minutes
Steps: 6 Steps
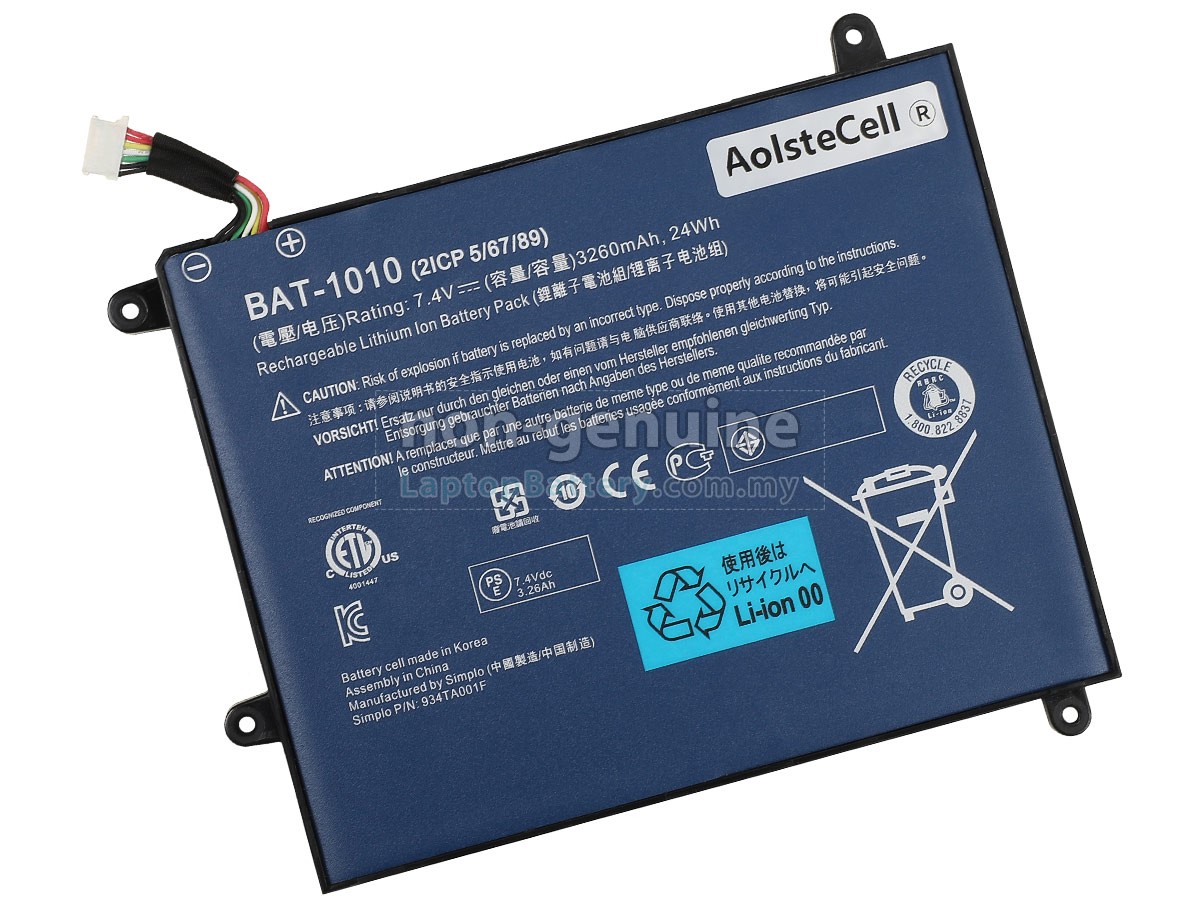
Batteries have a knack for losing their spark over time as they’re put to work, and they can ultimately call it quits. If your battery is giving you the silent treatment or refuses to power up your device, it might be time for a replacement. In this guide, we’ll walk you through the steps to replace the battery for the Acer Iconia Tab A501. Let’s get that device back in action!
Step 1
Before you dive in, make sure to power off your device. No need to risk any accidental taps while you’re working your magic!
– Grab a plastic opening tool and gently pry apart the back cover, starting right at those volume buttons.
– Keep on working your way around the short side near the camera and continue all the way around the device.
Step 2
– Once you’ve made enough progress around the device—just a smidge more than halfway—the back cover should pop off with ease!
Step 3
– Peel off any tape that’s keeping the battery or the black battery-to-motherboard cable under wraps.
Step 4
As you move on to the next step, remember to handle the motherboard with care—no squeezing too hard or scratching it!
– Grab those angled tweezers and carefully pop out the white motherboard-battery connector from the side opposite the docking port. You’ve got this!
Tools Used
Step 5
– Grab your trusty Phillips #1 screwdriver and get ready to tackle those four 4.0 mm Philips head screws that are holding the battery snugly to the motherboard. Let’s unscrew our way to success!
Tools Used
Step 6
– To reassemble your device, just backtrack through these steps in reverse. If you need help, you can always schedule a repair.
– Cancel: I didn’t finish this guide.
– Job well done!
Success!


