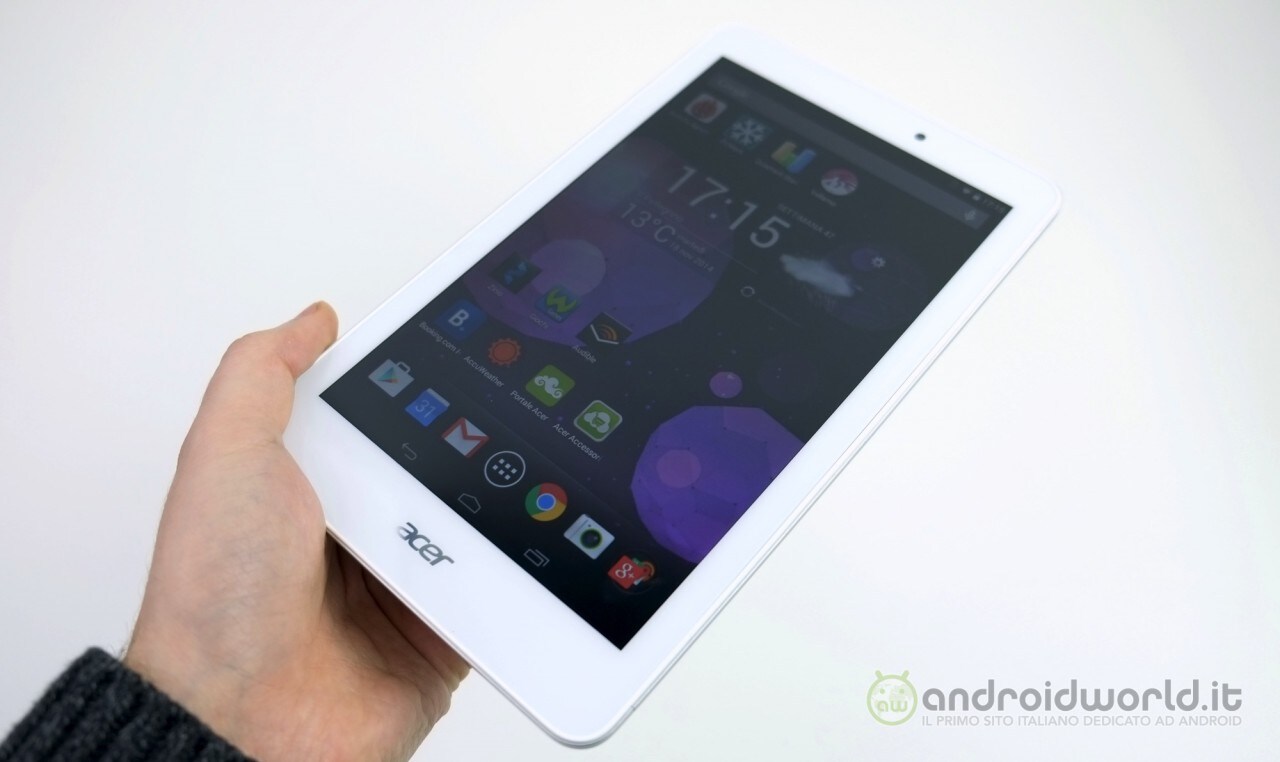
Acer Iconia Tab 8 A1-840 Camera Replacement Guide: Step-by-Step DIY
Duration: 45 minutes
Steps: 5 Steps
Time to get that camera replaced! First things first, you’ll need to remove the back cover. Don’t worry, it’s a breeze. Once that’s off, the camera is one of the simplest components to swap out. You got this!
Step 1
– First things first, power down that device!
– Unplug all those pesky cables.
– Lay your device face-up on a nice, flat surface.
Step 2
Be gentle with the screen—too much pressure and it might crack. Take it easy and show your device some love.
– Carefully slide that plastic opening tool into the gap between the display screen and the back panel like you’re opening a secret door!
Step 3
– Time to get your hands dirty! Carefully pry the display away from the back panel, taking your time to avoid any damage.
Step 5
– With your ESD-safe precision tweezers, gently pull the connector to disconnect it, and then carefully remove the camera. You’ve got this!
Success!


