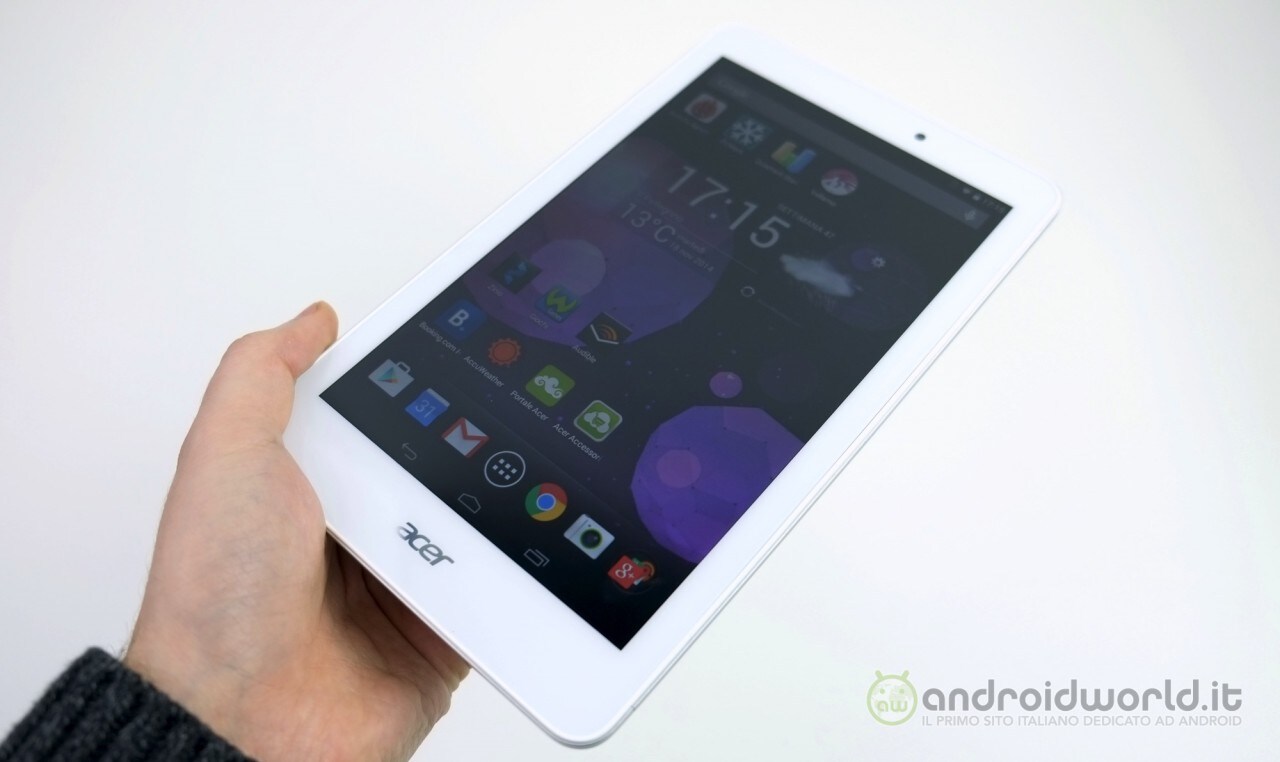
Acer Iconia Tab 8 A1-840 Battery Replacement
Duration: 45 minutes
Steps: 9 Steps
Step 1
– First things first, let’s power down that device! Safety first, right?
– Next up, unplug any cables that might be hanging around your device. We want it nice and clear!
– Finally, make sure your gadget is chilling on a flat surface with the screen facing up. Let’s give it a comfy spot to work on!
Step 2
Be gentle with the pressure – you don’t want to end up with a cracked screen. Take it easy and let things go smoothly!
– Gently slide the plastic opening tool between the display screen and the back panel, like you’re giving your device a little hug to help it open up.
Step 3
– Gently pry apart the display from the back panel like you’re opening a book—just take your time and enjoy the process!
Step 4
– Gently peel back and lift off the yellow plastic tape covering the battery cable—it’s like unwrapping a tiny present!
Step 5
– Gently use the flat end of the spudger to pop up and remove the battery cable.
Step 6
– Gently slide the flat side of the heavy-duty spudger under the tiny black plastic flap and lift it up with care.
Step 7
– Gently grasp the Zero Insertion Force (ZIF) cable and carefully pull it away from the motherboard. Don’t worry, it’s easier than it sounds!
Step 8
– Gently pop off the smaller ZIF cable next to it by using your fingers—easy does it!
Step 9
There’s some sticky adhesive behind the battery keeping it snug in place. Take your time, pry gently, and ease that battery out like a pro.
– To put your device back together, just retrace these steps with some flair and patience!
– Didn’t finish? No worries, it happens!
– Need a hand? You can always schedule a repair.


