Lenovo IdeaTab A2109 IO Board Replacement Guide
Duration: 45 minutes
Steps: 12 Steps
Ready to tackle the challenge of swapping out the IO board? Let’s dive in and make your device as good as new! If you need help along the way, you can always schedule a repair.
Step 1
– Flip your tablet over and check out the speakers perched on the top of the back cover.
– You’ll spot a little groove in the plastic that stretches across the top of the device.
– Grab your trusty plastic opening tool and slide it under the center of the cover as shown. Give it a gentle push upwards, and voilà! The cover will pop right off.
Step 2
Don’t forget to pop out that SD card if it’s hanging out in there!
– Pop out those two stealthy black 3mm Phillips #00 screws with confidence.
Step 4
The screw in the top right corner is hiding beneath a cheerful yellow ribbon. Gently lift the ribbon without disconnecting it, and then go ahead and unscrew that little guy!
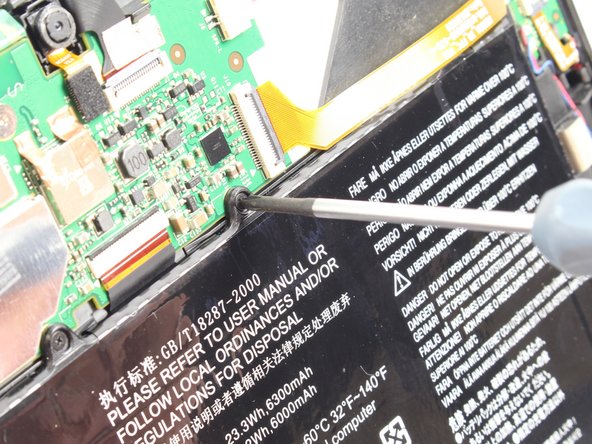
– Unscrew seven black 3mm Phillips #00 screws with care and precision. You’ve got this!
Step 5
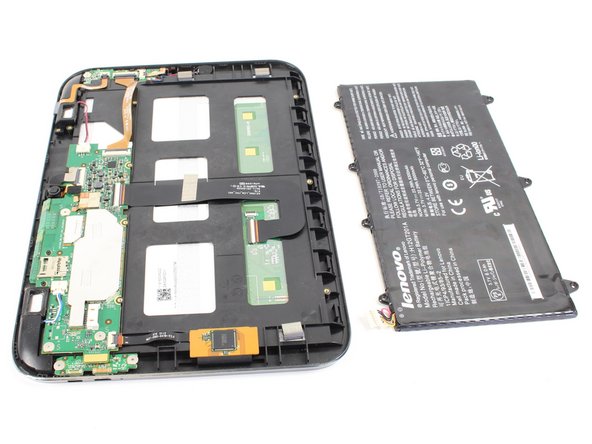
– Time to get that battery out! You can now remove it to either swap it with a new one or keep disassembling your device. Remember, you’re doing great and you’re one step closer to getting your device up and running again!
Step 6
– Pop out two black 3mm Phillips #00 screws.
– Take out three silver 1.8 mm Phillips #00 screws.
Step 8
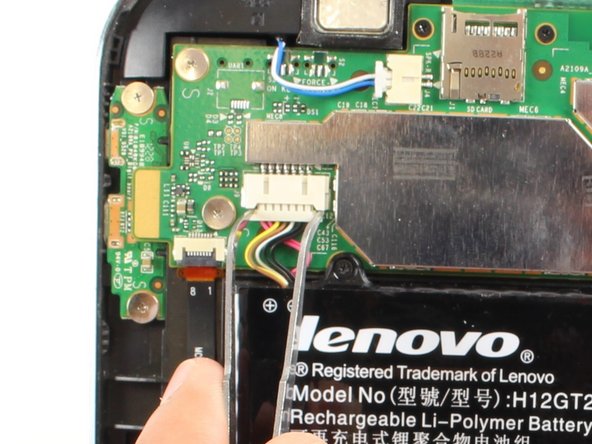
– Let’s get started! To disconnect the speaker connectors, gently pinch them with your trusty tweezers and slide them out from the system board housing. Easy peasy!
Tools Used
Step 10
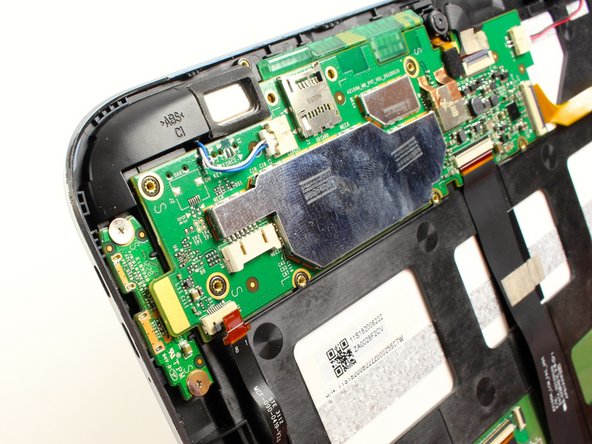
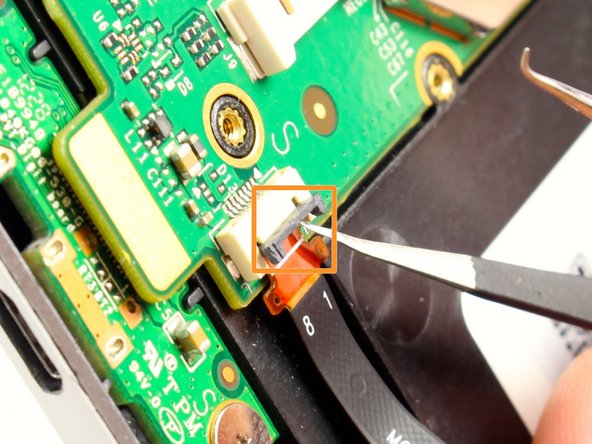
– First, go ahead and disconnect the HDMI cable from the system board. Simple enough, right?
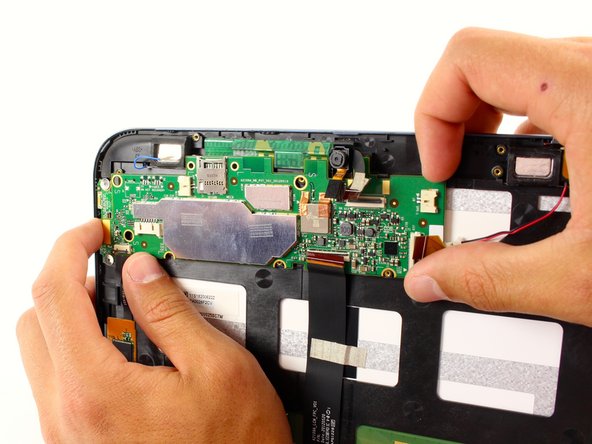
– Next, grab a plastic opening tool and gently work your way around the system board. You’ll hear a satisfying pop when it loosens up.
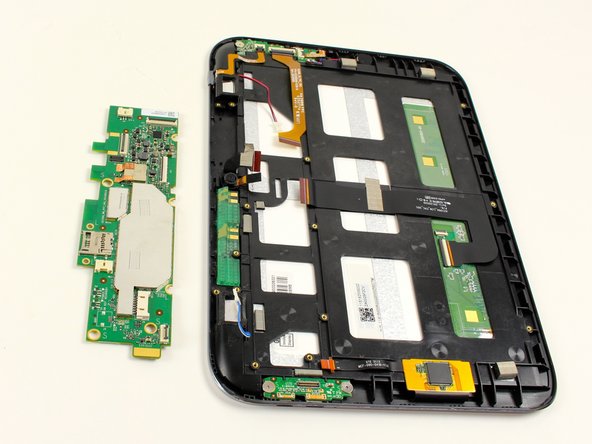
– Now, slide the system board out from its housing tab, which is located at the top right corner. Take your time; it’s a smooth move.
– Gently pull the board away from the tab, and it’ll pop right out without any fuss.
Step 11
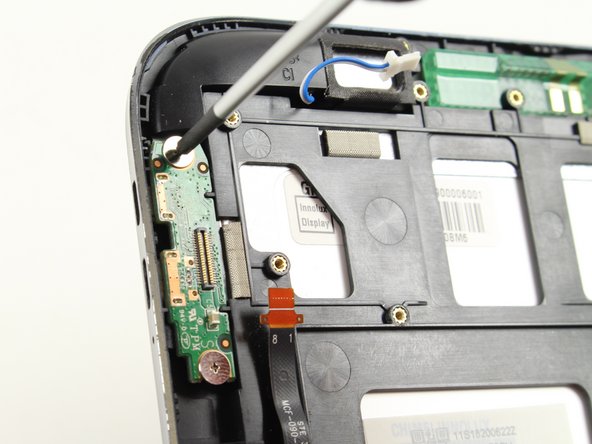
– Time to get those screws out! First up, let’s tackle these two little troublemakers:
– M 5.3 x 1.75 mm #00 phillips screws (silver)
Step 12
– To put your device back together, just flip those instructions around and follow them in reverse. You’ve got this!
– Oops! Looks like you decided not to finish this guide.
– Remember, if you find yourself in a tough spot, you can always schedule a repair.
Tools Used
Success!
