How to Replace Speakers in Lenovo IdeaTab A2109: DIY Guide
Duration: 45 minutes
Steps: 17 Steps
Ready to rock some fresh sound? Follow this guide to replace those speakers and bring your device back to life!
Step 1
– Flip your tablet over and check out the speakers perched on the top of the back cover.
– You’ll spot a little groove in the plastic that stretches across the top of the device.
– Grab your trusty plastic opening tool and slide it under the center of the cover as shown. Give it a gentle push upwards, and voilà! The cover will pop right off.
Step 2
Don’t forget to pop out that SD card if it’s hanging out in there!
– Pop out those two black 3mm Phillips #00 screws.
Step 4
Time to get started! Locate the top right corner screw, which is cleverly hidden under a yellow ribbon. Gently lift the ribbon – don’t disconnect it – and remove the screw. Easy peasy!
– Unscrew seven black 3mm Phillips #00 screws with care and precision. You’ve got this!
Step 5
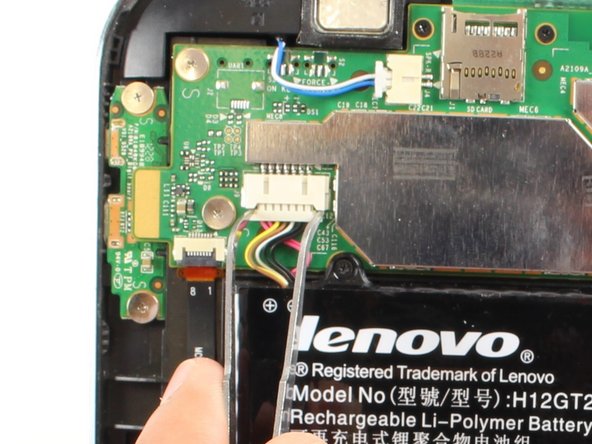
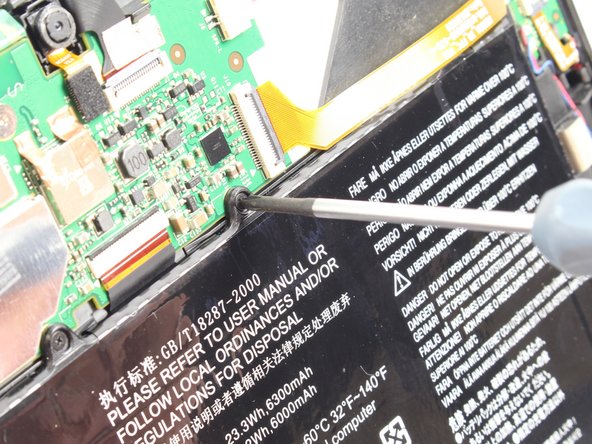
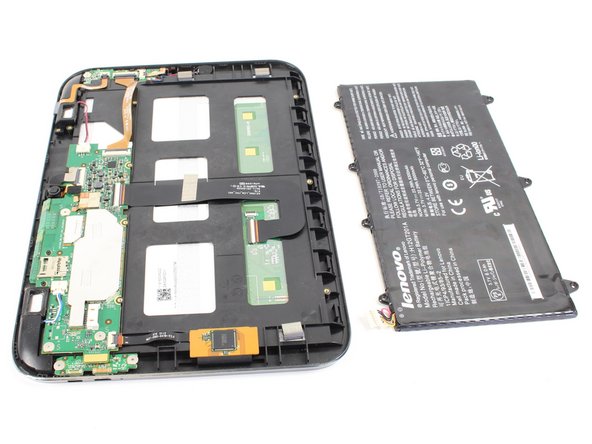
– Now it’s time to pop that battery out! Whether you’re swapping it for a shiny new one or just diving deeper into the guts of your device, you’ve got this!
Step 6
– Let’s kick things off by unscrewing two of those sleek black 3mm Phillips #00 screws. You’ve got this!
– Next up, it’s time to tackle three shiny silver 1.8 mm Phillips #00 screws. Keep up the great work!
Step 8
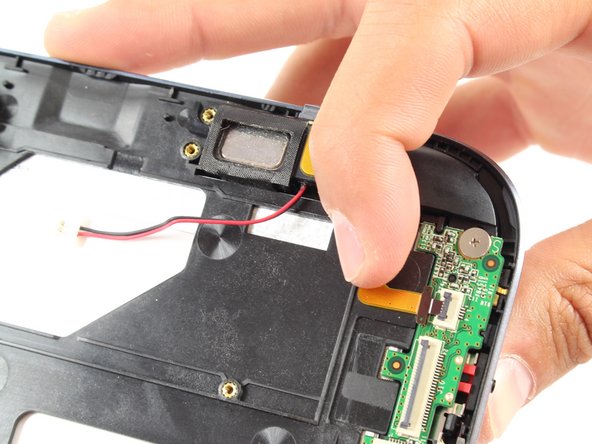
– Gently pinch those two speaker connectors with your trusty tweezers and slide them out from the cozy embrace of the system board housing. You’ve got this!
Tools Used
Step 10
– Unplug that HDMI connection from the system board—time to set it free!
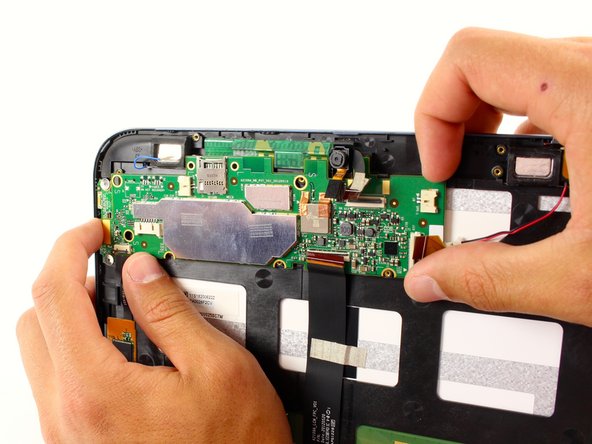
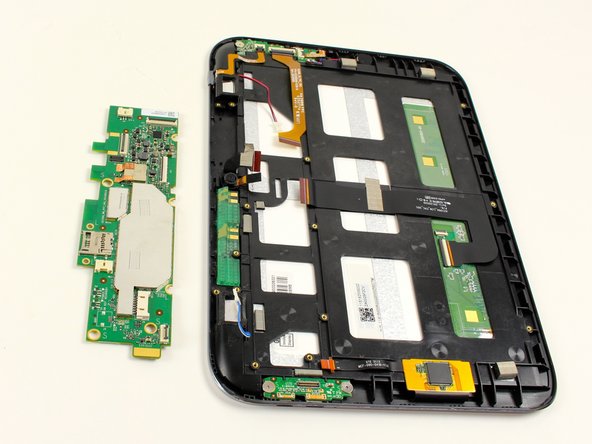
– Grab a trusty plastic opening tool and gently pop the system board loose. You’ll hear a satisfying little ‘pop’ as it lets go.
– Carefully slide the system board out of its cozy housing tab on the upper right corner. Nice and easy now!
– Gently pull the board away from the tab—it’ll pop right out like a charm!
Step 11
– Let’s get cracking! First up, take out these two screws:
– M 5.3 x 1.75 mm #00 phillips screws (silver)
Step 13
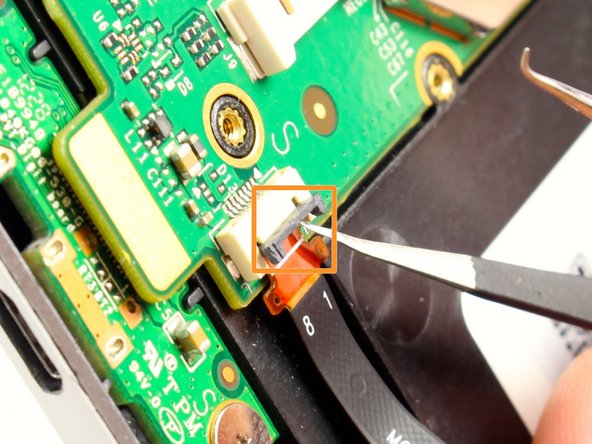
– Grab your trusty tweezer tool and gently lift up those three tiny plastic locks holding the digital board in place. You’ve got this!
– Next up, carefully slide out the newly revealed ribbons. Easy peasy!
Step 14
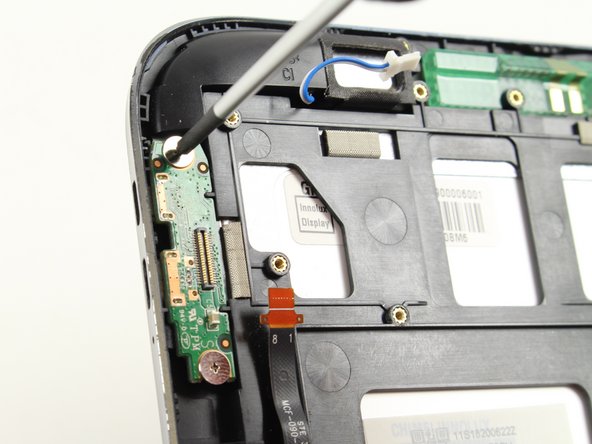
– Alright, time to tackle these two screws:
– M5.3 x 1.75 mm #00 Phillips screws (silver).
Step 15
– After unscrewing it, grab the tweezer tool and gently pull the digital board straight out. You’ve got this!
Step 16
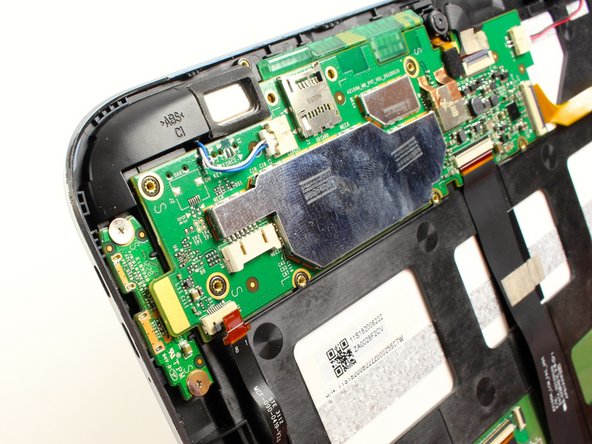
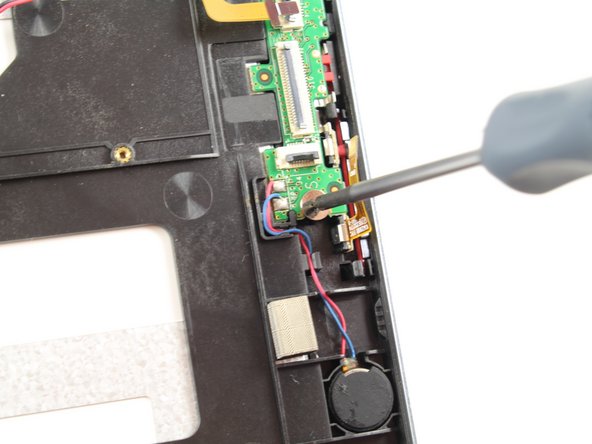
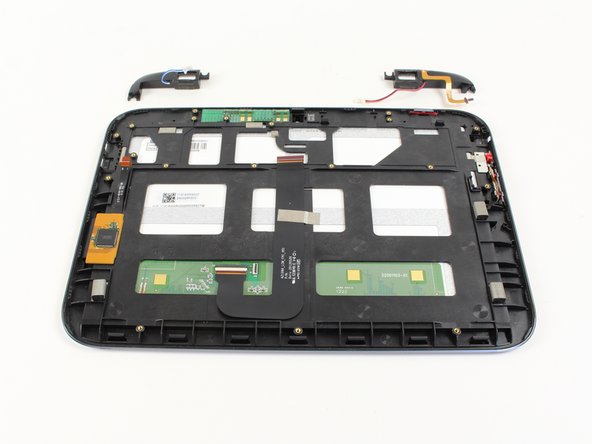
– Now that you’ve successfully removed the IO board and digital board, you can finally get to those speakers!
Success!


