DIY Guide: Lenovo IdeaTab A2109 Camera Replacement Tutorial
Duration: 45 minutes
Steps: 4 Steps
Ready to give your device a camera makeover? Dive into this guide to swap out those front and rear cameras like a pro! If you need help, you can always schedule a repair.
Step 1
– Flip the tablet over and find the speakers chilling at the top of the rear cover.
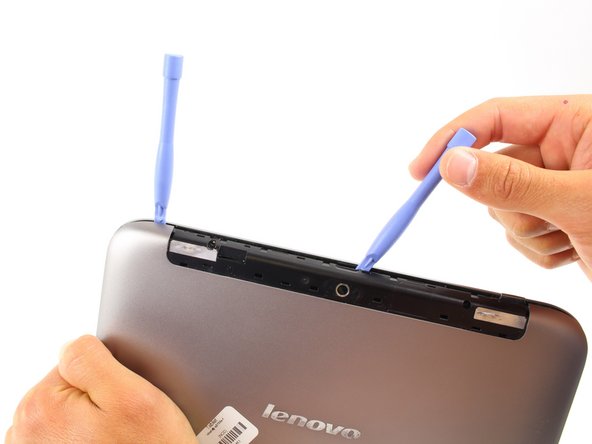
– Spot the tiny notch in the plastic cover running across the top of the device.
– Gently pry up and slide off the cover.
– Slide the plastic opening tool into that notch, right in the middle of the cover as shown.
Step 2
– Pop out these two screws:
– M3.0 x 3.0 mm #00 Phillips screws (black)
Step 3
You might need to give it a little nudge to pop the front and back of the device apart.
– Let’s get that front and rear faces apart! Grab your trusty plastic opening tool and pry them open.
– Now, slide that plastic opening tool to one corner like you’re gliding into a dance move.
– Time for a little teamwork! Slip another plastic opening tool into the gap and slide it over to the opposite corner, just like shown.
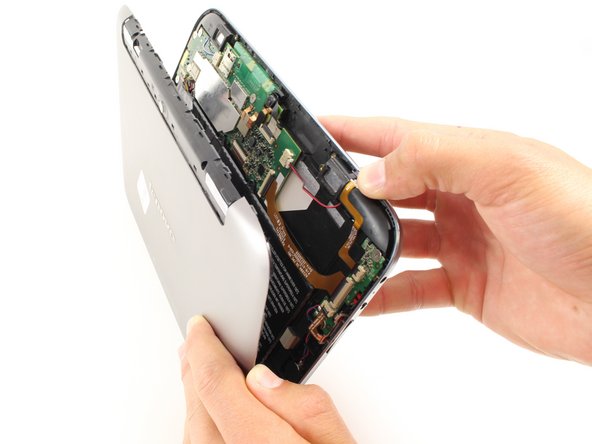
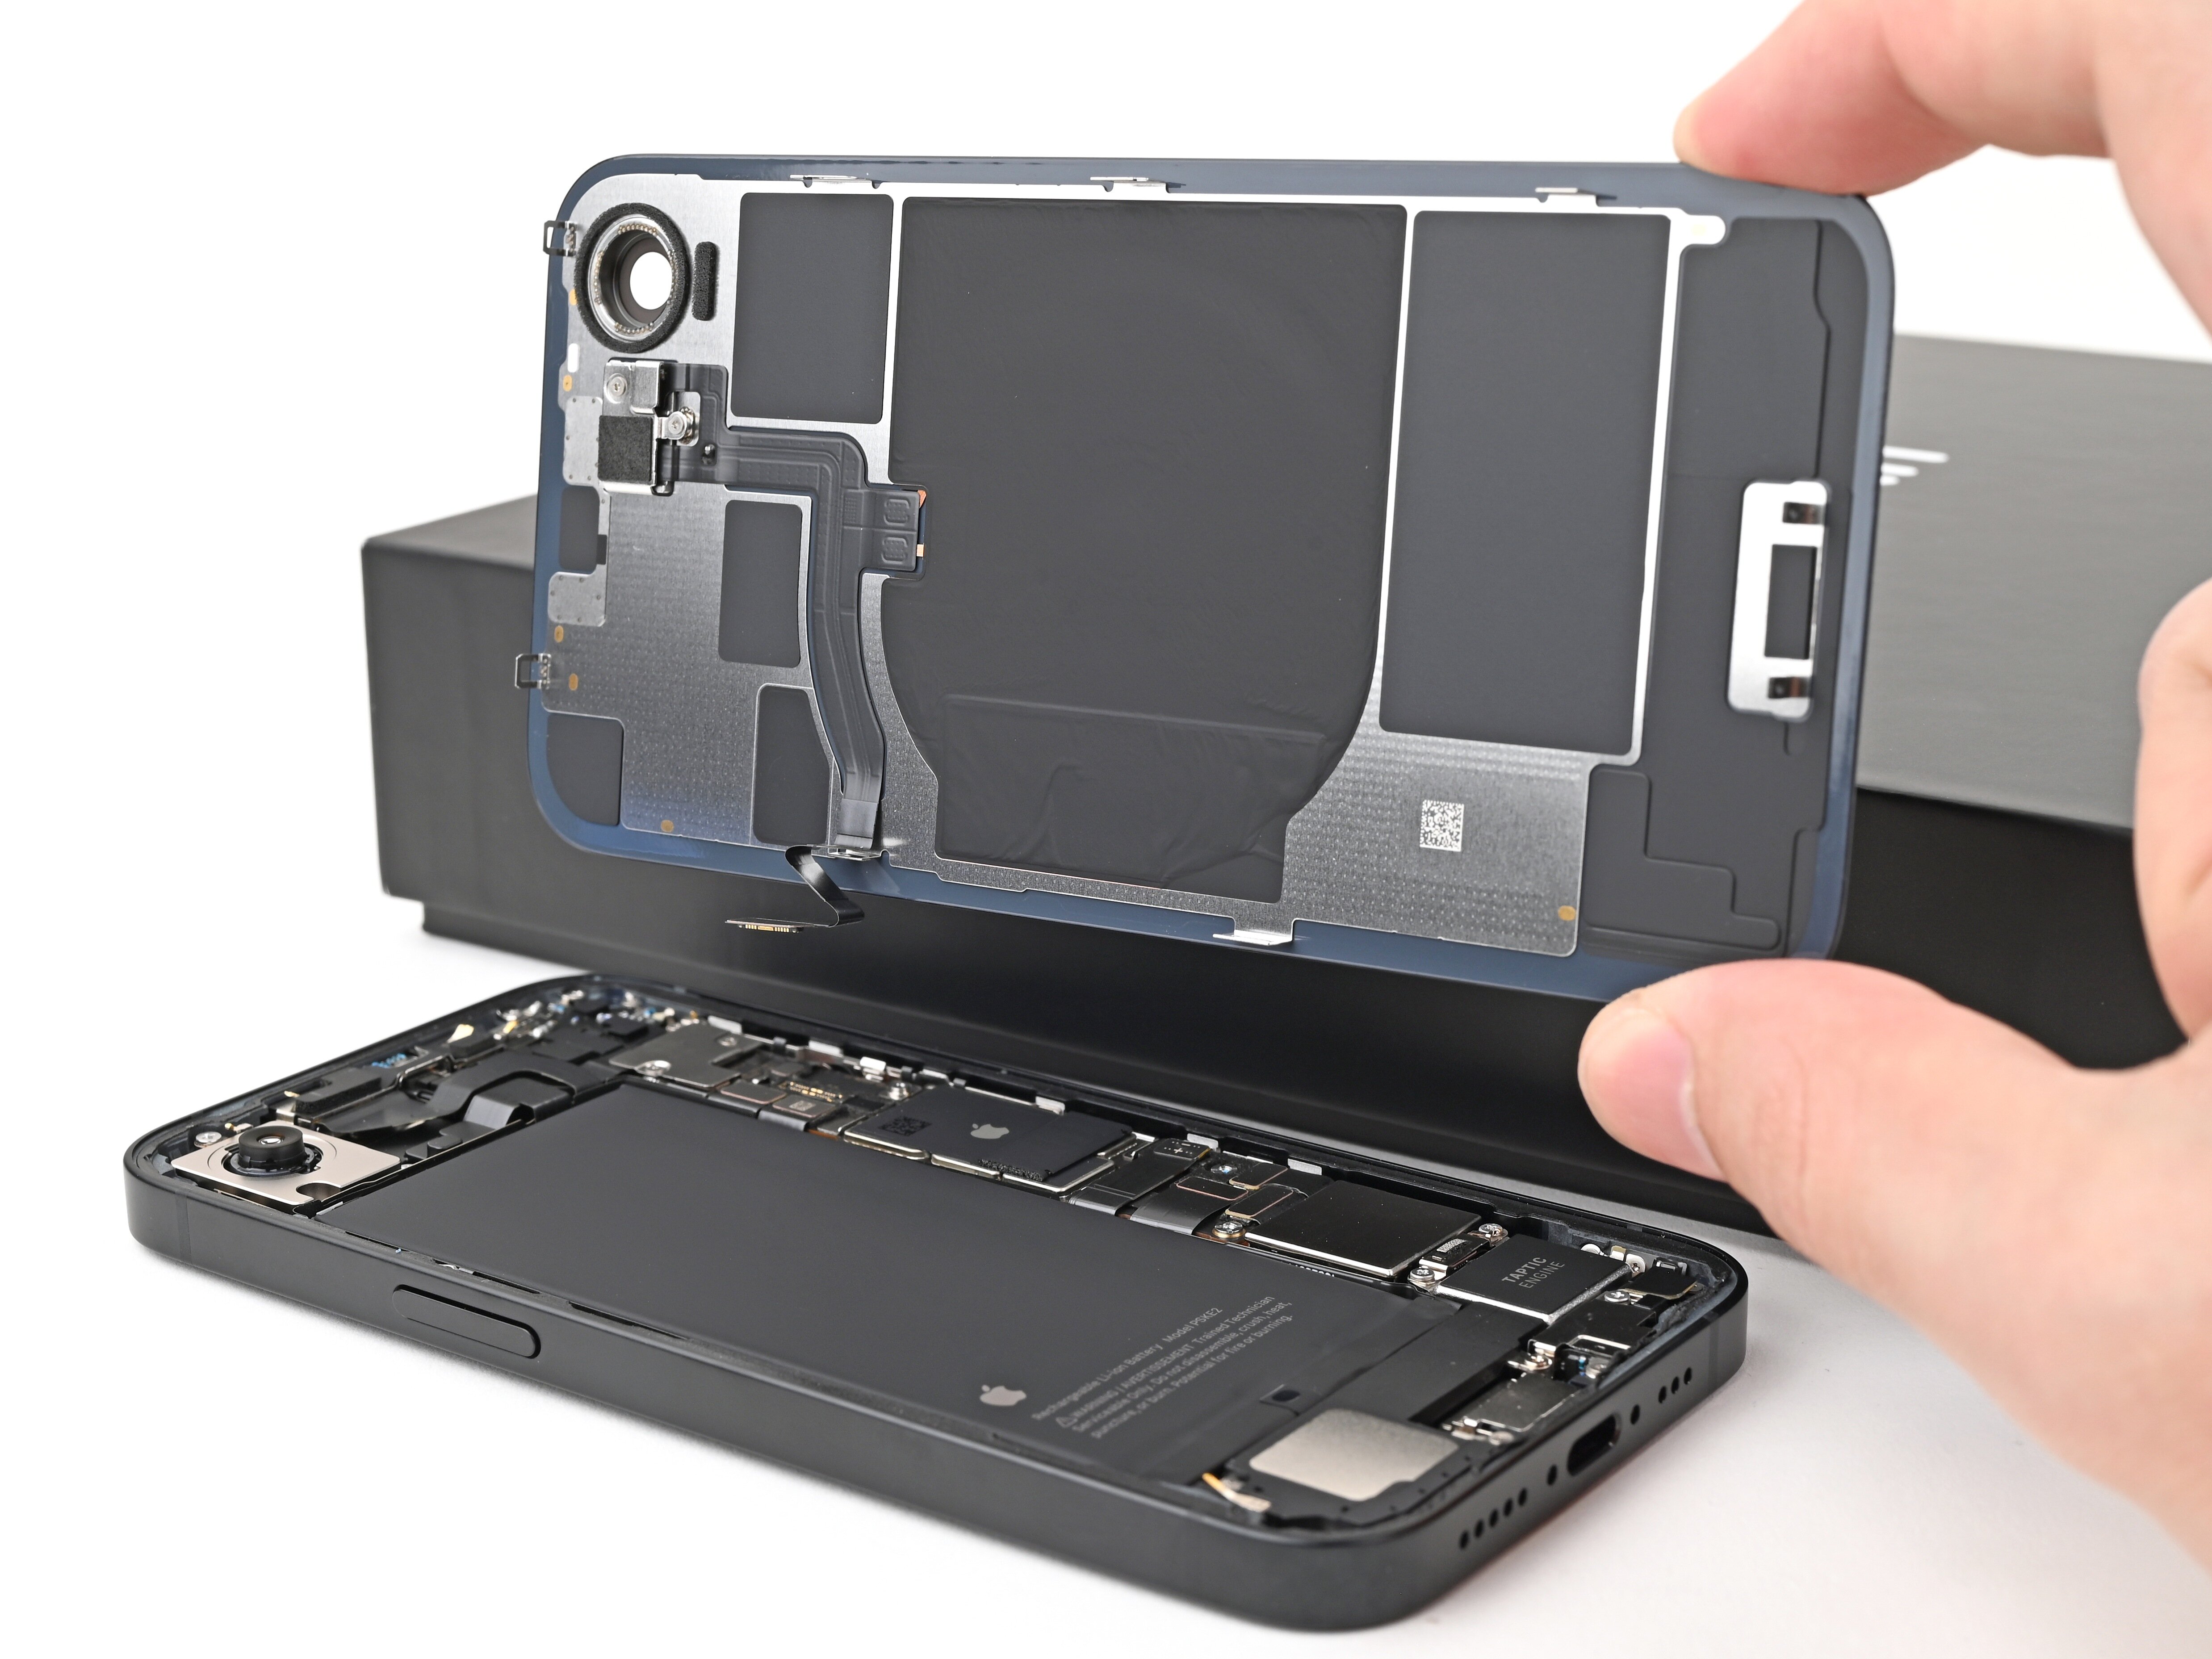
– Now, gently pull the rear cover up and back to separate it from the front face of your device. You’re doing great!
Step 4
– To put your device back together, just retrace your steps in the opposite direction. You’ve got this!
– Oops! I chose to take a break from this guide.
– If you’re feeling stuck at any point, just know that it’s totally okay! If you need help, you can always schedule a repair.
Success!


